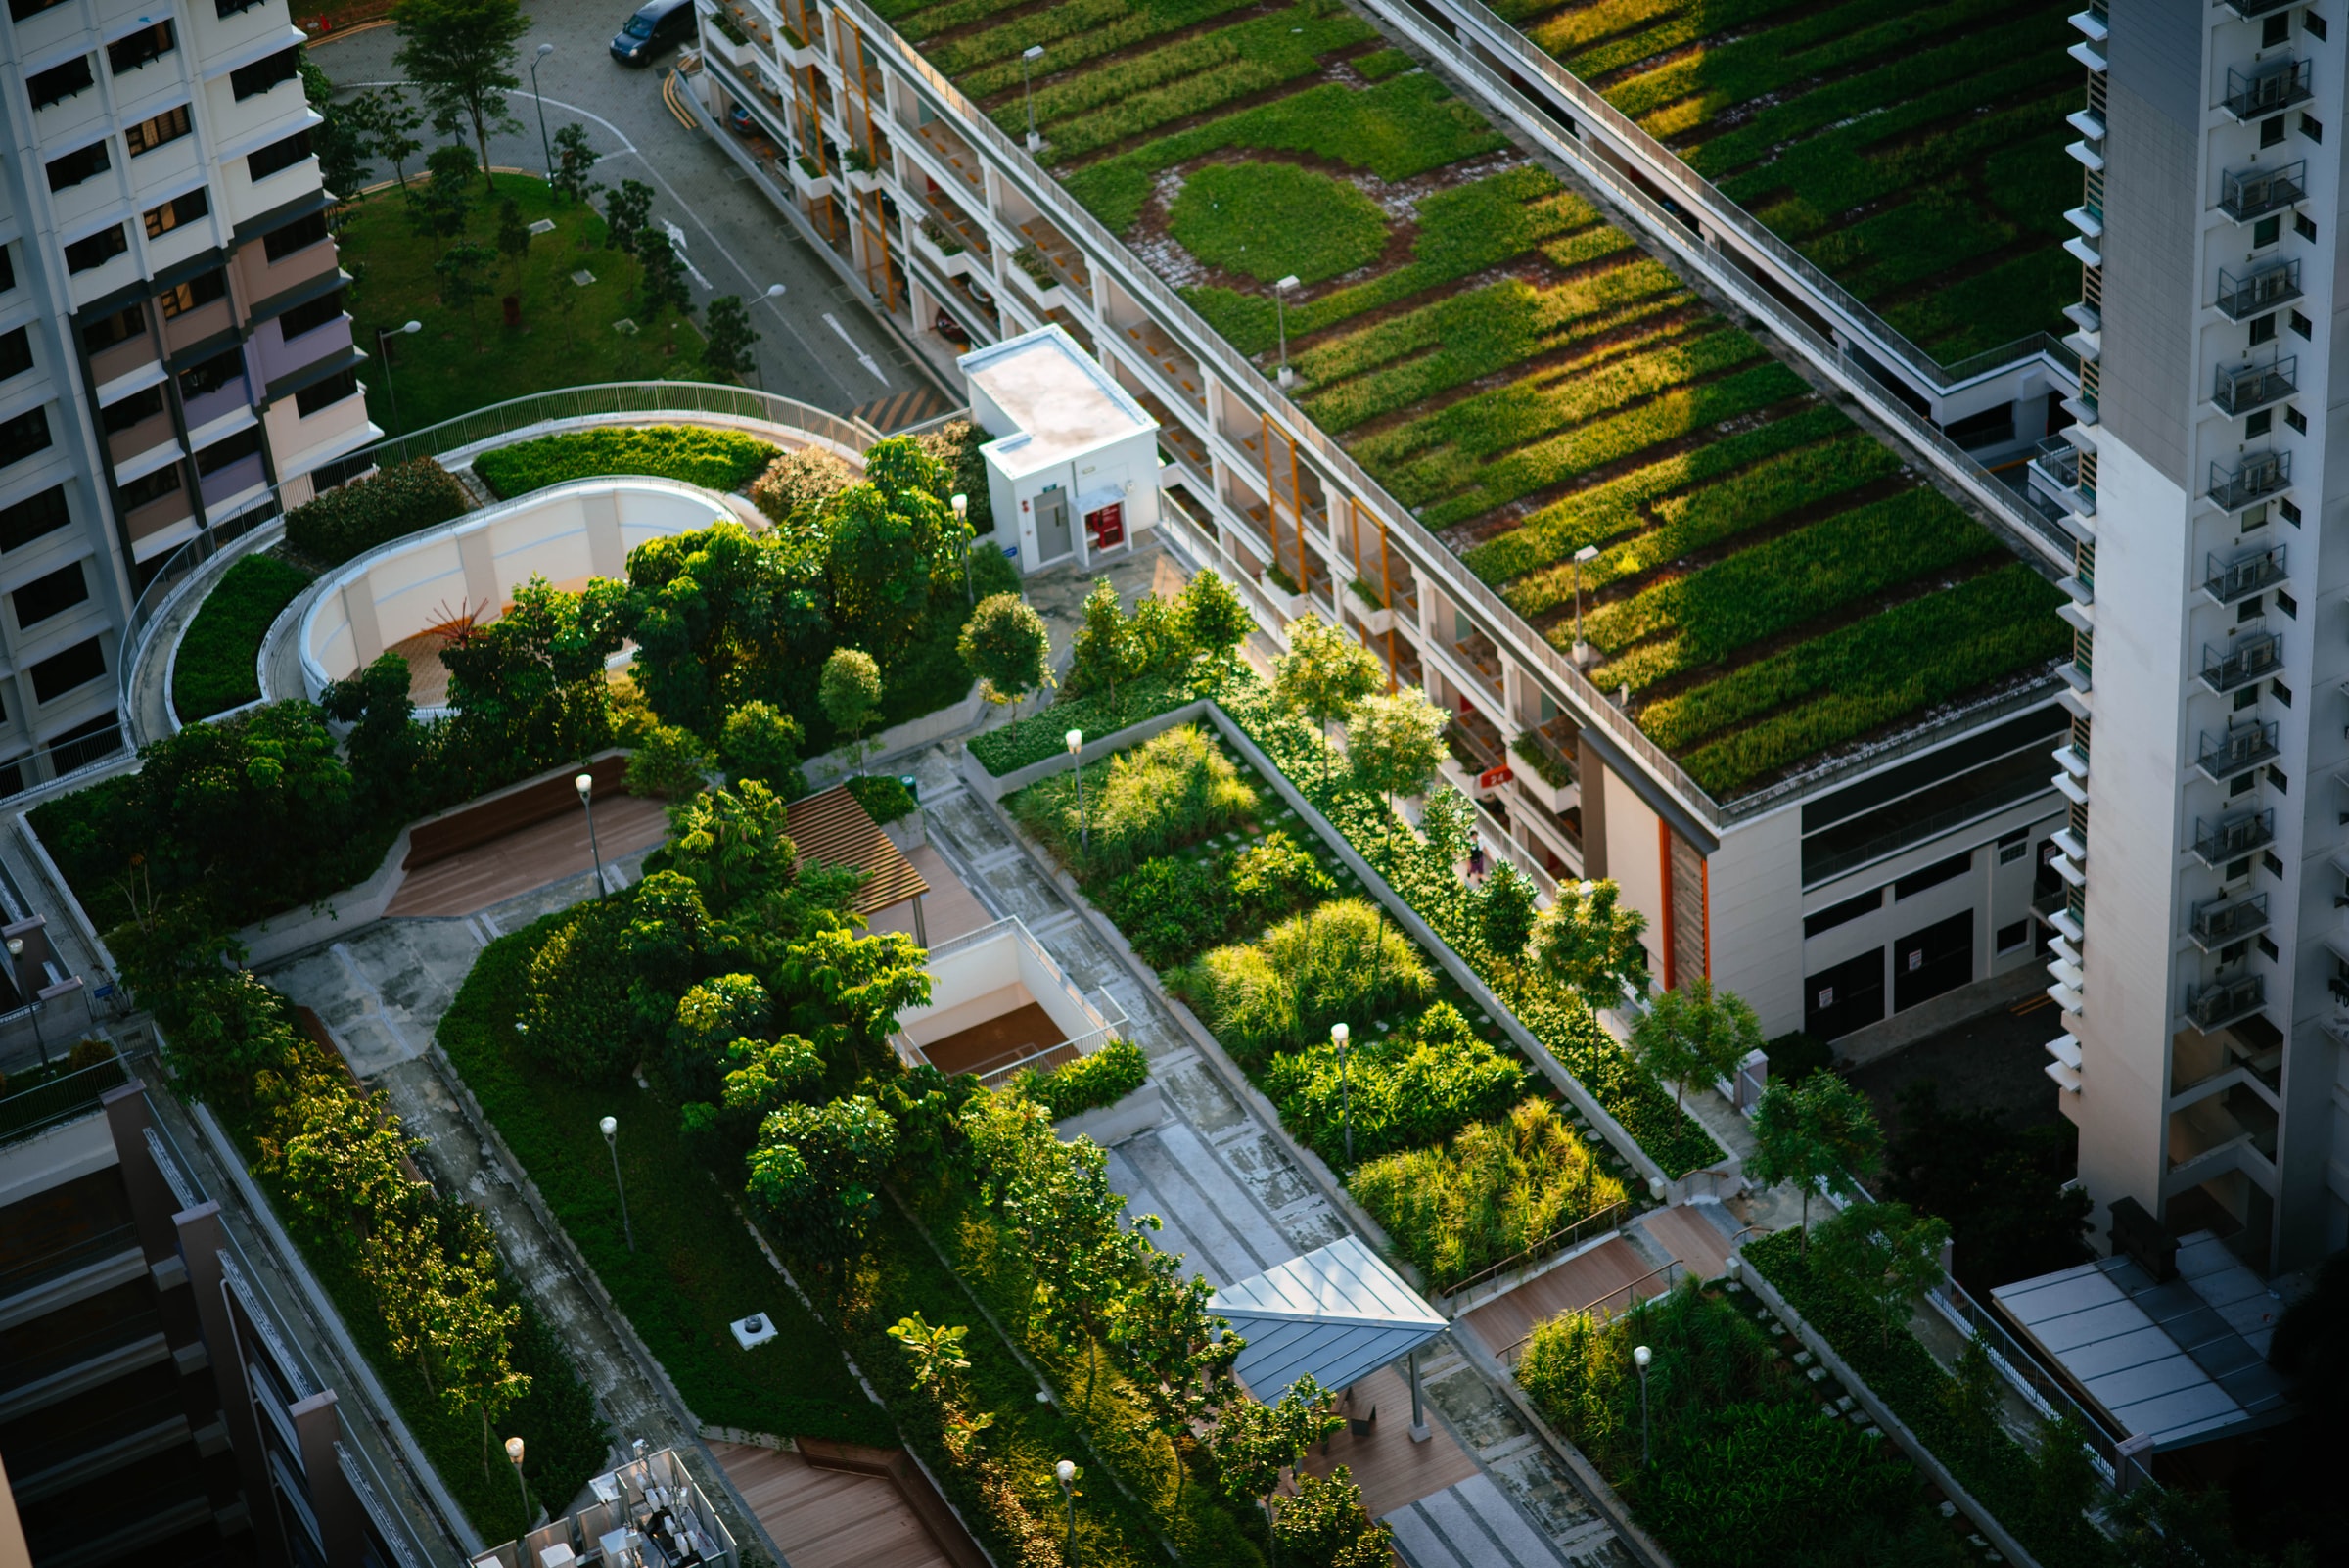
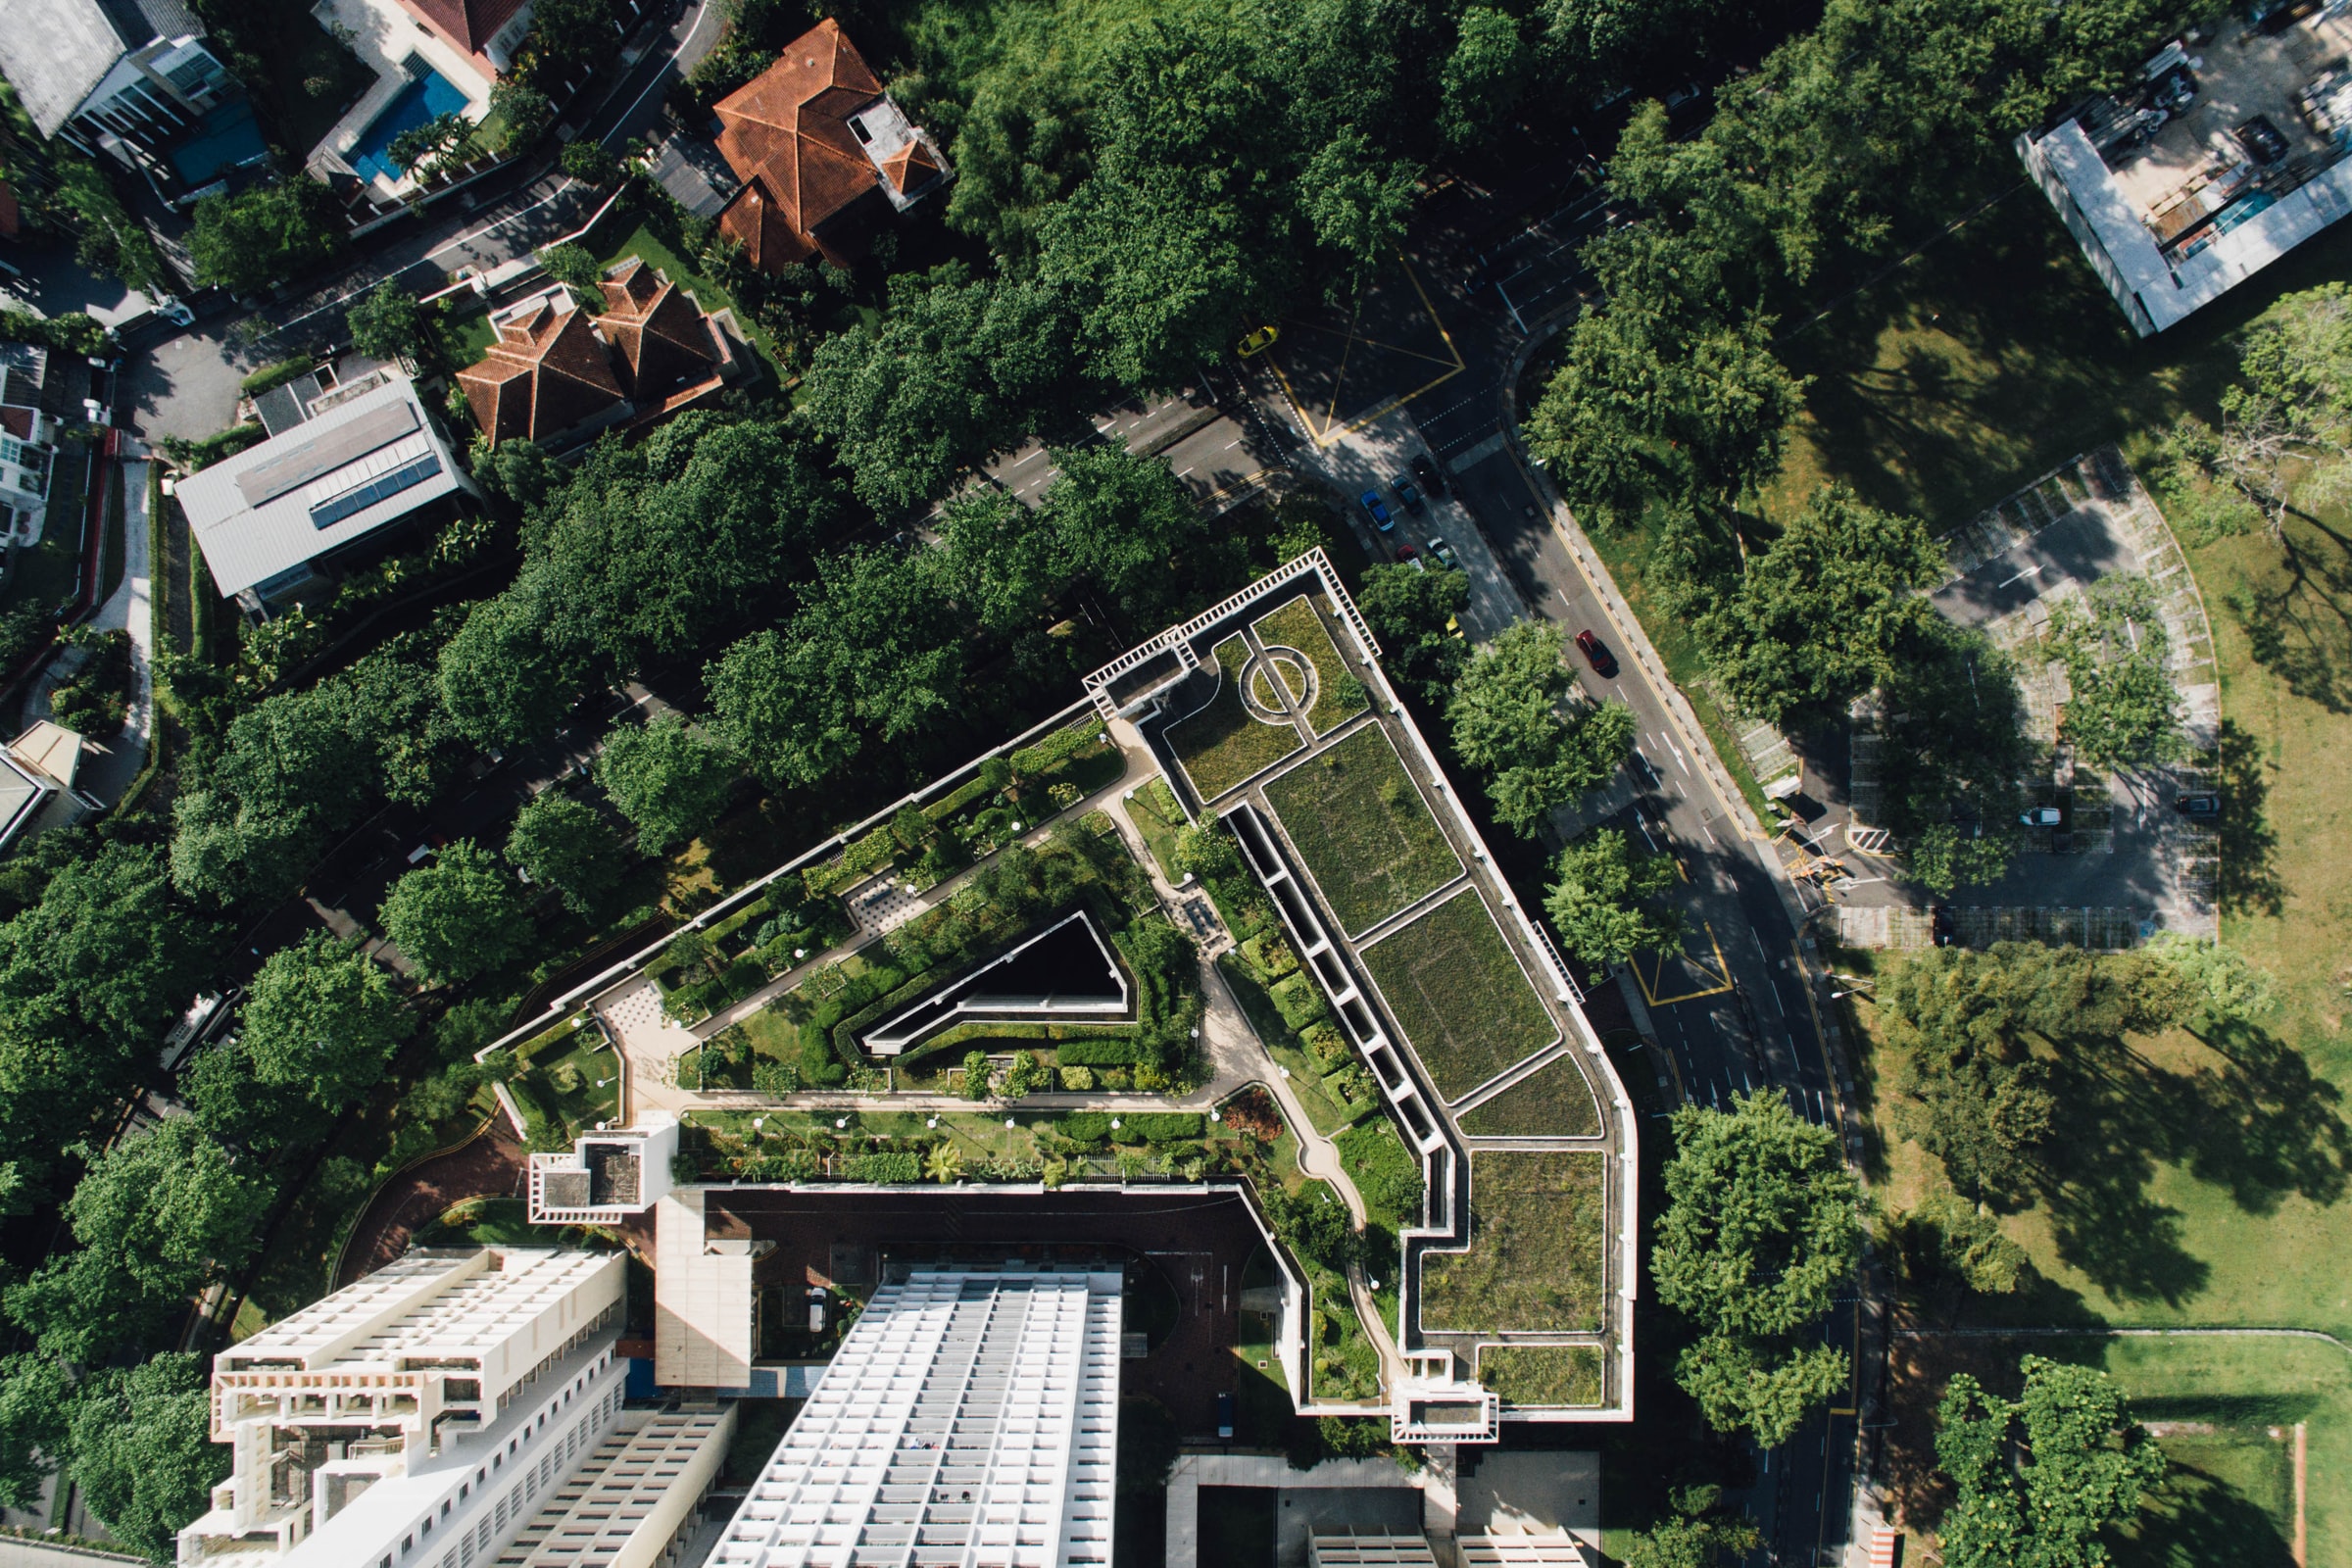
Do you admire biodiversity, and you want to beautify your roof? The reconciliation of these 2 interests is feasible through the establishment of a green roof. Also known as a green roof, it is a roof in the form of a roof terrace or an apartment penthouse filled with plantings. These are an alternative to other usual materials (sheets, tiles, etc.). But what are the essential steps to achieve a green roof? In this article, we will outline the 10 steps to follow.
1. Determining who will do the work
You have the choice between doing the roofing work yourself by getting help for the complex operations or calling on a specialized roofing company. Using advanced tools, they can build or repair your roof. In either situation, the steps for the realization of the green roof are identical.
2. Checking your construction
Before proceeding with the installation of a green roof, it is essential to know if your house or building is suitable for the installation of a green roof. To do this, do the calculations and make sure that your roof can support the weight of the soil, plants, and water. Be aware that the maximum load per square meter is 200 kg for an extensive green roof and 2 tons for an intensive green roof (where you can plant trees).
3. Installation of a supporting structure
The supporting structure must be strong to be able to support double or even triple the total weight of the installation when it is waterlogged due to rain or snow accumulation. In addition, the surface of this structure can be flat or sloped by up to 20 degrees. Beyond that, a special reinforcement to retain the soil is required.
4. Protecting your site
To ensure that the installation of the green roof runs smoothly, take care to install site protection against bad weather, such as a wooden structure covered with tarpaulin.
5. Making the slope
To facilitate the flow of water, make a sloped shape on the supporting structure. To do this, you must first fix the cleats, which are wooden triangles on the ground. They are attached from the largest to the smallest. Then, cover the whole with aggregates and put on top of the insulation plates, resistant to compression and roots of vegetation, such as extruded polystyrene.
6. Optimization of the roof waterproofing
For any roof, waterproofing is important. It is a complex operation that is difficult to achieve alone. For its realization, the waterproofers first install a vapor barrier to prevent rainwater infiltration and any other condensation phenomenon. Then, they install thermal insulation, which is protected by 2 layers of bituminous membranes. These are welded to prevent the penetration of roots in the insulating process. And the top layer must undergo anti-root treatments. Please note that to guarantee optimal waterproofing, all installations must comply with the NF P 84-204 standard.
7. Installation of the growing medium
Place the drain on the watertight part to redirect the water towards the gutters. Then put a filter, such as an old non-woven textile, to retain the small soil particles.
8. The distribution of the draining substrate
A draining substrate guarantees a better evacuation of water. It comprises culture, compost, cork, and soil mixture, allowing to welcome the plants. This draining substrate can be pre-cultivated trays or a pre-cultivated plant mat. It is spread with a rake over the entire surface.
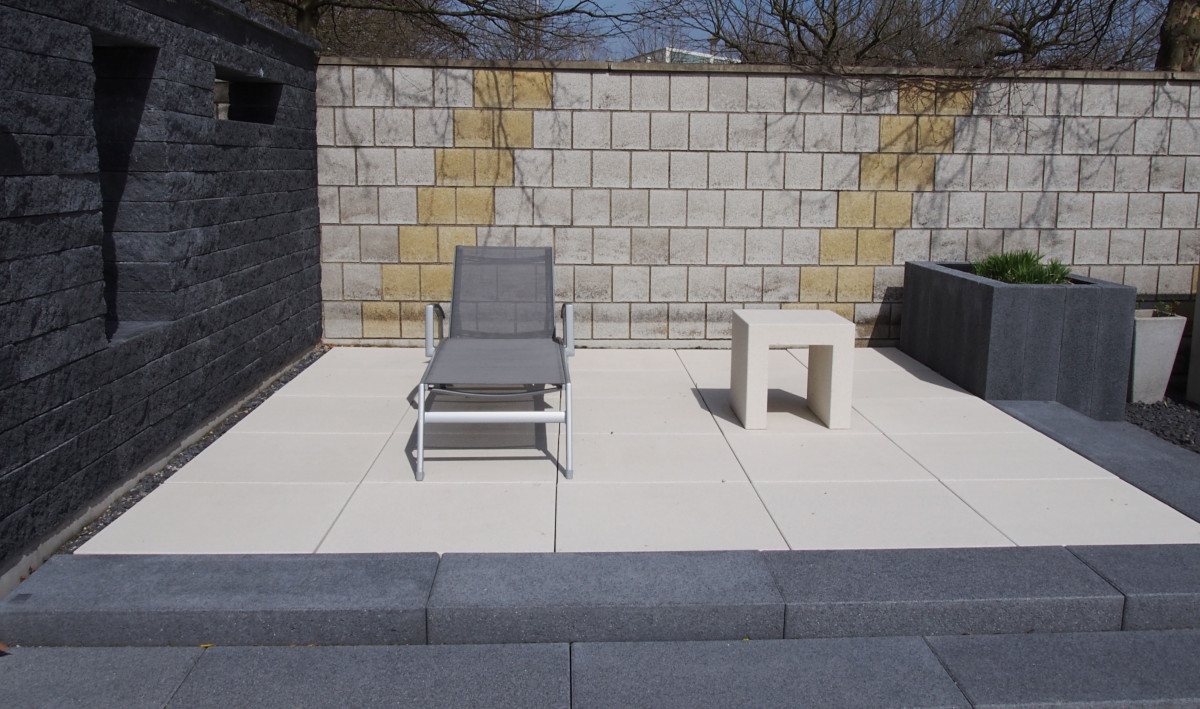
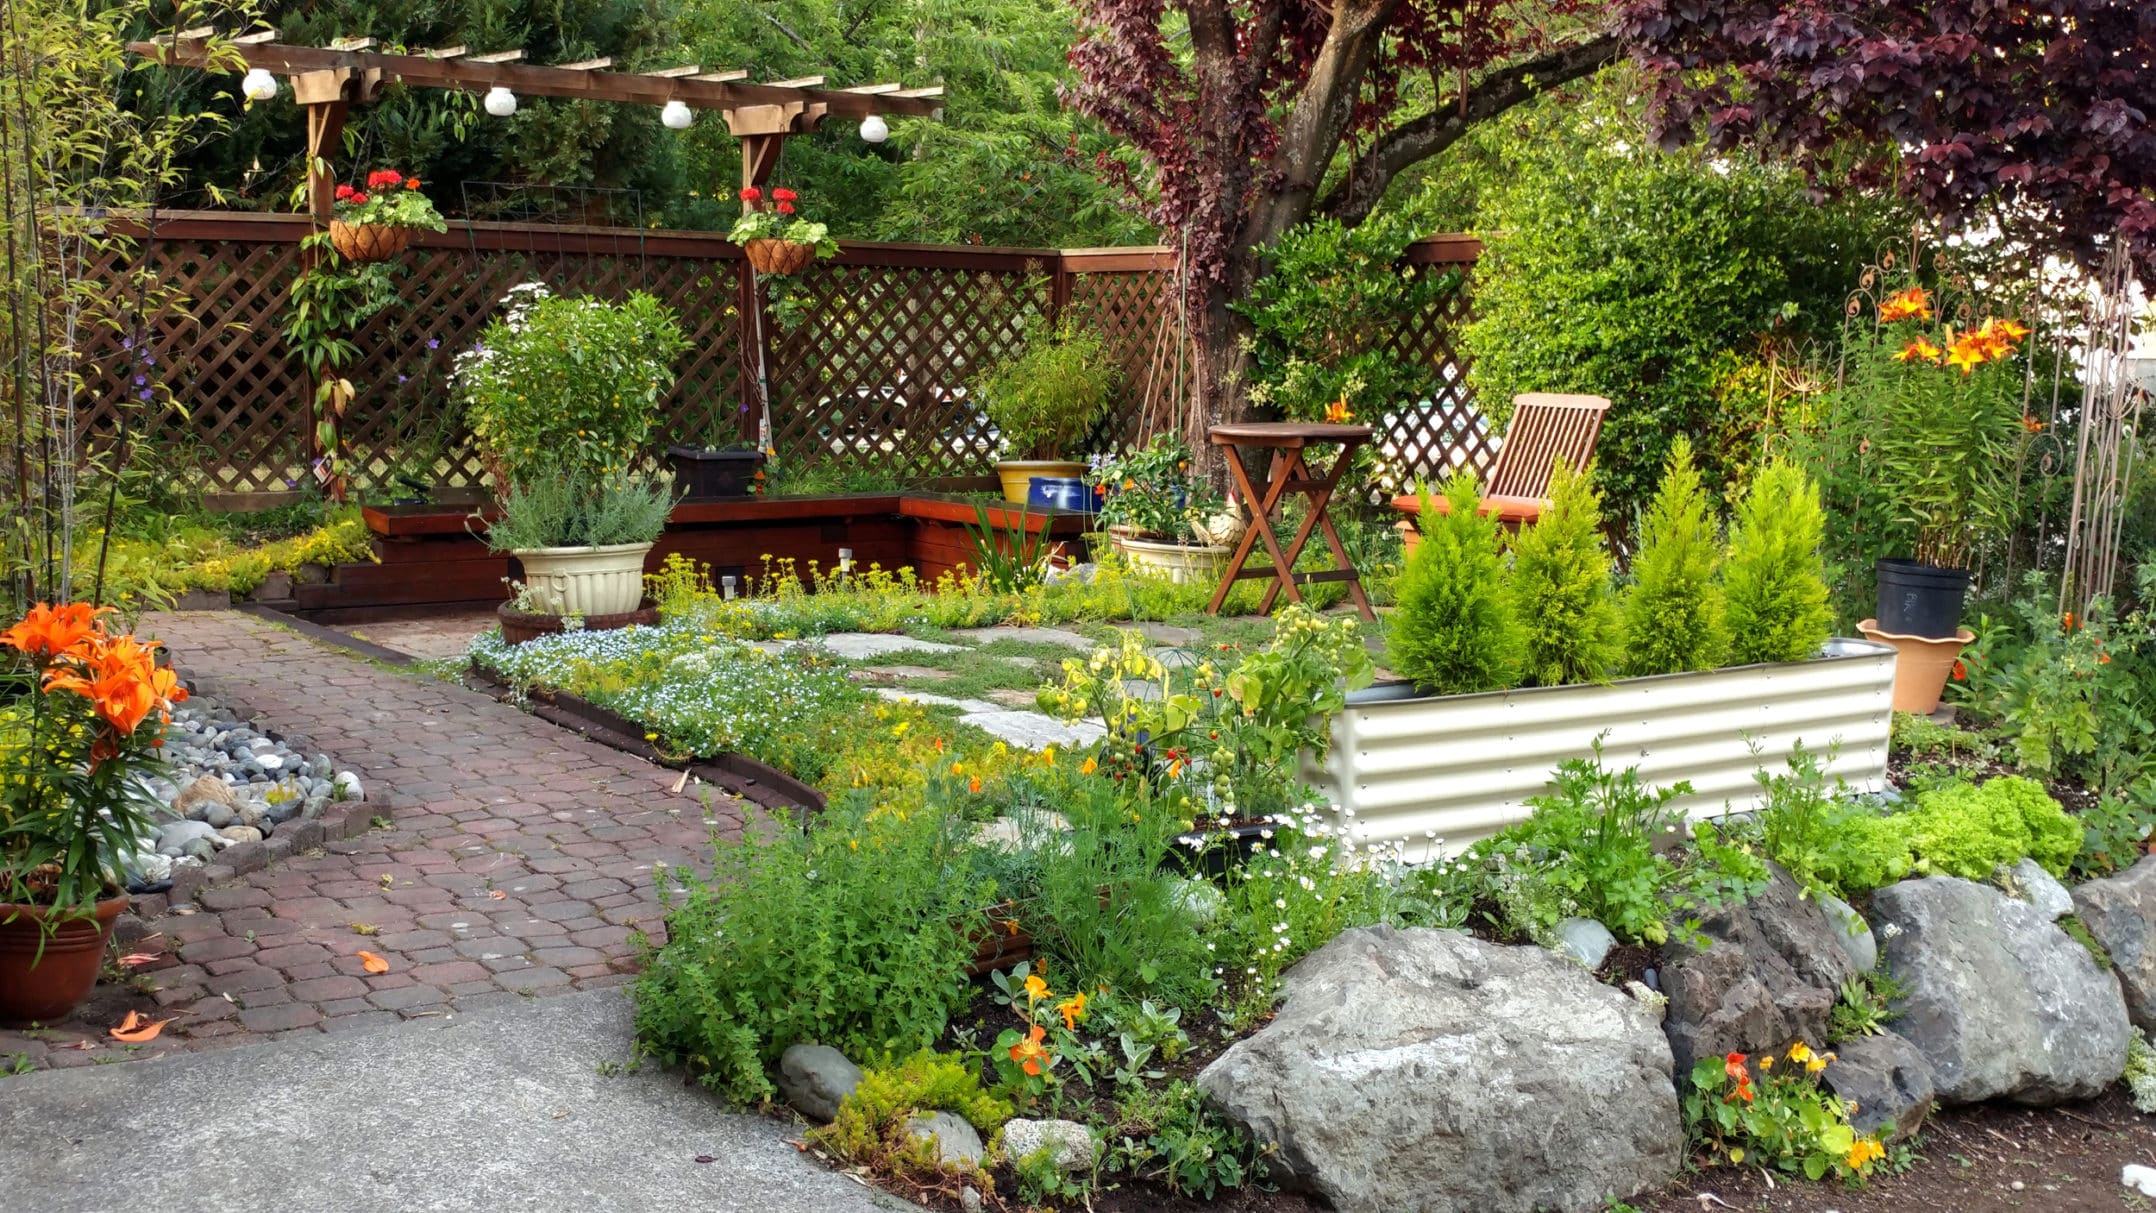
9. Planting plants adapted to the climate of your region
Of course, all plants can be planted on the roof. However, choose those adapted to your region’s climate, the slope of the roof, the thickness of the substrate, etc. You can choose between ground cover plants, flowering plants, grasses, green plants, etc.
10. Maintenance of the green roof
The establishment of a green roof does not stop at the planting of plants because it requires maintenance. To do this, make sure that the water drainage channels are always clear and fill the empty spaces left by dead plants with new ones. Also, check the roof for leaks and fertilize your soil regularly.
Sound off in the comments section below and tell us what you want to read next and if you want to read more about roof gardens.