4 Steps to Making a Garden Walkway
Contents
Step 1: Define your driveway project
Step 2: Define the layout of the driveway
Step 3: Decide on the material you want for your driveway
Step 4: Build your driveway
In a garden, paths are needed to get from one point to another. They can have a useful function or a recreational function. In both cases, it is essential to think carefully about their dimensions and layout before choosing a material suited to their use and the style of your garden: crushed stone, Japanese steps, gravel, concrete, paving stones, etc. You can then make the pathway yourself or have it laid by a professional.
Whatever your project, here are the keys to making a garden path.
1. Define your driveway project
Before you build a driveway, ask yourself the right questions.
Utility or pleasure driveway?
A utility path’s objective is to connect two points in your garden (e.g., a gate to the front door, house to garden shed, etc.) in the most convenient and, in theory, shortest feasible route. As such, choose the straight or least curved paths and paths that you use spontaneously.
The purpose of a driveway is to allow people to discover the garden while walking: plan a winding driveway if your garden lends itself to this and if you want to provide surprises, gradually reveal the various points of interest in the garden.
Driveway or footpath?
For a driveway, plan for a width of about 3 m and a path as straight as possible.
For a pedestrian path, plan for:
- at least 80 cm wide (60 cm for an aisle inside the vegetable garden or to walk behind a bed);
- 1.20 m if you want two people to walk abreast;
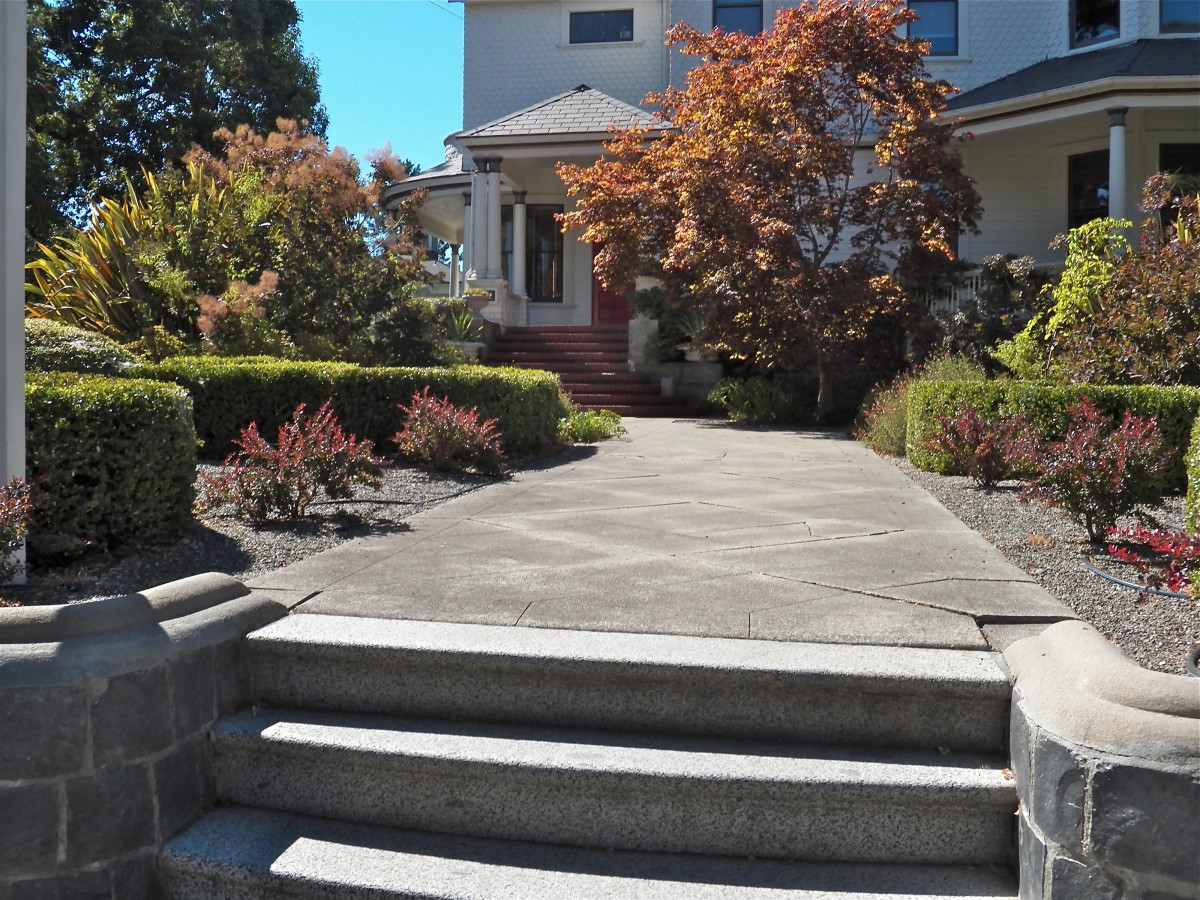
- 1.50 m for a walkway at the edge of a house.
2. Define the layout of the future driveway
Draw your driveway on a map
If your driveway is straight and “obvious” (e.g. from the gate to the front door), you can skip this step.
If the route is less obvious (e.g. a winding driveway serving several parts of the garden), make a plan of your garden and draw the desired path for your driveway.
Mark out the route of the future driveway
Straight path: To ensure that your path is perfectly straight, mark it with a chalk line.
Curved driveway: mark out each side of the driveway with a flexible hose and hold it in place with stakes at regular intervals.
In all cases:
Make sure the edges are strictly parallel: use a measuring tape to check the width of the driveway in several places.
Mark out the path on the ground using a funnel filled with plaster.
3. Decide on the material for the driveway
There are many possible materials for a garden path. Your choice depends on:
- the use of the driveway
- how it will be maintained afterwards;
- the look you want;
- the way you plan to install it: by yourself or by a professional;
- and your budget.
Consider the following materials, for example:
Wooden gratings: for footpaths, economical, easy to do yourself, attractive but requires maintenance.
Shavings: for footpaths (vegetable gardens, flower beds, garden beds, etc.): economical, easy to make yourself, aesthetic, allows you to change the layout of the paths easily but requires maintenance.
Gravel: suitable for all types of paths, economic, do-it-yourself, but requires some maintenance.
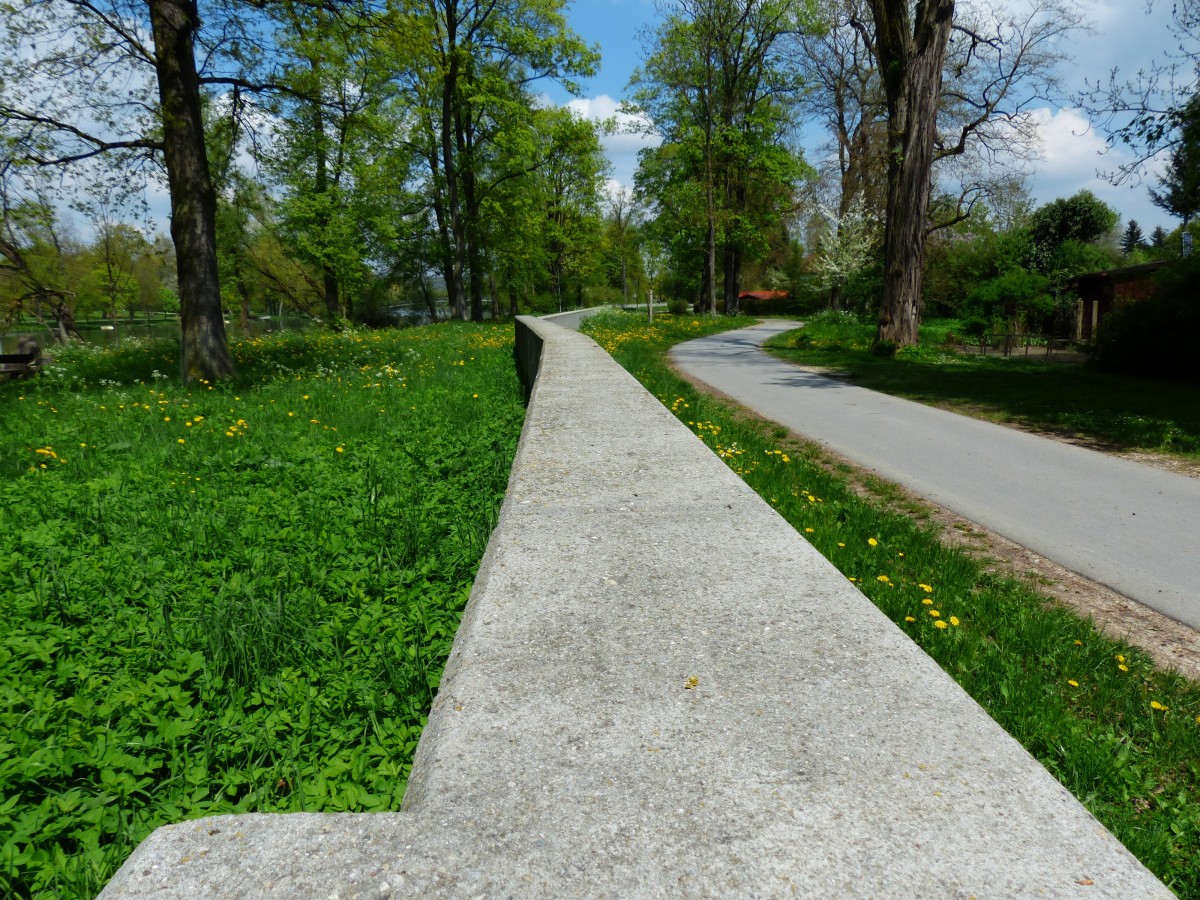
Concrete: suitable for all types of pathways, relatively cheap, low maintenance, can be done by yourself if you are familiar with this technique.
Paving stones: suitable for all types of driveway, mainly aesthetic, low maintenance, but expensive and difficult to do yourself (except for interlocking rocks).
Brick: for footpaths, aesthetically pleasing and customised (for example, bricks can be laid in a herringbone pattern, on edge, etc.), low maintenance, but relatively expensive as it is pretty tricky to do yourself.
Stone: for footpaths, beautiful, low maintenance, but expensive and difficult to do yourself (except for Japanese steps).
4. Make your driveway
If you are handy, you can make some types of driveway yourself, while others are best left to a professional.
You can consider making a crushed stone driveway, Japanese steps, a gravel driveway, or a driveway with interlocking paving stones.
Shredded driveway
Loosen the soil to a depth of about 10 cm.
Lay a geotextile felt.
Cover it with a thick layer of shredded material (to be renewed after about 3 years).
Japanese step
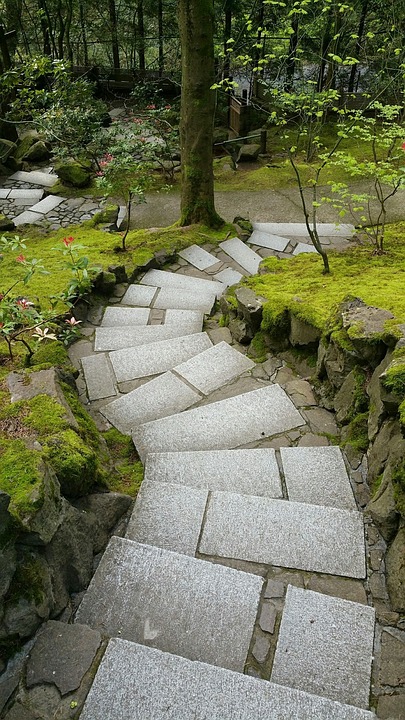
Trace the outline of each slab on the lawn with a spade and remove the grass at this point.
Slightly loosen each spot and pour in sand.
Put each tile in place and use a sledgehammer to wedge it in.
Gravel driveway
Loosen the ground by about 10 cm for a footpath and 25 cm for a driveway.
Spread an underlay of loose material and tamp it down firmly: a garden roller may be sufficient for a footpath, but a compacting roller is needed for a driveway.
Lay a geotextile felt.
Pour in the gravel evenly and finish by raking.
Driveway with Marlux paving stones
Once the driveway has been lowered, lay the sub-base, consisting of about 15 cm of crushed and compacted gravel to create a draining base.
Lay a geotextile felt if the soil is very clayey.
Then lay the paving stones on a stabilised foundation (washed sand and cement), sand, or gravel.
Cover and brush the paving stones with fine sand or stabilised sand.
Tamp firmly with a vibrating plate.
Leave the construction of your driveway to a professional
It is best to have your driveway built by a professional if you are planning a driveway:
- which will require deep excavation of the ground, perfect tamping with a suitable machine and the handling of a large volume of heavy materials;
- that requires careful laying: non-interlocking paving stones, brick, stone.
Equipment needed to lay a garden path
Chalk line
Funnel
Geotextile felt
Gravel
Filling plaster
Watering hose