If you’ve tried to grow much of anything in your garden, you’ve likely heard the advice to give your plants a well-drained spot. That’s because the soil has tiny pore spaces that hold oxygen that roots need to stay healthy. If your soil is not well-drained, those pore spaces fill up with water, leading to all kinds of plant growth challenges, including disease, fungus growth, and rot. But there is good news! Some plants thrive in constantly moist, even wet, soil. Disease and rot are rarely a problem for these water-loving plants. And there are a few landscape tactics you can use to improve poorly drained soil so you can grow a larger variety of trees, shrubs, and perennials.
How Wet Is Your Soil?
The first step in working with soggy soil is to get to know it better. Determine which areas of your yard get frustratingly wet and how long they stay that way. Consider the moisture level of the soil throughout the seasons, also how quickly water dissipates after a big rain, and how often the area has standing water.
Here’s a simple test that’s used in the landscape trade to gauge the drainage of a particular soil. Dig a hole 18 inches deep and about 12 inches wide in the wet area. Fill the hole with water. The water level should drop steadily and be completely drained within 24 hours. If there is still standing water after one day, repeat the test several weeks later to determine if you have a seasonal drainage issue (spring runoff, for example) or a year-round wet soil challenge.
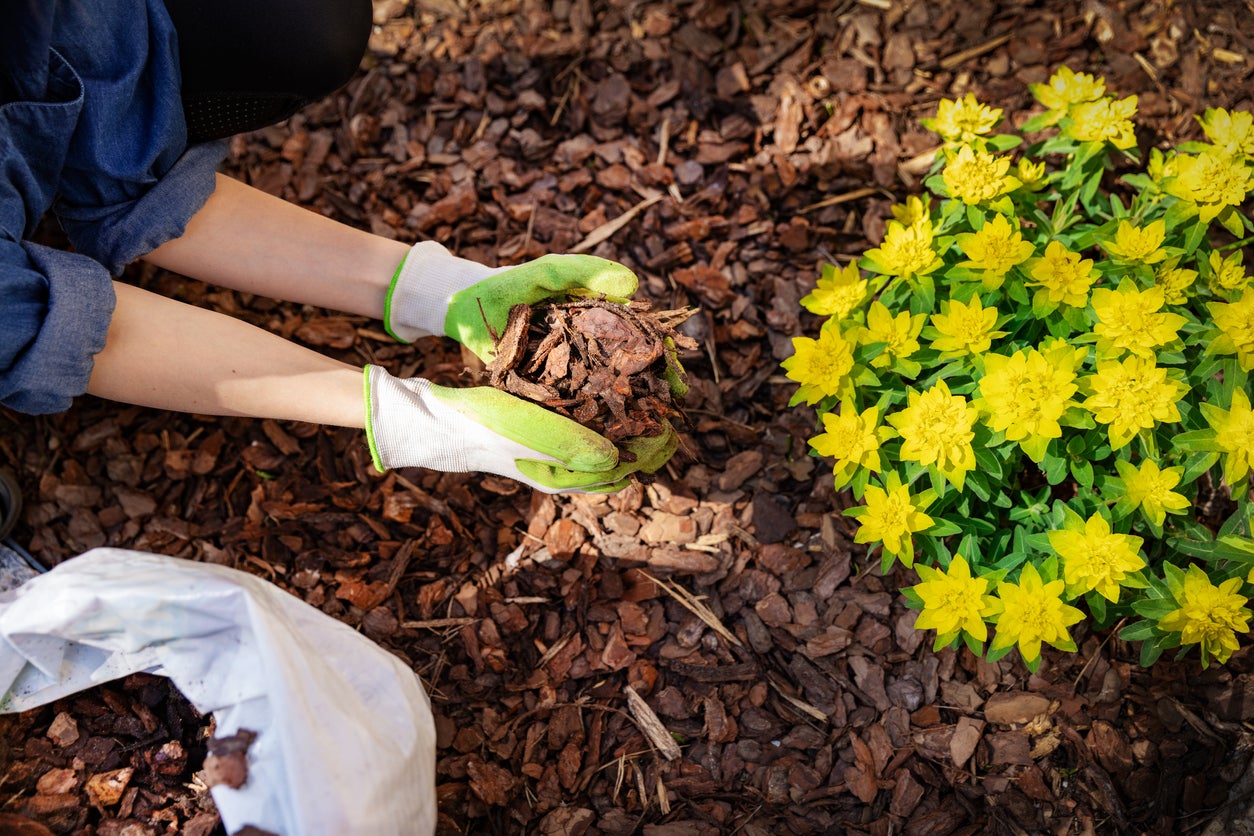
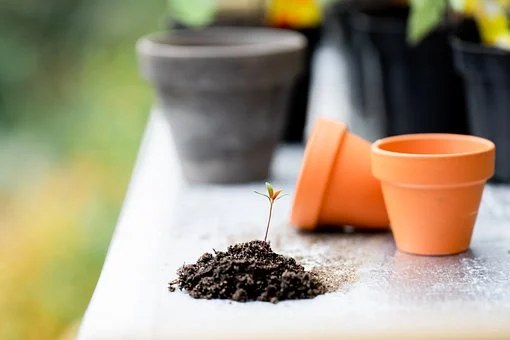
1. Mix in Compost
If your poor drainage area is a relatively small one and not too severe, you can lighten the soil by working in lots of organic matter. Compost is filled with pore spaces for oxygen. Mix it with slow-draining soil to help add valuable air pockets. This is a multi-year process. Incorporate 3-4 inches of compost yearly to improve drainage over time.
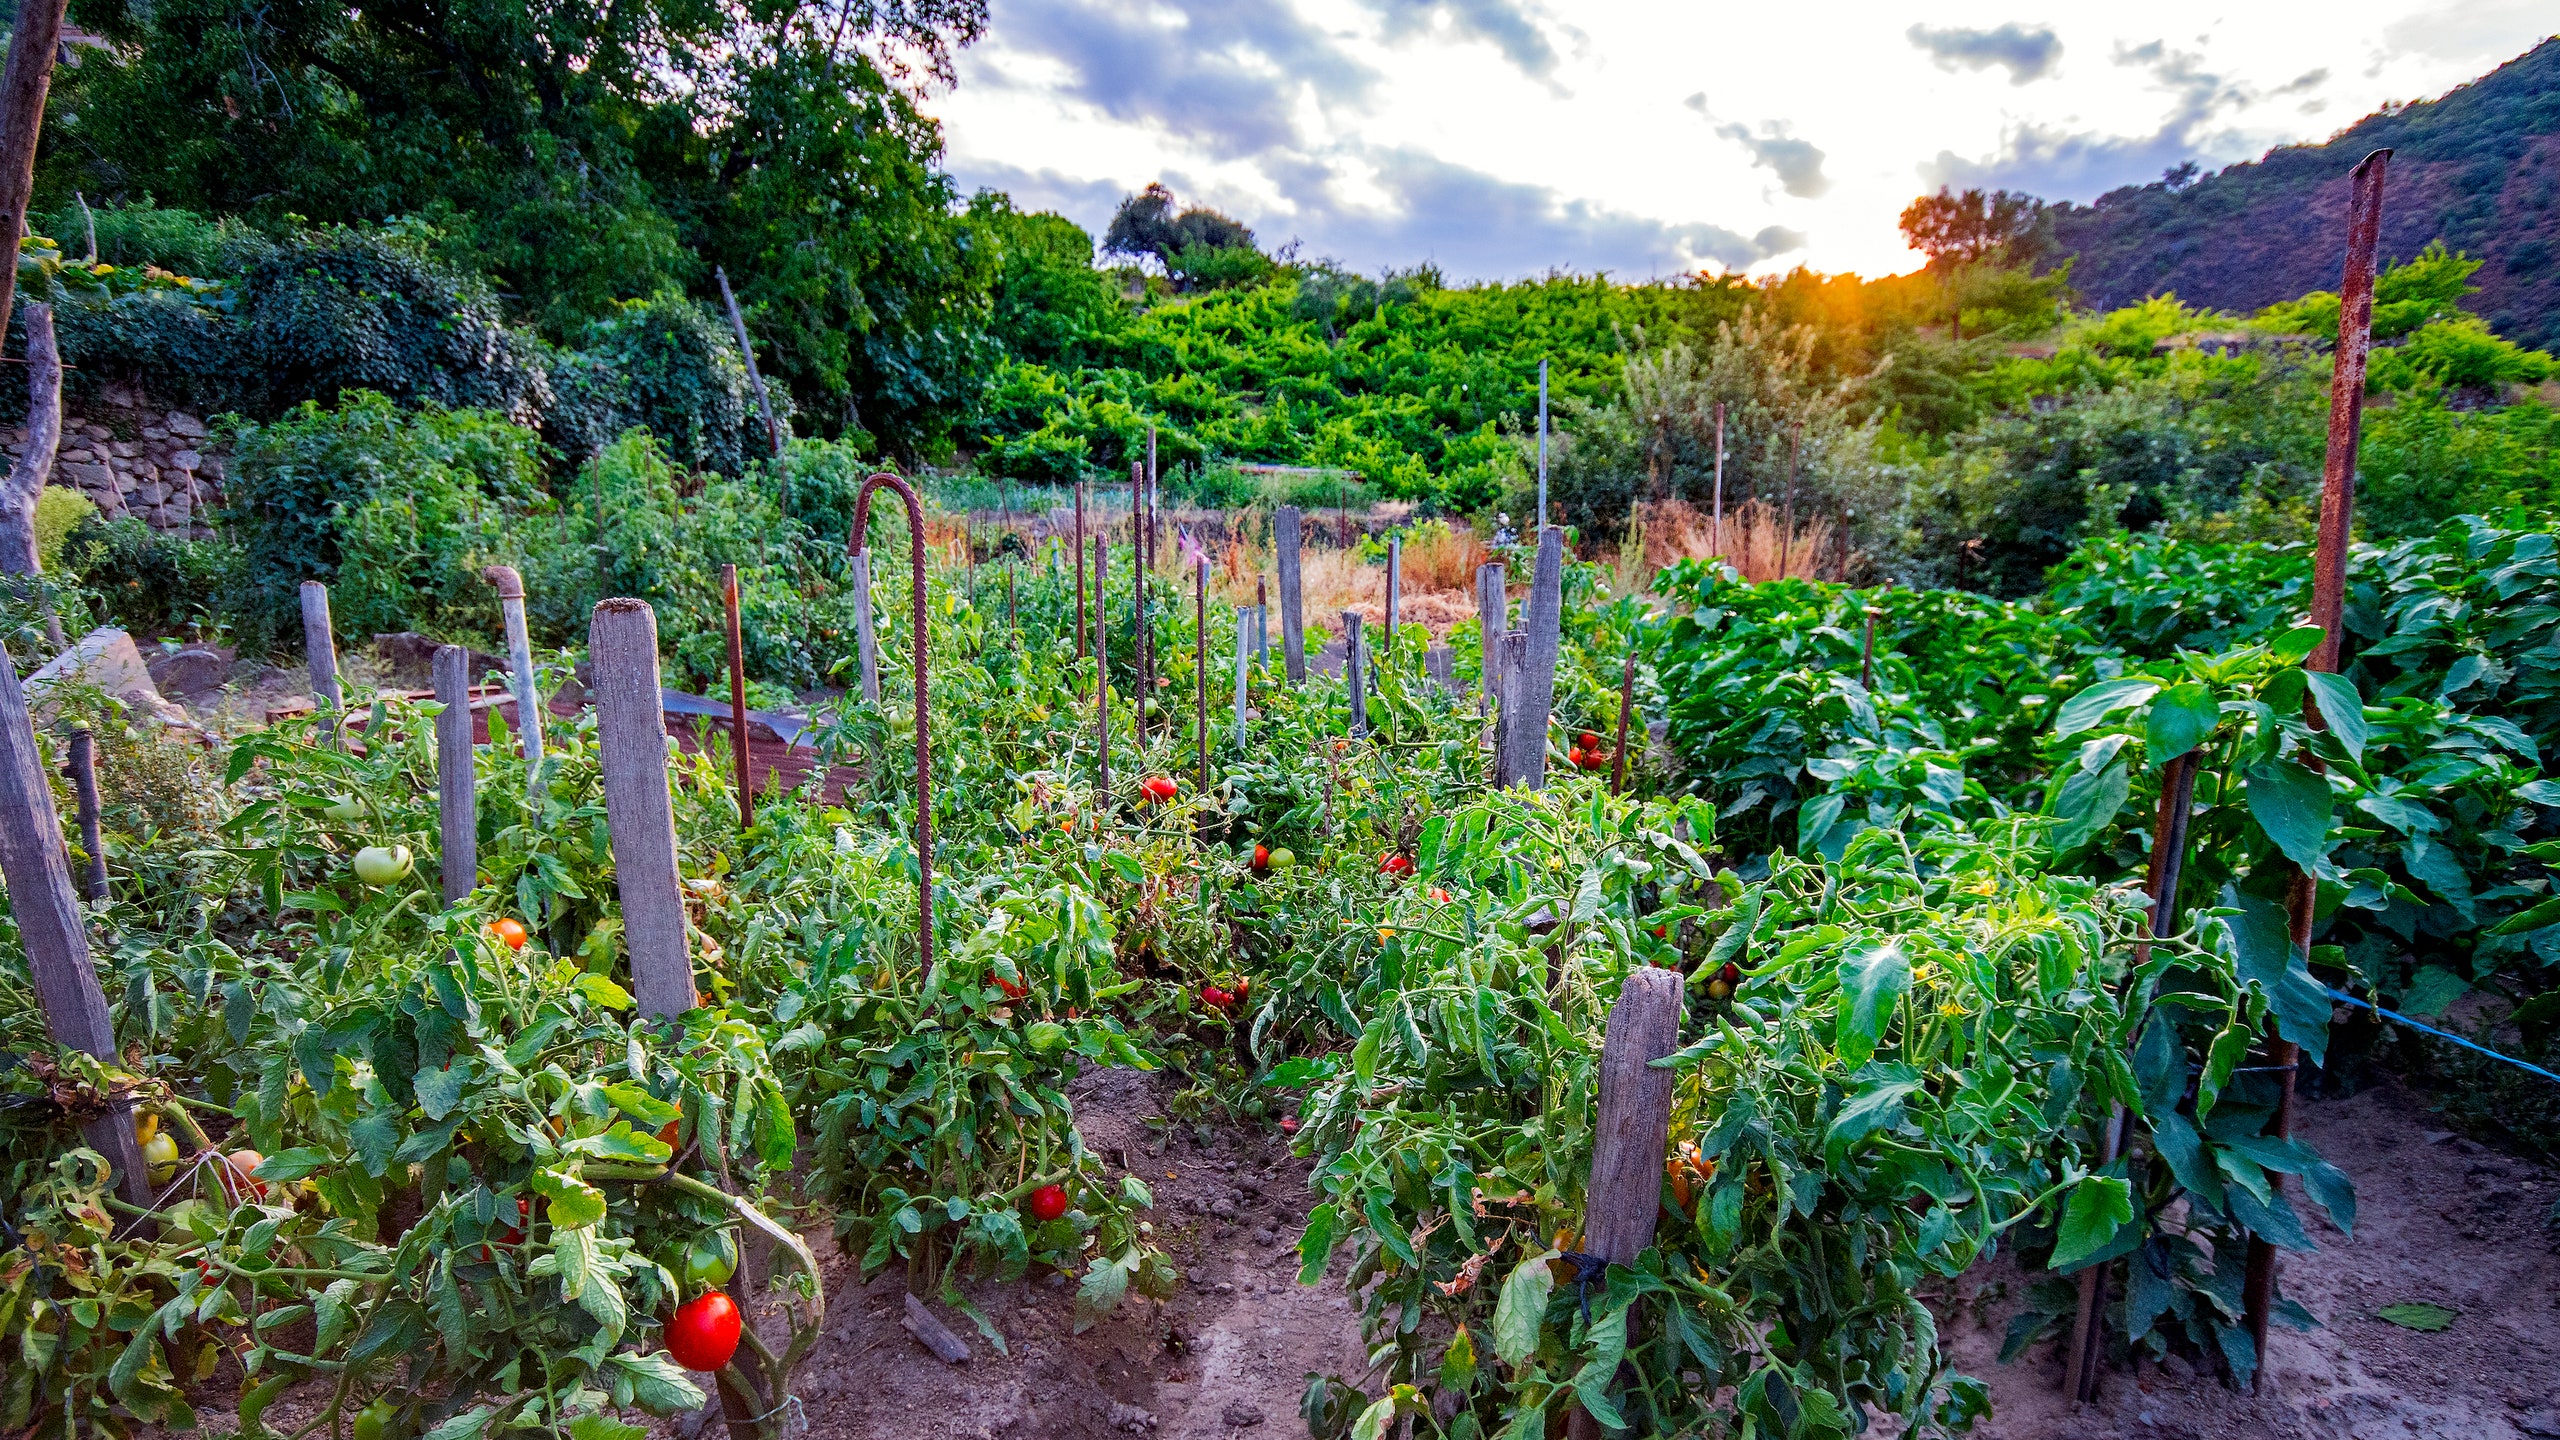
2. Grow Water-Loving Plants
If the soggy area is too large to alter by adding compost or isn’t going to change (a riverbank, for example), you have several alternatives. The simplest approach is to choose water-loving plants, such as marsh marigolds, cardinal flowers, and turtlehead, and, if necessary, to construct raised paths or boardwalks through the garden so that you can enjoy the garden from a drier viewpoint.
3. Build a Rain Garden
A rain garden is a terrific solution for areas that are prone to periodic sogginess. These hardworking landscape features collect and filter runoff water, allowing it to slowly percolate into the landscape. Rain gardens are filled with plants that appreciate wet soil but will also tolerate short dry periods.
4. Create a Bog Garden or Pond
Another, more elaborate solution to a poorly drained spot is to create a pond, bog, or water garden. This will probably require some professional help: The land will have to be carefully sculpted in order to hold enough water in the area. The added bonus of having a small pond on your property is that wildlife naturally gravitates toward wet areas for drinking and bathing. Numerous birds, such as grackles, mockingbirds, catbirds, cardinals, and nuthatches, are sure to seek out your wet garden.
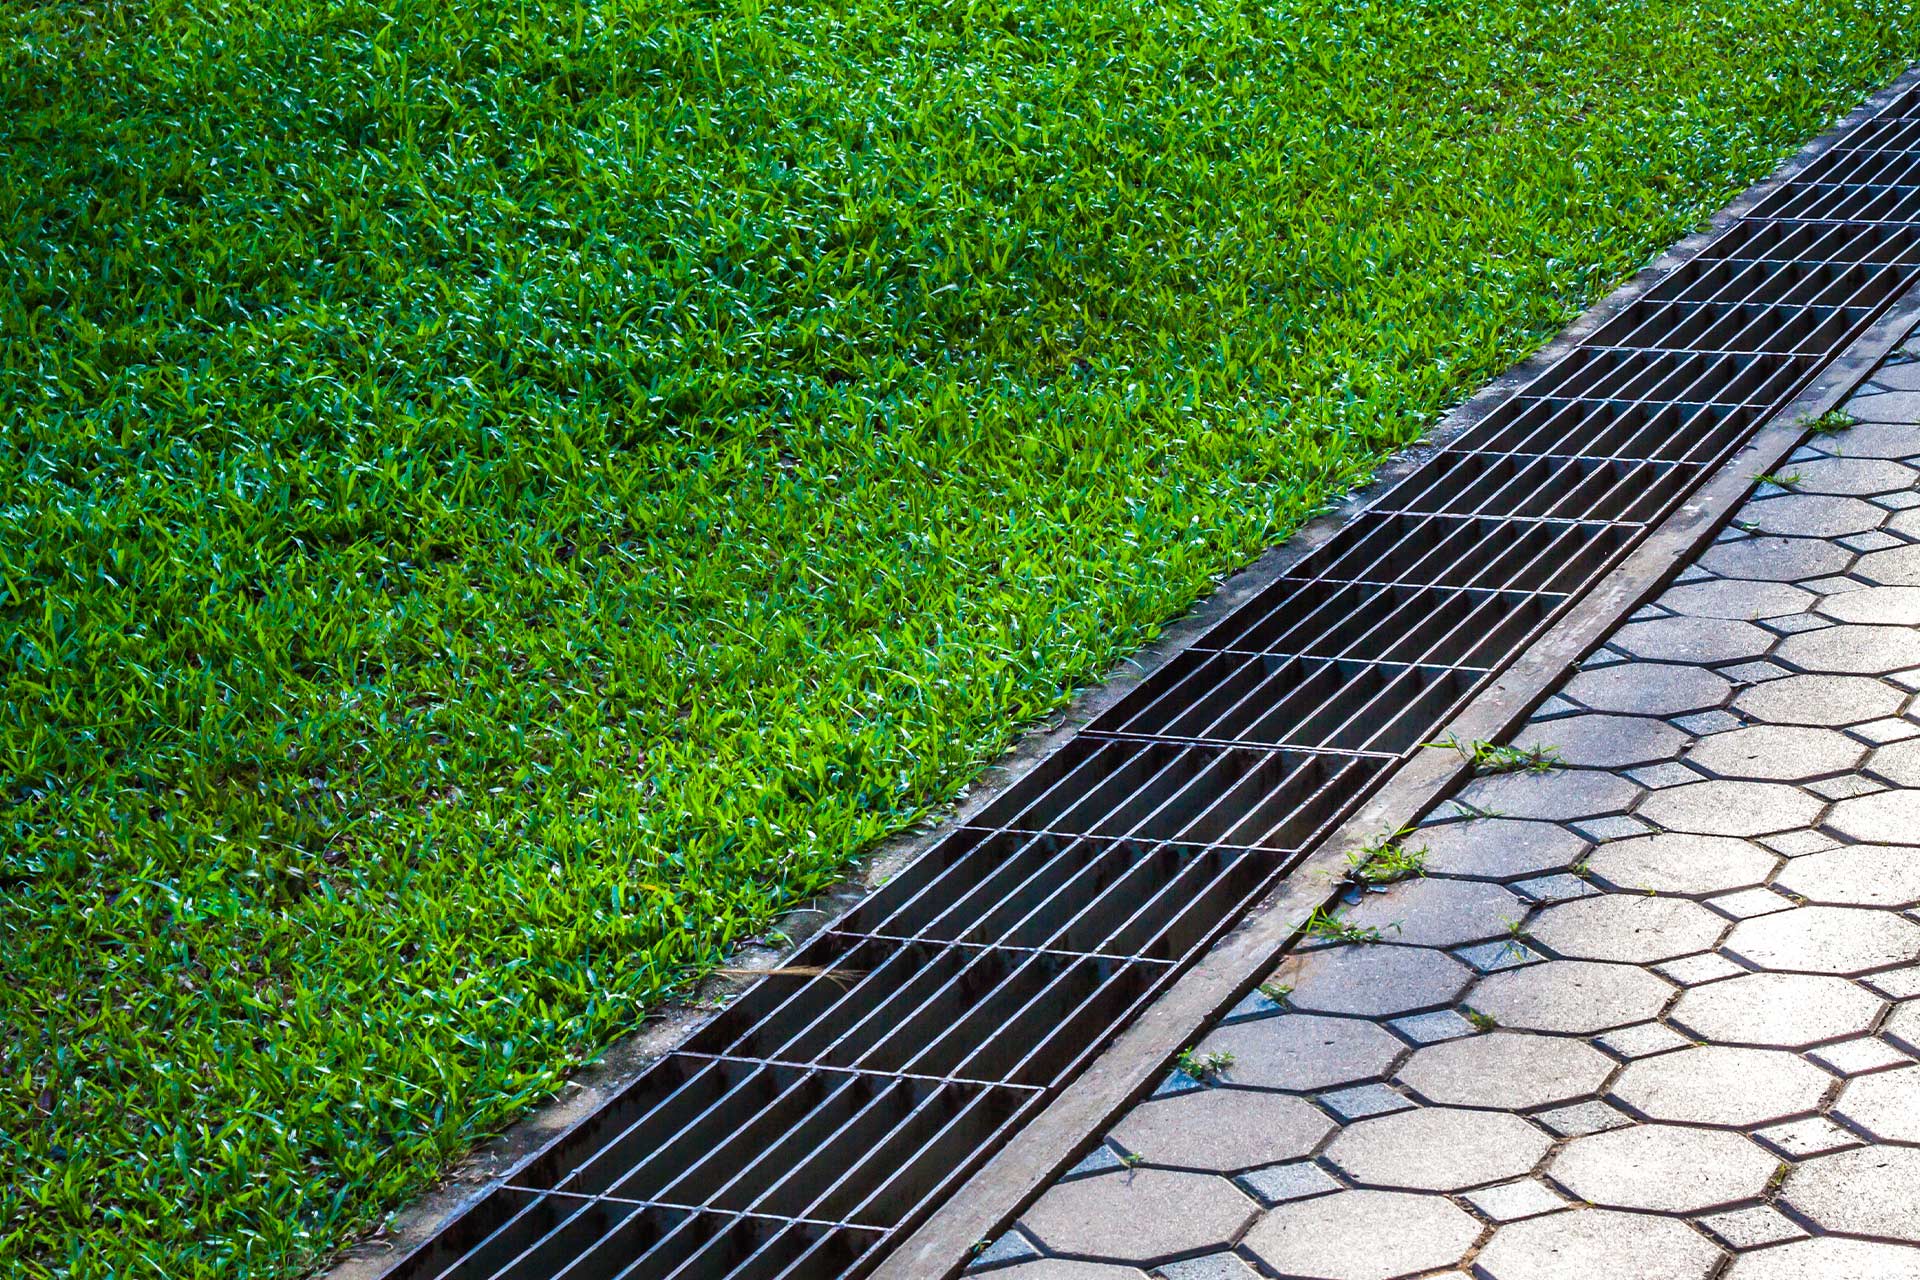
5. Install Drain Tile
A more labor-intensive solution to altering a site with poor drainage is to excavate the soil and install underground drainage tile. Attention to detail is key to success when installing drain tile. Carefully analyze the slope, tile depth, and where the water will outlet. A rain garden or bog garden might be necessary near the drain tile outlet. It’s often best to involve a landscape professional for this project, but if you would like to tackle it yourself, here are the tools, materials, and instructions to use.
What You Need:
-
Shovel
-
Gravel
-
Rake
-
Corrugated drainage tile
-
Topsoil
-
Stones or groundcover
Step 1: Dig a Trench
Dig a trench from the wet area to the desired drainage area. An 18-inch-deep trench will usually work for most landscape drainage situations. The trench should have enough of a slope to move the water to the drainage area. Make the trench an inch or two wider than the pipe you plan to install.
Step 2: Spread Gravel
Spread a few inches of gravel in the bottom of the trench and rake smooth. Lay drain tile on top of the gravel.
Step 3: Cover and Protect Pipe
Cover the entire drainage pipe with a few inches of gravel to prevent soil particles from plugging the openings in the tile. Then, fill the trench to the surface level with topsoil.
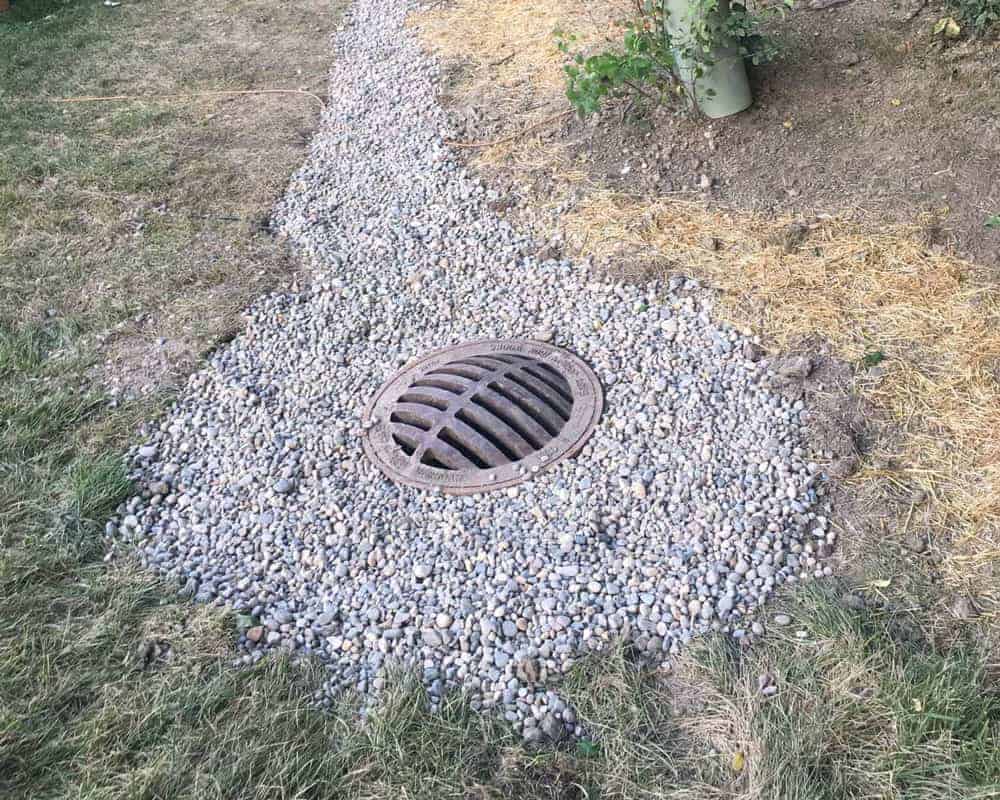
Step 4: Camouflage Outlet
At the pipe’s outlet, cover the drainage field with stones or with moisture-loving ground cover without blocking the pipe. If you’re worried about critters getting into the pipe, place wire mesh over the opening. If you do cover the end, make sure to clean debris off the mesh to avoid blockages.