How to Plant a Lawn Border: A Guide to Perfect Edging
Hey there, fellow garden enthusiast! Ready to take your garden’s charm to the next level while adding a practical touch? Planting a lawn border is your answer. Not only does it bring that final flourish to your garden décor, but it also creates distinct zones within your outdoor space. In this guide, I’ll walk you through the steps to plant a lawn border that’s both visually appealing and functionally sound.
Taking a Closer Look at Edging
Before we dive into the “how-to,” let’s understand why lawn edging matters. Here’s why it’s essential:
- Separating Garden Areas: Edging distinguishes your lawn from other garden zones like vegetable gardens or flower beds. This separation helps retain soil quality, prevents the mixing of differently fertilized soils, and controls water runoff.
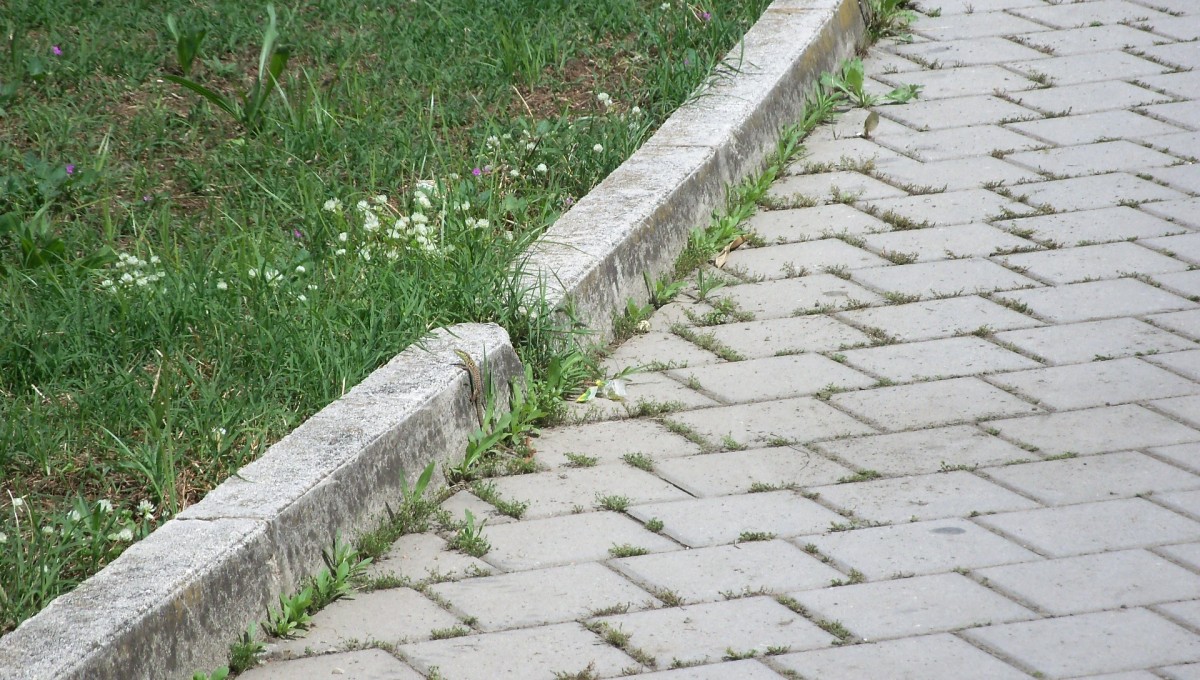
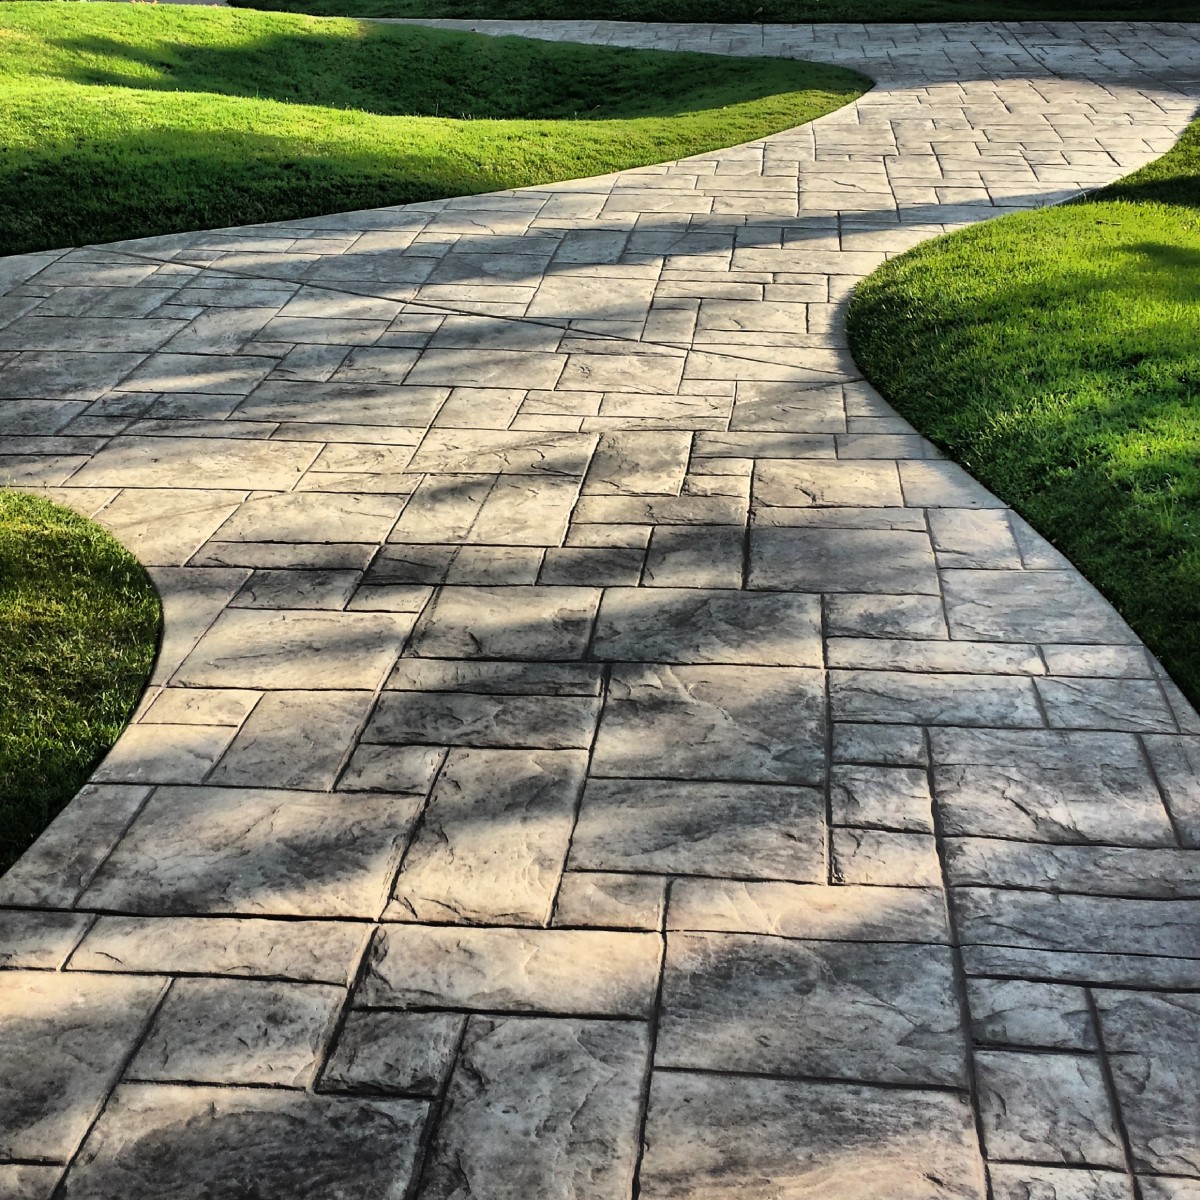
- Protecting Walkway Areas: If your garden includes pathways made of gravel, paving stones, or self-locking slabs, edging is your pathway’s best friend. It not only safeguards the walkway but also helps maintain its structure over time.
- Simplifying Maintenance: Different parts of your garden may require specific maintenance. Edging makes it easier to manage and care for each area effectively.
Now, let’s roll up our sleeves and get to work!
Step 1: Choose Your Edging Material
The first step in planting a lawn border is selecting the right edging material. Here are some common options:
Wooden Edging: This is the most common type, made from logs, railroad sleepers, or planks. You can either sink it into the ground or install it with peaks.
Cement Edging: If durability is a top priority, go for cement edging. It’s long-lasting and is typically cemented into the ground, which is the recommended installation method.
Metal Edging: Metal edging, especially in galvanized steel, offers durability and a refined look. It can be planted in the ground if equipped with spikes or buried otherwise.
PVC Kerbs: For a modern and decorative touch, consider PVC kerbs. They come in various styles but are primarily decorative. They can be planted in the ground if equipped with spikes or buried.
Stone Edging: Stone kerbs have a rustic charm and are often assembled using salvaged stones. Flat stones are easier to stack, and if the wall is intended to retain soil, it’s advisable to lay a foundation and join the stones with cement.
Other Creative Borders: Let your imagination run wild! You can stack slates, plant birch trunks, or weave wicker for unique and artistic borders. Just remember that these materials will be exposed to the elements and in contact with the ground.
Step 2: Planting Your Lawn Border
Case 1: Laying Your Border in the Ground
- Start by delineating the course of the edging along your lawn. You can use a chalk line for straight sections or a garden hose for curved sections.
- Plant the border in the ground. To secure it in place, use a sledgehammer to press it firmly into the soil.
Case 2: Cementing Your Kerbstone
- Similar to Case 1, begin by delineating the course of the edging using a chalk line for straight sections or a garden hose for curved ones.
- Now, it’s time to dig a trench with a spade. Make it three times as wide as the kerb’s thickness and deep enough for the kerb to be set in two-thirds of the way.
- Plant the kerb vertically in the trench and check its plumbness with a spirit level.
- Shoulder the kerb on both sides. If the kerb is meant to retain soil, use lightweight concrete covered with soil (utilize quick-setting mortar). For other cases, compact the original soil with your feet.
Congratulations! You’ve successfully planted a lawn border that not only enhances your garden’s beauty but also serves practical purposes. Your garden is now more organized, easier to maintain, and ready to impress. Enjoy the results of your hard work and watch your outdoor space flourish. Happy gardening, eh!

