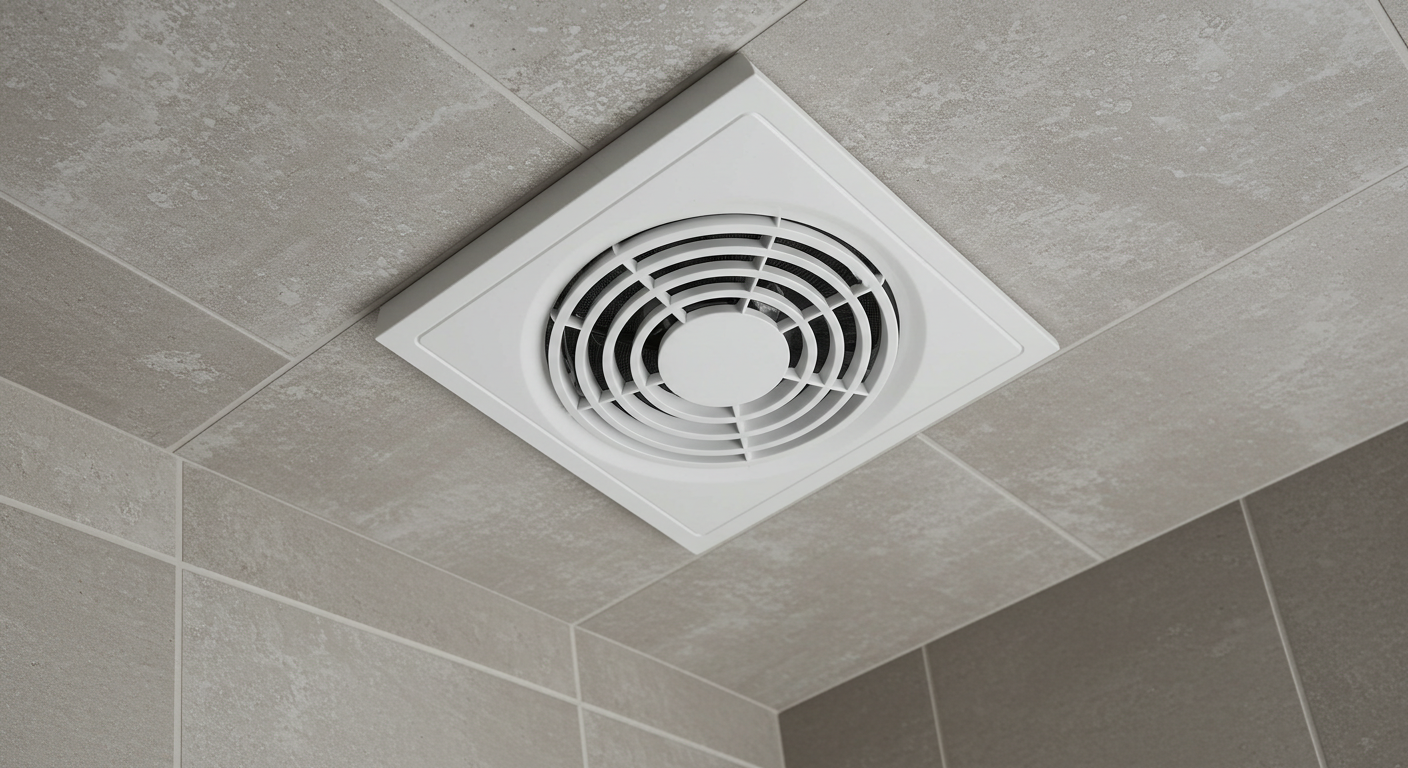
Keeping your bathroom fan in pristine condition is a crucial yet often neglected aspect of home maintenance. A clean fan not only improves the air quality in your bathroom but also enhances the efficiency and lifespan of the unit. This article provides a thorough guide to cleaning your bathroom fan.
Essential Tools and Supplies for Effective Cleaning
Before diving into the cleaning process of your bathroom vent, it’s imperative to gather the necessary tools and materials. Ensuring you have everything ready will streamline the task and make your life easier.
- Screwdriver Set: Essential for removing the fan cover and, if required, securing the fan back in place.
- Microfiber Cloths: These are ideal for trapping dust without damaging any surfaces.
- Vacuum Cleaner: With a brush attachment, a vacuum will help eliminate dust and debris from inside the fan and the exhaust ducts.
- Gentle Cleaner: Non-abrasive cleaning solutions are recommended for removing stubborn grime.
- Compressed Air Canister: Useful for blowing out dust from hard-to-reach areas.
- Safety Gear: Gloves and a dust mask are not only helpful but provide safety while performing the cleaning.
In addition to the tools, it can be beneficial to have a sturdy step stool or ladder for safe access to the fan, especially if it’s positioned high up. Preparation will make the overall process smoother and more effective.
Step-by-Step Guide to Safely Clean Your Bathroom Fan
Cleaning your bathroom fan can be accomplished in a few simple steps. Let’s break down the process to ensure safety and efficacy.
Step 1: Turn Off the Power
Safety first! Always turn off the power at the circuit breaker to avoid accidents. Confirm there’s no electricity flowing to the fan before you start any work.
Step 2: Remove the Fan Cover
Most fan covers can be removed easily—either by twisting or gently pulling them down. If your fan has clips, those may need to be squeezed to release the cover. Once removed, set it aside for cleaning.
Step 3: Dust and Vacuum
Using a vacuum cleaner with a brush attachment, thoroughly dust the fan blades and the surrounding area. Remove any loose dust that has gathered over time to ensure nothing obstructs airflow.
Step 4: Clean the Cover
While the dust is being addressed, take your microfiber cloth, dampen it with a gentle cleaner, and scrub the fan cover, ensuring to remove any built-up grime or residue. Rinse it thoroughly and allow it to dry.
Step 5: Clean the Fan Blades and Motor
Once the cover is clean, focus on the blades. Wipe them down with a damp cloth and ensure that no moisture drips into the motor. If you are uncertain about the moisture, cover the motor lightly with a plastic bag to protect it.
Step 6: Reassemble the Fan
Reattach the fan cover carefully while ensuring that everything is aligned. Before securing it back, conduct a last check—spin the blades gently to ensure they are not hitting anything.
Step 7: Restore Power and Test
Once everything is back in place, turn the power back on and test the fan to ensure it runs smoothly without unusual sounds.
Tips for Maintenance to Ensure Longevity and Performance
To keep your bathroom fan performing at its best, establishing a cleaning schedule and regular maintenance practices is essential.
- Aim to clean your fan every six months to a year. If you have a high-traffic bathroom or your fan seems to collect dust quickly, consider a more frequent cleaning schedule.
- If you notice the fan making strange noises or not working as effectively, it may be time for a more thorough inspection.
- Examine the ductwork periodically for any potential blockages that might impede airflow.
- Periodically check for signs of wear or damage to the electrical connections to ensure safe operation.
- Regularly dust the area surrounding the fan to minimize dirt accumulation.
The Way Forward with Your Bathroom Fan
Cleaning and maintaining your bathroom fan doesn’t have to be an arduous task. With the steps outlined in this guide, you can enhance your home’s air quality, energy efficiency, and safety. Engaging in this simple yet effective maintenance routine will help you promote a healthy living environment year-round. Don’t hesitate to call an expert for more advices.


