From the COVID-19 pandemic to the war in Ukraine, it’s kind of predictable that inflation would be driving all the prices up (and to top it off, I’m an Economics student) but honestly, I’d never imagine that the prices would be rocketing up to the sky, including the prices for gardening equipment. So, that is when I came across the idea of making my own gardening equipment. And, today we’ll be focusing on making a cheap garden hose.
I know what you are thinking about: “We don’t make a cheap garden hose, but we buy a cheap garden hose!” Well, I’m a little crazy, so instead of buying, I wanted to make my own hose and if you are as crazy as me, how about you give it a try?
Instructions on How to Make Your Own Garden Hose:
Step 1:
 You can start by purchasing a hose tubing that is long enough to be cut up to your desired length. Choose an inside diameter for the hose that will meet your gardening needs. And, if you are unsure about making the right choice for the measurements, let me give you some help:
- If it’s for light or recreational gardening, I suggest choosing a hose with a 1/2-inch diameter, but if you have a very big and spacious garden, it would be wise to select a 5/8-inch diameter hose.
- Professional gardeners often favor the use of a hose with a high-pressure use and in that case, it is advised to select one with a 3/4-diameter.
Step 2:
Now, it’s time to take the measurements of the length of the hose you need. Then, proceed by cutting the hose with a utility knife. Remember to keep the cut straight around its circumference, as this will prevent any leakage when you have to connect the hose couplings to the end.
Step 3:
Generally, the ends of a hose are hard, so to soften the openings, wash them up with some soapy water. Once it’s done, it’ll be easier for you to set up the hose couplings. Using the soap, lubricate the inset coupling as well.
Step 4:
Now, place the coupling insets right into the ends of the hose. The female coupling should be pushed on one end and the male one to the other end. The coupling should be installed in such a way that the hose ends up engulfing the inset.
Step 5:
 Once the opening of the hose is set against the coupling base, put the coupling over a steady and strong surface. Hammer the clincher finger around the base of the coupling over the hose. Repeat until they get a firm hold on the hose between their clincher fingers and the inset within the hose body. The connection will be attached to the hose’s ends as a result of this. To test the fit, pull both couplings on either end of the hose. Check to see whether they have disengaged from the hose end. If there is any slippage, press the coupler back fully onto the hose end. Also, tighten the clincher fingers around the hose body.
Step 6:
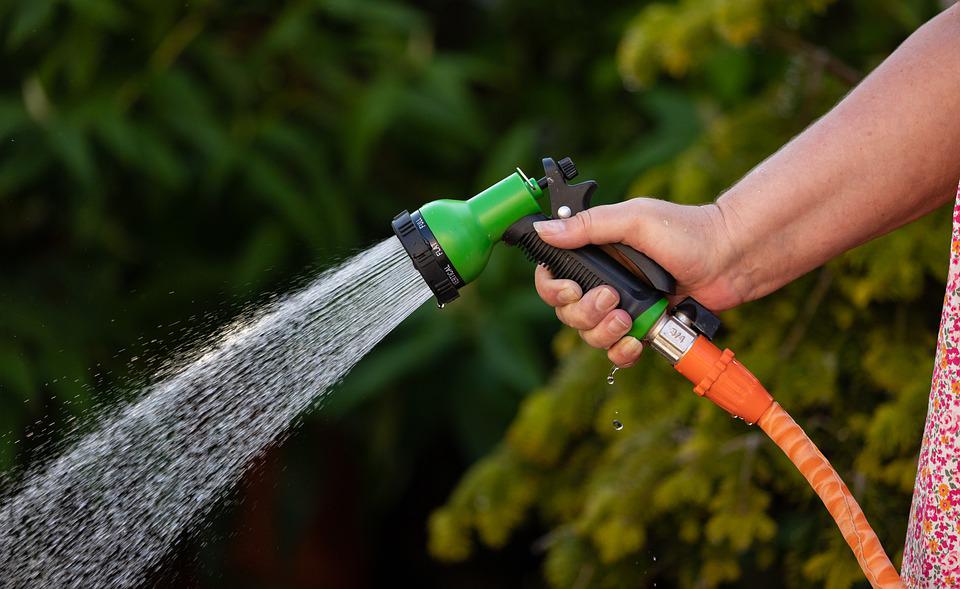
You can now use the coupling on the end of the hose and finally connect your newly-built hose to any water source found in your garden. But, before using it, you’ll have to carry out a small test. Once you’ve connected the hose and turned on the water source, check and see if there is any leakage from the installed couplings. If there is indeed a leak, please make sure the couplings are entirely at the end of the hose. If not, squeeze the couplings on tighter before tightening the clincher fingers.