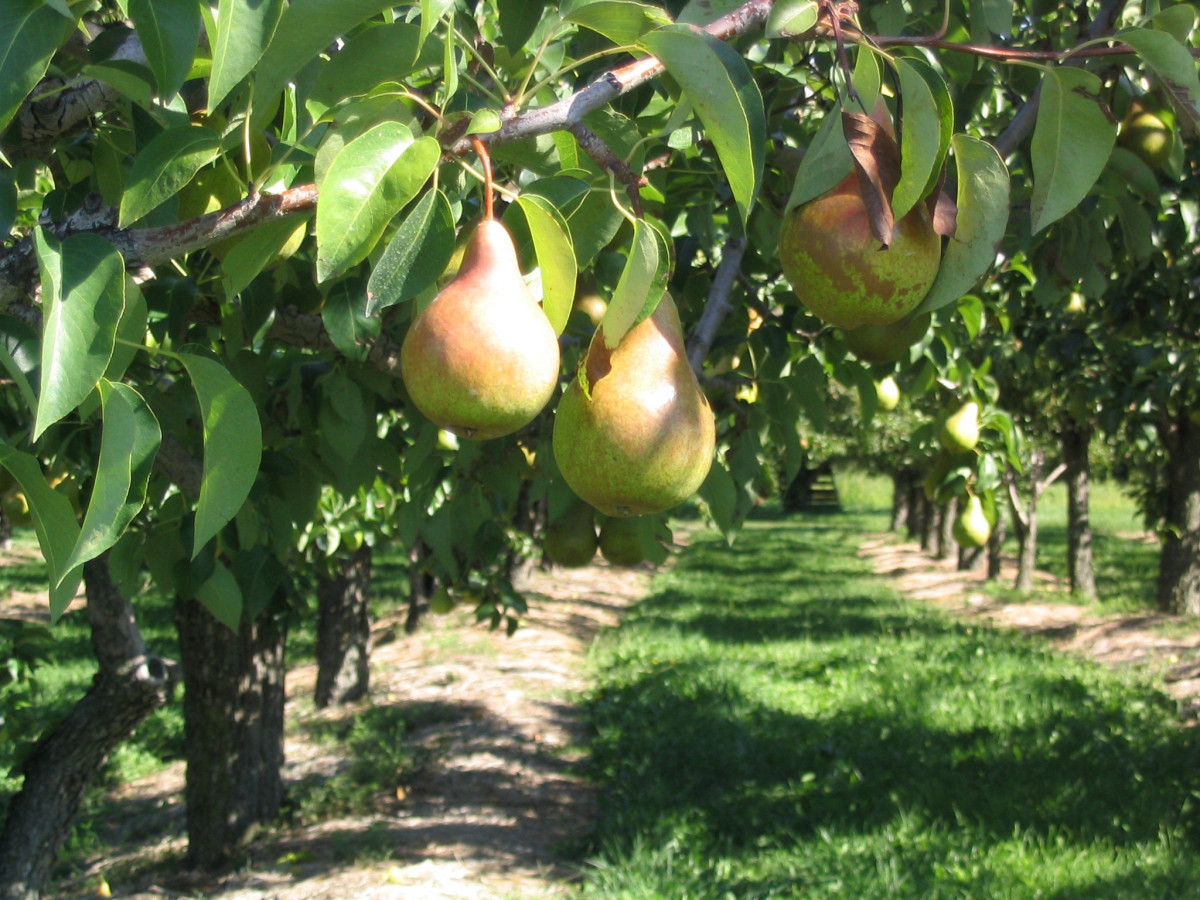
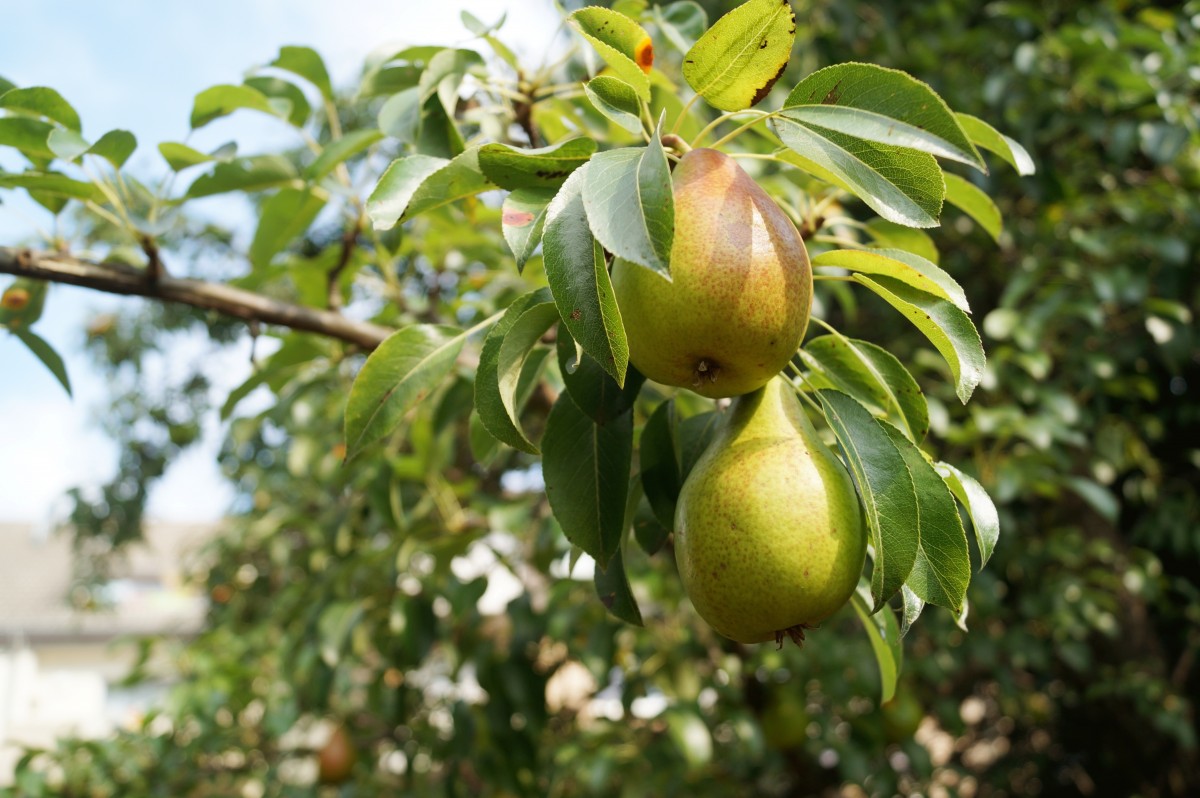
How to Prune a Pear Tree
The pear tree is a seeded fruit tree that can be pruned in the same way as the apple tree. The pruning operations concern 3 phases of the pear tree’s life: training pruning, fruiting pruning and rejuvenation pruning.
This post explains how to prune a pear tree once the form pruning is done.
Focus on the pruning of a pear tree
The pruning operations concern 3 phases in the life of a pear tree.
The formation pruning
The formation pruning gives the general shape of the tree.
Goblet: the trunk is bent back short enough to support 3 to 5 large branches forming a cup.
Spindle: the spindle often requires very little pruning because it follows the natural shape of the variety.
In high or half-stem, which are free forms of full wind: the forms of full wind are not pruned, only removed the branches which cross, sick or prevent the light from penetrating the fruits.
Trellised against a wall or along wires: need for a rootstock of low vigor.
Pruning for fruiting
The fruiting pruning of the apple tree includes the general maintenance of the tree as well as specific actions linked to the choice of a short or long management of its branches.
Three types of fruiting pruning can be applied to the pear tree depending on its shape:
trigemme pruning practiced in particular on the trellised forms and the goblets of varieties with a rather rigid bearing;
green pruning practiced in summer to complete the winter pruning;
the long pruning of the fruit-bearing branches practiced on the goblets of the varieties with a flexible bearing and the free axes.
Rejuvenation pruning
Rejuvenation pruning is applied to old trees that are struggling to bear fruit or only produce small fruit.
1. Prepare your pear tree for fruiting pruning
Use sharp secateurs, disinfected between each tree change, and make angled cuts. To do this:
Remove dead or damaged wood.
Remove branches that face the center of the tree or that cross each other. Keep the more vigorous of the two or the less damaged.
If several branches start from the same area, keep only the most inclined.
Remove the gourmands, those vigorous and vertical shoots that compete with the carpenters.
On goblet, double U and palmette, equalize the length of the main branches (the biggest ones) so that they keep the same vigour. On the cords, leave 20-25 cm of growth. When you reach the maximum desired height or length (usually 2.50 m), prune lower, leaving an extension of each carpenter and then act as before on this extension.
Note: to encourage straight growth of the carpenter, prune above an outward-pointing wood bud. This will provide a better sap supply to the side branches. For trellised forms, cut above a bud pointing in the opposite direction of the shoot (if the shoot is going to the right, cut above an eye going to the left…).
Remove any mummified fruit that has been affected by moniliosis.
2. Carry out a trigemme pruning on your pear tree, either trellised or in a goblet.
The trigemme pruning is a short pruning to be done every year in December-January, before the pruning of apple trees which blossom later.
This pruning is not systematic. It is, therefore necessary to observe the type of buds of your pear tree to keep enough buds.
To perform a trigemme pruning, cut at an angle after the first 3 buds of each woody branch to transform them into a spur.
Definition: the spur is the branching of a branch carrying fruiting and vegetative organs and producing during several years.
The evolution of these 3 buds often differs according to their location in the tree. The goal is to bring these wood eyes to transform into stings and then into flower buds.
Definition: the stinger is a 1-5 cm long branch ending in a triangular bud that produces a rosette of 4-6 leaves in spring. This organ is interesting because according to the influx of sap it receives, it can be transformed in the following 1 or 2 years into a flowering bud (little sap), a small leafy shoot (abundant sap) or even reform a dart.
Mechanism of the trigemma pruning
Follow this example to understand the mechanism of trigemme pruning:
In the spring following the trigemme pruning, the bud located just under the cut produces a new woody shoot while the 2 others (sometimes only 1) form a rosette of leaves and grow.
The following winter, the 2 rosettes give way to 2 triangular buds wrinkled at their base, the stings. Prune above the first bud of the woody branch, leaving 2 stings and 1 eye on the whole spur. Be careful; if only 1 stinger has formed and is in the terminal position, prune the woody branch longer to reduce its sap supply. Indeed, the sting may evolve into a woody shoot instead of becoming a flower bud the following year.
On the third winter, cut just above the first flowering bud that will produce fruit this year and the next. So the idea is to leave only 3 of the following on a twig or spur and as close to the carpenter as possible:
a wood eye or latent (dormant) eye ;
a stinger (likely to turn into a bud or a wood eye the following year);
a floral bud, a lambourde or a crowned twig (crowned twigs that are too long are cut back to 3 eyes to prevent them from breaking under the weight of the fruit(s);
a simple twig likely to evolve into a crowned twig.
After a few years of this pruning, the spurs made up of very short branches can present an excessive quantity of buttons. It is then necessary to remove them to limit the number of pears. To do this, disbud with the hand to leave only 2 buds out of 4.
Tip: on crowns with more than 2 buds (2 buds + 1 crowned twig or 1 sting + 2 buds or 1 sting + 1 bud + 1 crowned twig…), leave only 2 organs instead of 3.
Other tricks can help to reduce the vigour of the branches so that they form buds, such as the inclination of branches or twigs, the bending of branches and twigs, an incision under the bud in spring (notching)…
Note: if you are afraid of making mistakes, know that the pear tree is capable of producing fruit on branches of all ages. The key is to avoid the tree getting carried away by producing long branches. Green pruning allows you to rectify this!
3. Green pruning your pear tree

Green pruning is the summer pruning. Practice it in July, using a small pruning shears.
Start by thinning the pears after the natural fall in June. Using fine shears, leaving only 10-15 fruits per meter of the stem, with 1 or 2 fruits per cluster, always leaving the largest.
On palmate forms, pinch off a few millimetres above a leaf:
Keep 5 to 7 leaves starting at the trunk on the year’s shoots without fruit.
Keep 5 to 7 leaves after the fruit on fruiting shoots.
Remove unnecessary branches that shade the fruit.
On the goblet or open forms, with a force pruning shears, act essentially on the gourmands badly cut down during the winter pruning. The latter may have given 2 vigorous shoots, one vertical, one oblique:
Cut off the very vertical vigorous shoots that develop at the start of the carpenters.
Keep those that are inclined but cut them after 8 eyes (8 leaves) so as not to give them too much vigor (the last eye hidden in the axil of a leaf, facing outwards).
Note: if you prune shorter, the buds at the base will regrow wood instead of turning into stalks.
4. Prune the fruit-bearing branches of your pear tree in a goblet or on a free axis
Long pruning, which consists in letting the fruiting branches of a goblet or the horizontal or sloping axes of a free axis lengthen, is comparable to what is done for apple trees. However, it can only be done on varieties with a weeping tendency such as the Williams pear tree.
The fruit placed at the end of the branch forces the branch to bend under its weight and causes buds to appear along the branch.
If you find that a branch is no longer bearing buds, renew it in favor of a branch located above the arch, cutting right after.
Clean the area of the branch near the trunk to form a light well along the axis or the goblet’s carpenters to encourage the tree to produce directly on the trunk.
Note: the Lespinasse method detailed in the practical information sheet “How to prune an apple tree” could a priori be applied to the management of a weeping pear tree.
Equipment needed to prune a pear tree
Branch cutter
Pruning saw
Pruning shears