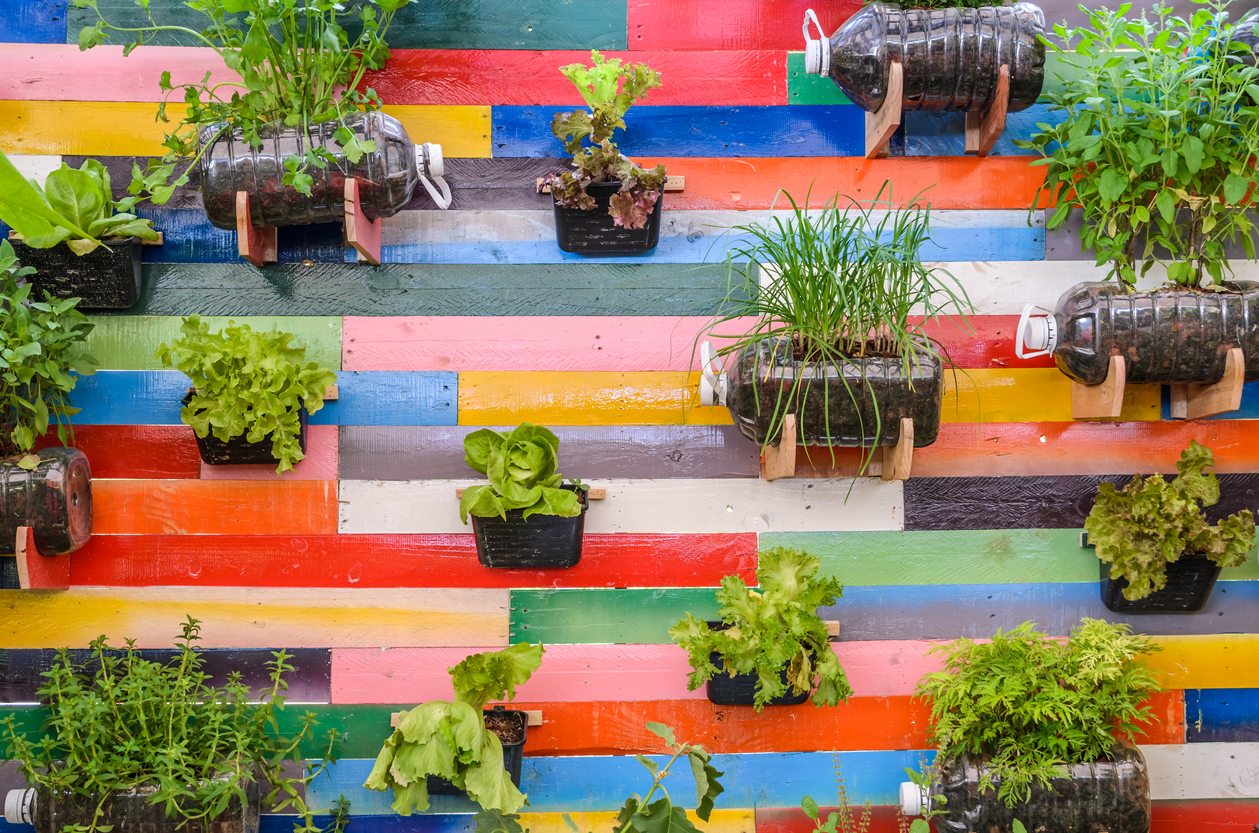
Everyone is crazy about gardening and gardens right now. And, if you’re looking for new ways to add some creativity and character to your garden, here’s a list of some of my favorite and easy garden crafts.
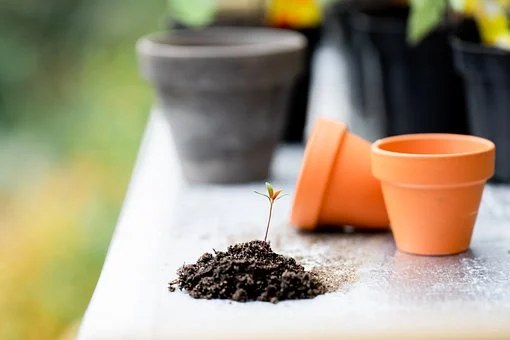
DIY Garden Planter and Birds Bath
Materials you’ll use:
- A 8″ tall terracotta pot for the base
- Four 6″ tall pots
- A 4″-5″ tall pot
- A discarded globe from “boob light”.
- A 62 inch piece of rebar (Tip: I bought mine from Lowes and had one of the staff cut it to size with a hacksaw.)
- DAP Household/Aquatic Adhesive
- A little ceramic bird
- Spray paint in your color choice
- Spray paint primer (you can use Valspar primer)
Instructions to make the DIY Garden Planter and Birds Bath:
Step 1: You start by priming all of your pots and then spray painting them in the color you want.
Additional Note: Back then, that was my first time using Valspar paint and it was a really good experience. Concerning the primer, I remember it took me around two cans of primer to thoroughly cover the pots and I think that was because I didn’t seal them before painting.
Step 2: Now, measure the height of all your pots and add around 24 inches to that number to find the length of your rebar. Once you’ve cut the rebar to size using a hacksaw, you can use a hammer to pound it into the ground –keep in mind that it must be at least two feet down so that it can hold your heavy pots firmly.
Step 3: Once you’ve thread the pots onto the rebar, add the soil or alternatively, try to tilt each pot from right to left as you fill.
Step 4: The globe should be taken from a flush mount light and be placed onto the top of the rebar. The bowl then has to rest on the top of the flower pot but the rebar should be threaded all the way up into the birdbath bowl. You can also use DAP household/aquatic adhesive to stick the bird and to seal around the gap between the rebar hole and the bowl. In general, the adhesive takes a day to cure, so I’m not able to fill my bowl with water yet. If you do not have a globe from a flush mount light, you can use a bowl.
Step 5: Now, you are free to plant your flowers.
Customer Reviews:
“Hi there, I saw the same bird bath on Pinterest and new I had to make one. I bought all of the pots, rebar and paints at our Bunnings store but forgot to grab the paint. My wonderful hubby who won’t,let me pick paint (as for some reason I always pick one that I end up hating), so he picked up some paint on his way home from work for me.
He hadn’t seen your post of the bird bath so he had no idea of the colour you used, but guess what colour he came home with? Its is the same as you have done. I am thrilled with the finished bird bath and it looks great in the garden. Thanks for having the wonderful idea and making it work out.” –From Margaret
“I saw this on facebook last year was dying to do this for my little patio garden I had also seen others like it, all very cute, but I had made a few changes. Since my garden is not on land but on a 2nd floor patio I added a base, just a piece of old flooring board, but it did the trick nicely. I also did not paint my pots love the untouched natural look. What I did to add a splash of color is I screwed in an old tin watering can.filled with fake flowers that thread down the rod making an illusion that the watering can is watering my pots, while hiding the rod … I have fake flowers that are glued into place to hide the screw holes too, its so beautiful looks magical too since the watering can is at an angle it looks like its floating in mid air … thanks for sharing!” –From Pa