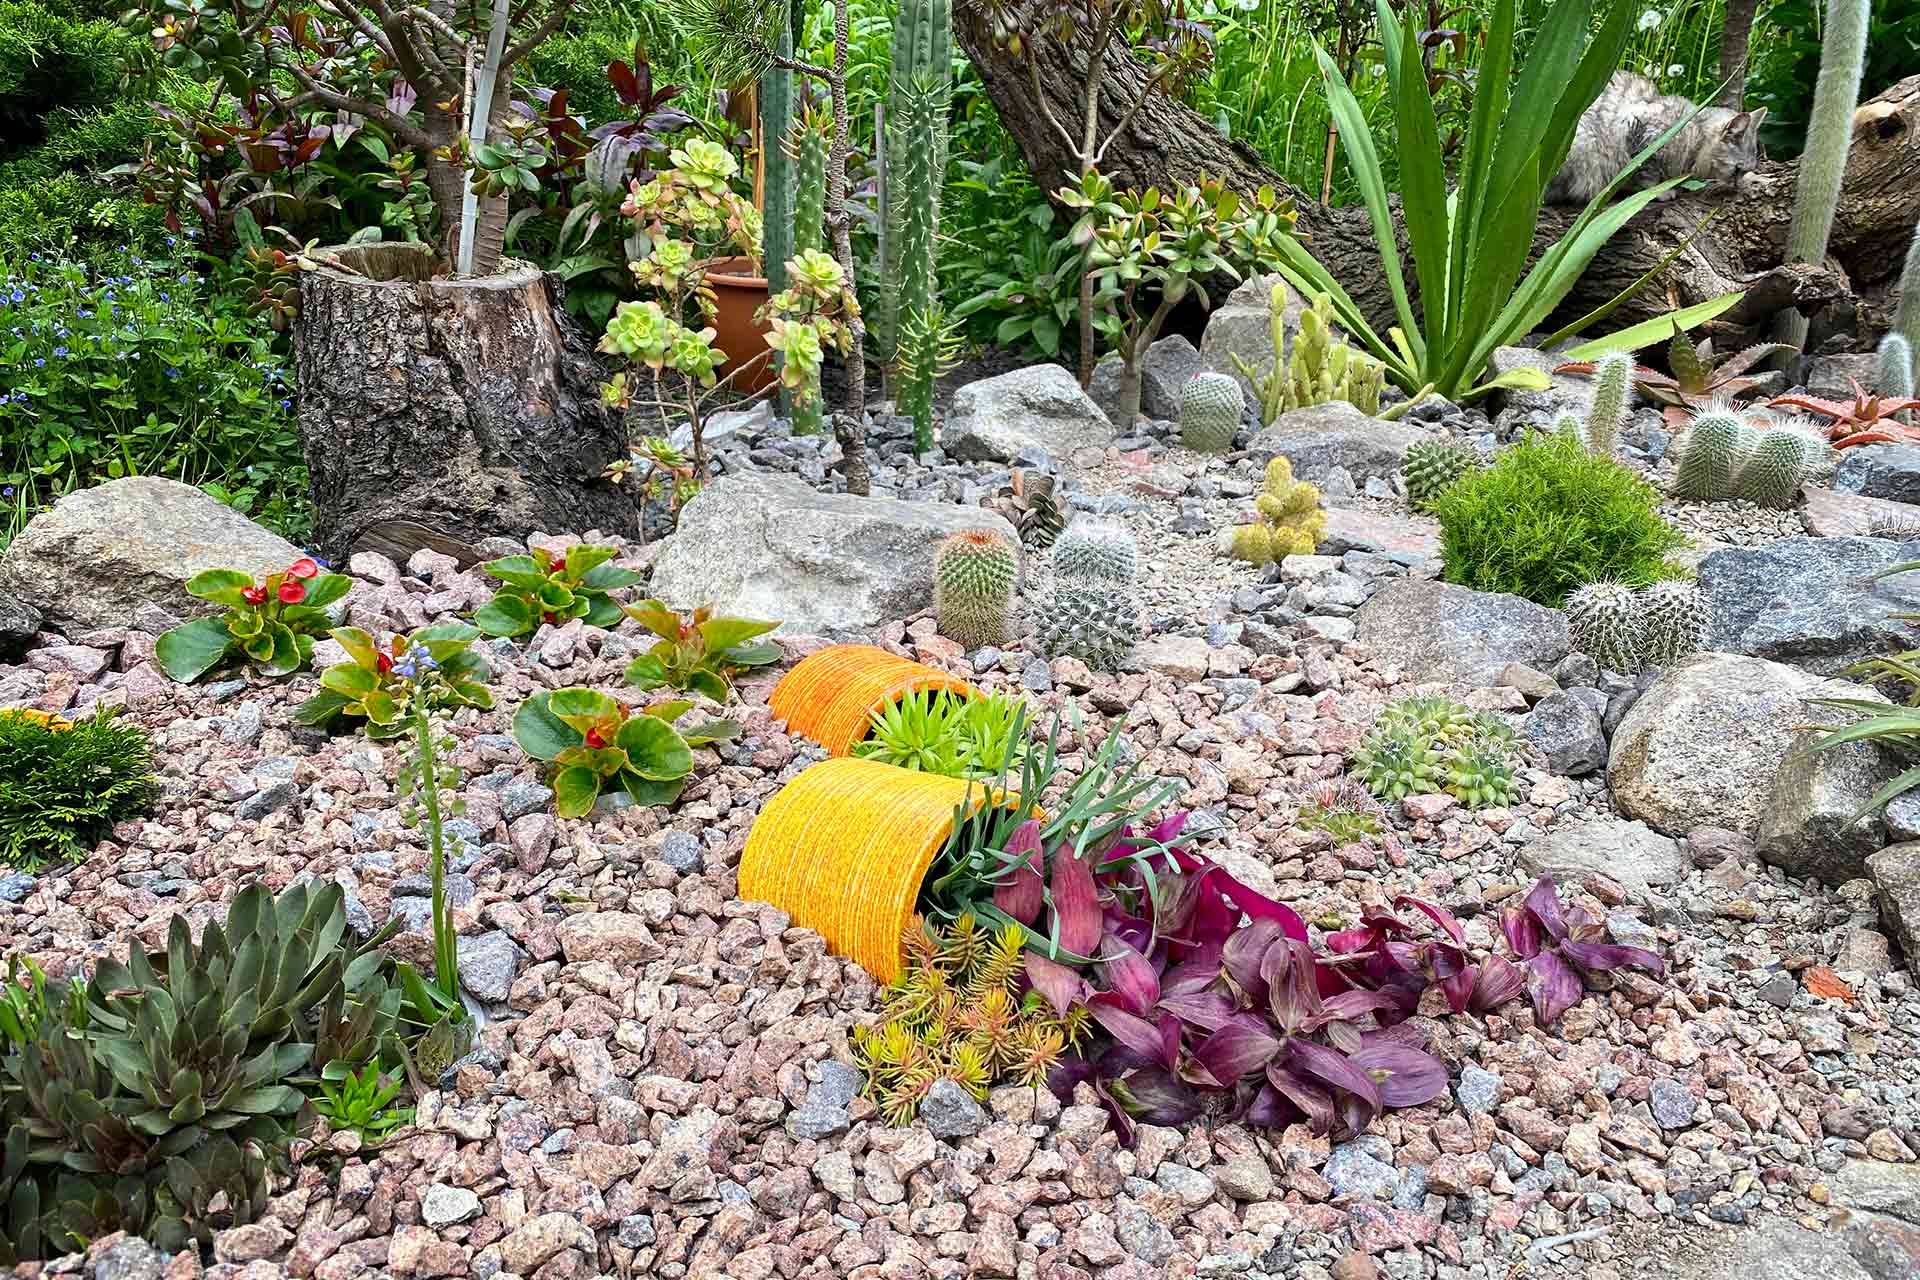
Build a rockery to create a beautiful feature in your garden and provide a specialist environment perfect for alpine plants. Alpines grow best on mountainous slopes where there’s plenty of light and good drainage. By creating a rockery you can replicate these conditions in your own garden.
A rockery garden can be as big or small as you like so whether your garden is a cozy space or a vast patch of land, this guide is suitable for all garden types. As time goes by, rockeries continue to grow and change, looking more and more natural. Take a little time to perfect your rockery now to enjoy this unique garden feature year after year. Find out how with our quick and simple guide.
Find the perfect location
Before you build a rockery, it’s important to find the perfect location for your plants to thrive. Alpine plants require maximum light exposure, so when placing your rockery, make sure it’s away from trees and shrubs which cast shadows throughout the day.
Choose suitable rocks
Local rocks are the best bet for your rockery as they will look the most natural. They can often be sourced from a reclamation yard so look online to find one that’s local to you. If you’re not so concerned with aesthetics, then rockeries can be a great way to disguise old broken bricks, tiles and paving slabs.
Time it well
Late winter’s the best time to build a rockery because the ground is often damp and soft, making it easier to shift the soil and place the rocks. It also gives the soil time to settle before adding the plants in spring. You can, however, build a rockery at any time of year: aim for a few days after some heavy rainfall so the soil is easier to manipulate.
Prepare the site
Before you build a rockery, it’s important to remove any existing weeds from the site because they can destabilize the structure as time goes by. Once the ground is clear, lay a stabilizing layer of rubble which will improve drainage and support the rocks. Next, cover it with landscape fabric to prevent future weeds from growing through and to keep the soil in place.
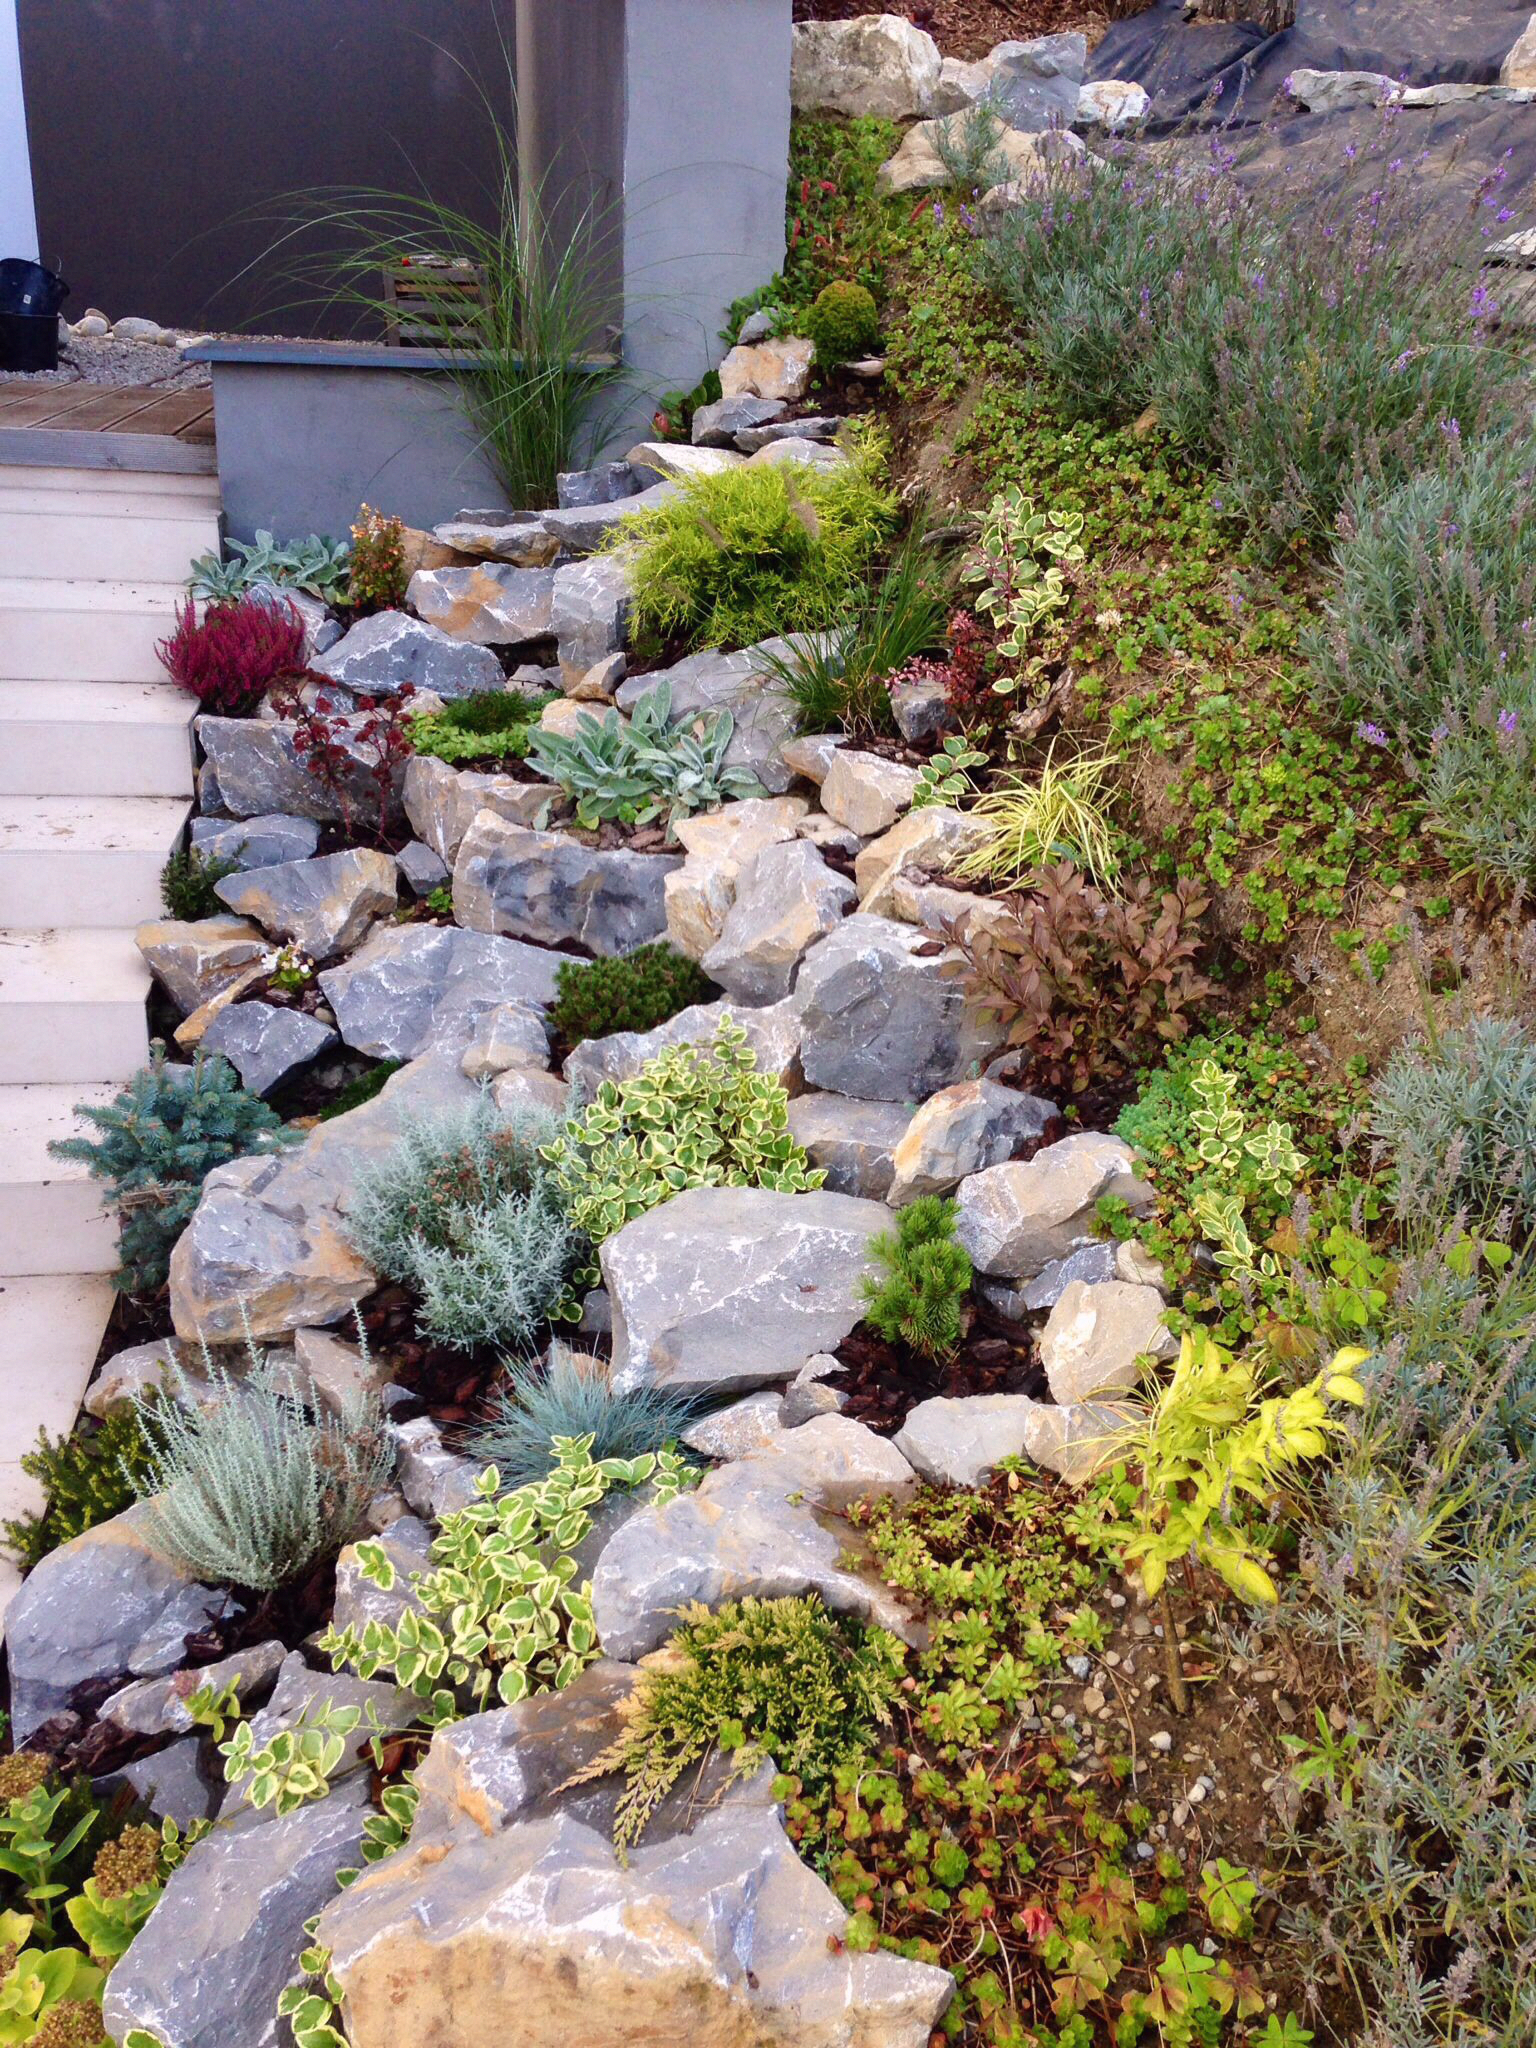
Place the rocks
Begin with the largest rocks and place them so that they build to a peak, like a mountain. Face the rocks in a variety of directions to achieve a variety of microclimates. The large rocks can be stabilized with smaller rocks, set by adding a layer of weed-free topsoil. While you can sieve your own soil for this purpose, remember that small weed seeds won’t be removed. If weed control is a pet peeve of yours, then bagged topsoil is the best solution.
Once you’ve placed all the larger rocks it’s time to build up the shape. Use small rocks and continue to layer with topsoil as you go. Then, arrange the smallest rocks in a horseshoe shape. This creates planting pockets which will later contain compost for encouraging plant growth.
Make compost
The perfect alpine compost should consist of equal quantities of weed-free topsoil, leaf mould and horticultural grit. Use it to fill the planting pockets to create a bed for your desired plants. You can substitute leaf mould with shop-bought coir.
Add plants
Spring’s the perfect time to fill your rockery with plants that have an entire season to settle in before winter. Where you place the plants depends on their specific needs but, generally speaking, for English gardens, those which thrive in cooler conditions should face north. Sun-loving plants are better off facing south. Once you’ve worked out the placement, gently tease out roots and place them in the planting pockets. Take care to firm the compost mixture over the roots and finish with a handful of grit or gravel to improve the drainage and ward off future weed attacks.
And there you have it folks, a sturdy and beautiful rockery for you to enjoy for many, many years! Share your own gardening and rockery-building tips in the comments below!