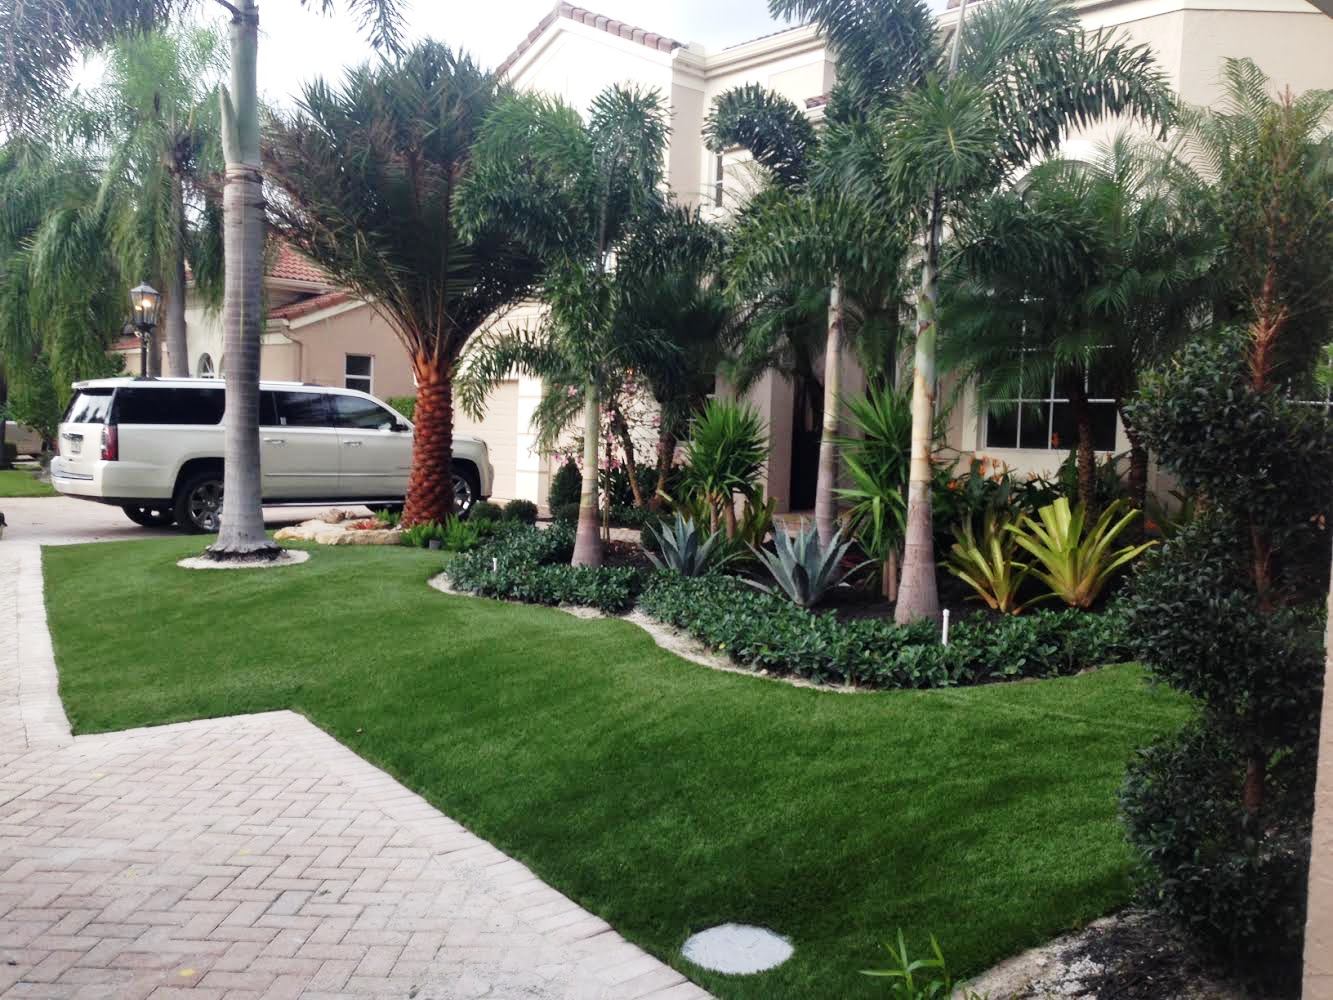
Do you dream of a green, dense and flawless lawn? Are there areas of your garden without grass that need to be renovated? With the installation of natural turf in roll, it is the guarantee of an aesthetic garden obtained quickly. The solution of the lawn in sheets makes you benefit from healthy, resistant varieties of grass adapted to your needs. However, the installation of your lawn requires a few prerequisites. Find our step-by-step advice to successfully install your sod.
1. Measure the surface where to install the sod
There are several varieties of turf and combinations depending on the climate and your needs. Before ordering and installing your sod, make sure you take the right measurements. To know the surface to be plated, multiply the length of your area by its width. Since the average sheet is 40 cm wide by 250 cm long, or 1 m2, you will be able to identify the amount of lawn you need.
On average, you should add a few square meters to your measurement. This addition allows you to make the necessary connections, depending on the type of surface to be covered. You can cut the excess easily with a small knife or a cutter.
2. Prepare your floor before installing your veneer
The ground that will be covered by your turf should be enriched with nutrients and leveled. Its preparation is similar to that of a seedling. However, avoiding laying your natural grass on frozen or muddy ground is best. The ideal periods for the installation of a natural lawn are out of the big heat and the periods of freezing.
First of all, you must turn over the top layer of your soil with a spading fork or a rototiller, depending on the surface area, to a depth of 10 cm. Remove weeds and stones from the soil. To promote the growth of your lawn, you can add a soil amendment or organic or mineral substrate with compost or potting soil. You can also fertilize your soil with lawn rooting fertilizer. It will provide nutrients, helping your lawn to spread its roots in the soil and strengthen it.
Then, pack the soil with a roller or stomp it with your feet. Level your soil with the claw of your spading fork or your rake. Repeat the operation a second time. Tamp the soil and smooth it out with your roller. This will give you a smooth, flat, and uneven surface. This step is crucial. If there are any holes or bumps, they will automatically show up after installation.
If your soil is very dry and damaged, turn your soil over on its top layer, and remove a maximum of stones and weeds. Then lay down the topsoil. Spread, pack, even out and moisten your soil. The soil should be uniform over 10cm, so if you add, for example, 5cm of good soil, you will mix it with 5cm of your soil.
3. Receive and store your rolls of grass
Once we do the cutting, your lawn will be ready to be sent! It is delivered in rolls with its roots.
To receive it:
- Store it in the shade to preserve its freshness and quality.
- Never water the rolls until they are unrolled (this causes fermentation).
- Don’t hesitate to unroll them so that you can water them if the weather is hot and you don’t have time to finish the installation (to prevent them from drying out).
Your veneer rolls can be stored for a maximum of 24 hours after delivery. To respect this time frame, it is best to prepare your floor beforehand rather than doing it quickly on the day. This step is very important and requires a lot of work. After that, you can add rooting fertilizer (check if it needs to be mixed with the soil in the instructions for use).
4. Methodology for laying your turf rolls
Now you can unroll your rolls of grass. For ease of use, you can line up with an existing wall or border. Only a few hours are needed to lay your grass, depending on the area to be covered. One roll is equivalent to approximately 1 m2. The average installation is about 20 m2 per hour for one person.
Be sure to position and adjust your rolls of veneer grass edge to edge. Take the time to glue your sheets together, one against the other. Your rolls of grass must touch each other; no gaps should appear between them to avoid any rotting or drying of your lawn. They should not overlap.
Gently press the roll to the ground and make sure it stays in line. In order not to deform your soil under your weight, especially if the soil is wet, you can use a board placed on your new lawn for support. Your installation must always be done while moving forward.
Using a roller or a round gas cylinder, pack your lawn into a roll to push out the air between the soil and the roots. Then water your lawn thoroughly. Moisture helps it to take root. To see if your sod is dehydrated, check to see if its color is turning gray and if the stems of your grass are not straightening up after you pass by.
Looking for help?
Are you in Oshawa? Are you looking for help with your garden? Then look no further than Royal Blue Property Maintenance. Founded in 2014, they are a locally owned and operated Lawn Care Company based out of Oshawa. They offer a plethora of services like weed control, landscaping, gardening, and even lawn maintenance.
If you are in the Durham region, including Oshawa, Whitby, Ajax, Pickering, Bowmanville, Courtice, Clarington, and Uxbridge, and are looking for a comprehensive package with a close-to-home touch, don’t hesitate to contact them! They even offer snow removal services during the winter season. So, what are you waiting for? Give them a call and let them help you out with all your garden issues.