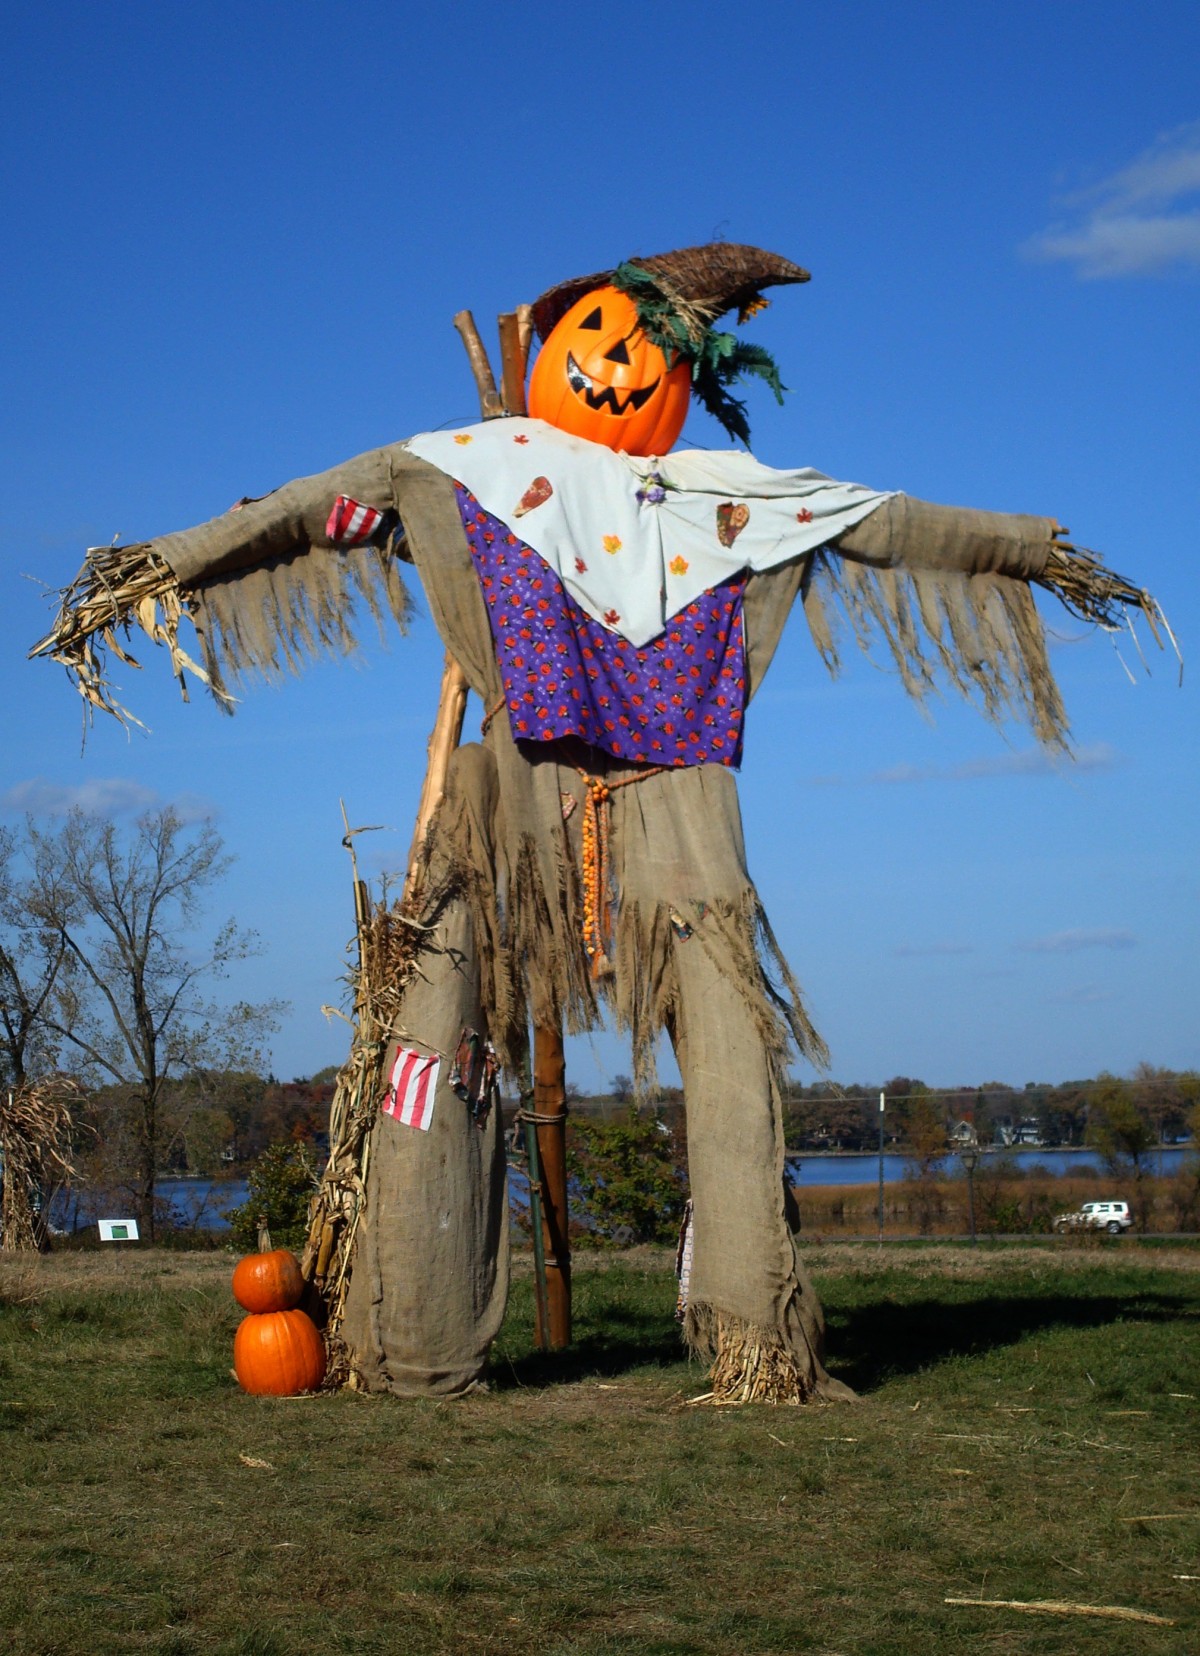
A Step-by-Step Guide to Craft Your Scarecrow
Made of a sturdy wooden frame and dressed in old clothes filled with straw, scarecrows have long been a charming addition to vegetable gardens and orchards. These whimsical creations not only serve the practical purpose of deterring birds from feasting on your crops but also provide an enjoyable craft activity, especially for children. In this step-by-step guide, we’ll walk you through the process of making your very own scarecrow.
Step 1: Construct the Scarecrow Frame
Begin by connecting a 1.5-meter pole to the top of a 2-meter pole, forming a cross shape. Secure the connection with a strong ligature called a “brêlage,” using multiple crossings of string.
Gather straw and tie it into bundles using string. Place the bundles around the vertical and horizontal poles, securing them tightly as you build up to the desired height of the scarecrow. If straw is unavailable, you can use layers of old rags instead, ensuring they are securely tied to the frame.
Step 2: Shape the Scarecrow’s Head and Face
Take a jute or cotton bag and stuff it with straw or old rags. Attach the bag to the vertical pole, creating the head of the scarecrow. Secure it tightly with string.
Let your creativity shine as you fashion a nose, mouth, eyes, and eyebrows using fabric scraps, felt, buttons, and a needle and thread. To add a touch of authenticity, glue straw or wool scraps to the head as hair. Finally, staple or sew an old hat onto the top of the scarecrow’s head.
Step 3: Dress the Scarecrow’s Torso
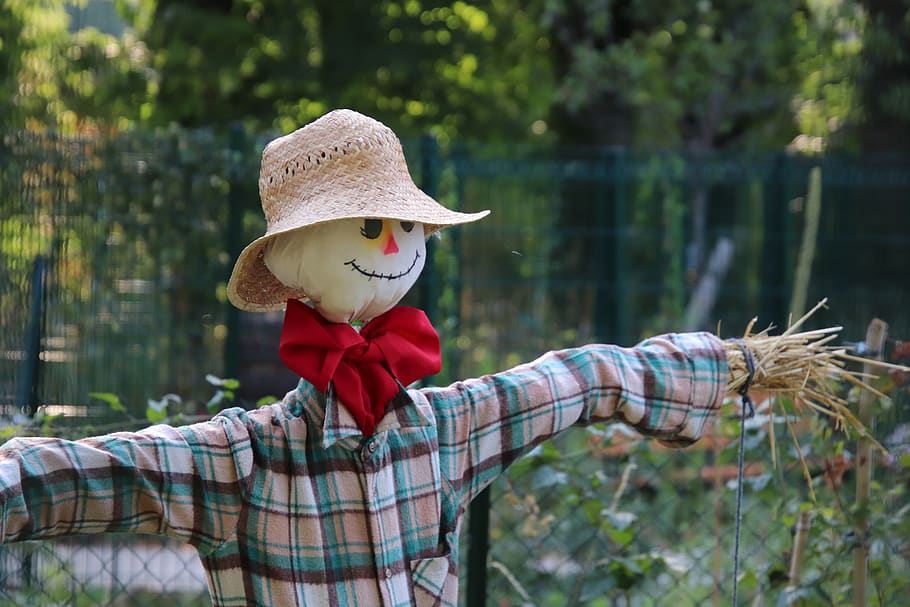
If needed, dress the scarecrow in a shirt, stuffing it with additional straw or rags for a more robust appearance. Button up the shirt and tie the ends of the sleeves and bottom with string. To create hands, fill old gloves with straw or rags, then secure them to the ends of the shirt’s arms using sewing or stapling.
Step 4: Dress the Lower Part of Your Scarecrow
Drill a hole in a pair of pants and slide them over the vertical pole. Stuff both pant legs with straw or old rags and tie up the lower legs with string. Sew or staple the pants securely to the shirt. For added flair, slip boots or old shoes onto the scarecrow’s lower legs. Consider dressing your scarecrow in an old gardener’s apron to complete the look.
Step 5: Install Your Scarecrow
Find a central spot in your vegetable garden or orchard to plant your scarecrow firmly in the ground. This placement will help deter birds from your precious crops. For added effectiveness, decorate your scarecrow with old CDs, which, when shining and spinning in the wind, can further discourage birds from approaching.
Materials needed to make a scarecrow
By following these step-by-step instructions and gathering the necessary materials such as a wall stapler, sewing needle, fabric scraps, glue, string, straw, wooden stakes, a jute or cotton sack, old CDs, and various old clothes and accessories, you’ll have your very own scarecrow ready to guard your garden.
Conclusion
Creating a scarecrow is not only a practical way to protect your crops but also a fun and engaging activity that sparks creativity and brings joy to your garden. By involving children in the process, you can instill in them a love for nature and a sense of responsibility for their environment. So, take some time to gather the necessary materials and embark on this exciting adventure of making your own scarecrow. The satisfaction of seeing your creation standing tall, warding off birds, and adding a touch of whimsy to your garden will be truly rewarding. Get ready to enjoy the bountiful harvest and the smiles that your scarecrow will bring. Happy crafting and happy gardening!