Garden Accessories: Making Slate Labels for Your Plants
Contents
Step 1: Obtain slate
Step 2: Cut the slates to size
Step 3: Pierce the slates (optional)
Step 4: Write on your labels and decorate them to your liking
Step 5: Attach your slate tags to a stake
Durable and aesthetically pleasing, slate tags are equally suited to a garden with old-world charm or a contemporary garden, depending on your chosen style and the calligraphy used.
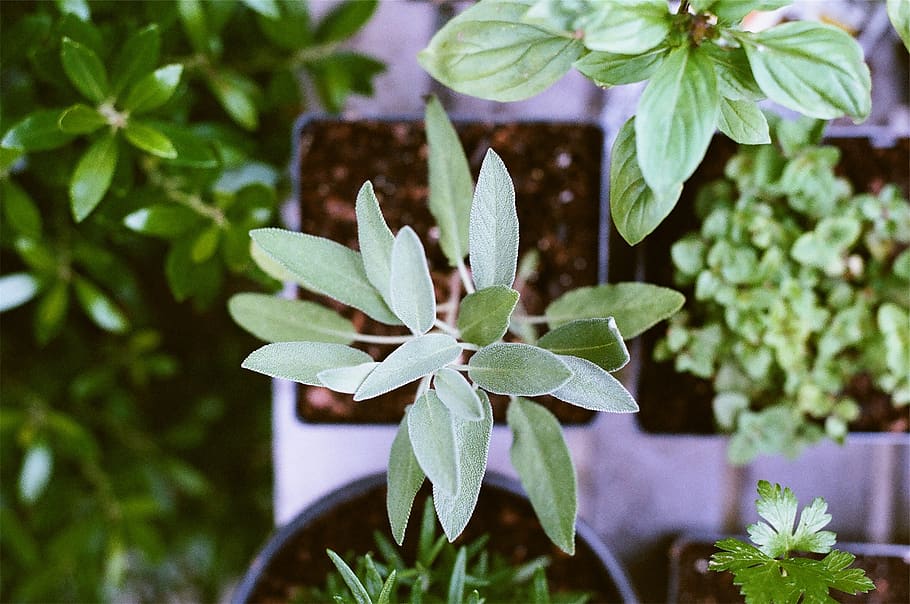
You can find beautiful slate labels in stores, but if you want to label many plants, it’s economical to DIY them according to your desired size.
Here’s how to make slate garden labels from batches of scrap slate.
1. Sourcing your own slate
Get a cheap batch of reclaimed slate:
- from a roofer;
- on a construction site, during the repair of a roof;
- at a yard sale;
- by looking at the classified ads in a local newspaper.
It doesn’t matter if you get chipped or partially broken slates. You’ll have enough left over to cut out your labels. Uneven, slightly broken edges can even provide an interesting effect in some gardens.
2. Cut the slate to size
Determine the shape and size of the labels. Commercially available slate labels are usually rectangular and either 9.5 × 7 cm or 7 × 5 cm in size.
Nothing can stop you from changing the shape and size of your labels depending on what you want to write on them. For example, you can vary the size by cutting long, narrow rectangles and placing them directly in the ground, with the plant’s name written vertically.
Tip: avoiding uniformity of similar labels in all your beds and gardens is aesthetically pleasing.
2.1 Cut out your labels
To cut the slates, you have a choice of tools:
- a jigsaw or a hacksaw;
- a mini-drill equipped with a small grinding wheel;
Tip: these 2 tools should be avoided for small slate sizes as they are dangerous.
An electric tile cutter is the most practical if you are making a large number of labels.
Once you have chosen the material, proceed with the cutting:
Protect your eyes from possible splinters by wearing protective glasses.
If the shape of the label requires it, draw it with chalk on the slate.
Cut carefully to avoid breakage.
Sand your labels
After cutting your tags:
- Sand the very sharp edges with medium sandpaper.
- Sand the surface where you want to write (right side up only or right side up and down) with fine sandpaper: this will allow you to write more easily.
3. Drill the slates (optional)
If you want to screw or nail your labels to a backing, punch a hole in them, say about 1 cm from the top edge.
Note: This step is optional. The hole is for attaching the tag to a stake or hanging it with a string, but you can also simply stick the slate into the ground at the base of the plant, and the tag does not need to be drilled.
Drill the slates as follows:
Stick a piece of tape on the back of the slate at the level of the future hole and put the slate on a wooden board that will absorb the vibrations of the drill: these two tricks allow you to avoid breakage as much as possible.
With a drill equipped with a fine bit, drill a first hole at low speed.
If you want a larger hole, make it bigger and bigger by using larger and larger bits.
4. Write on your labels and decorate them to your taste
The colour white is recommended to write on your labels because it stands out well on the slate. Use whatever you like; for example, felt pens are sold especially for this purpose by shops specializing in garden decorations. You have the option between:
- White chalk marker that can be erased with water for very temporary labels (seedlings, for example);
- white felt-tip pens that can be erased with alcohol for a more durable inscription;
- paint markers or china markers are available in hobby stores.
- a white liquid correction pen.
Note: to write the name of the plant on the label area, use calligraphy that matches the style of your garden. You may want to write information on the back of the label that you want to remember: origin, year planted.
4.1 Decorate your labels to your taste
If you have artistic talents, you can go further and paint or draw a design on your labels:
- with paint markers;
- with porcelain markers;
- with acrylic paint and a fine brush.
If you have painted or decorated your labels, you may want to protect them, making them weatherproof: spray each label with 3 coats of outdoor spray paint, such as marine varnish.
Note: if you have used paint markers, you can also put the labels in the oven at 220°C for 45 minutes to make the inscriptions and drawings indelible. If you have used porcelain markers, a temperature of 150°C is sufficient.
5. Attach your slate labels to a post
If you have not opted for slates simply driven into the ground, fix them on a stake. Here are 2 possible methods:
Method 1: Attach each label to a wooden cleat
Obtain a wooden bar of the desired length (e.g. 50 cm).
Screw or nail the drilled label onto the strip. For more durability, stain, varnish or paint it with outdoor paint.
Method 2: Thread each tag onto a bamboo stake
Cut the stake to the desired length, a few inches above a knot.
Simply thread the tag onto the stake, and it will remain slightly slanted, close to horizontal, held in place by the knot that will prevent it from sliding to the ground.
Materials needed to make slate garden tags
Flat head nails
Chalk
Safety glasses
Sandpaper
Acrylic paint
Drill
Adhesive tape
Hacksaw
Jigsaw
Wooden block
Screws