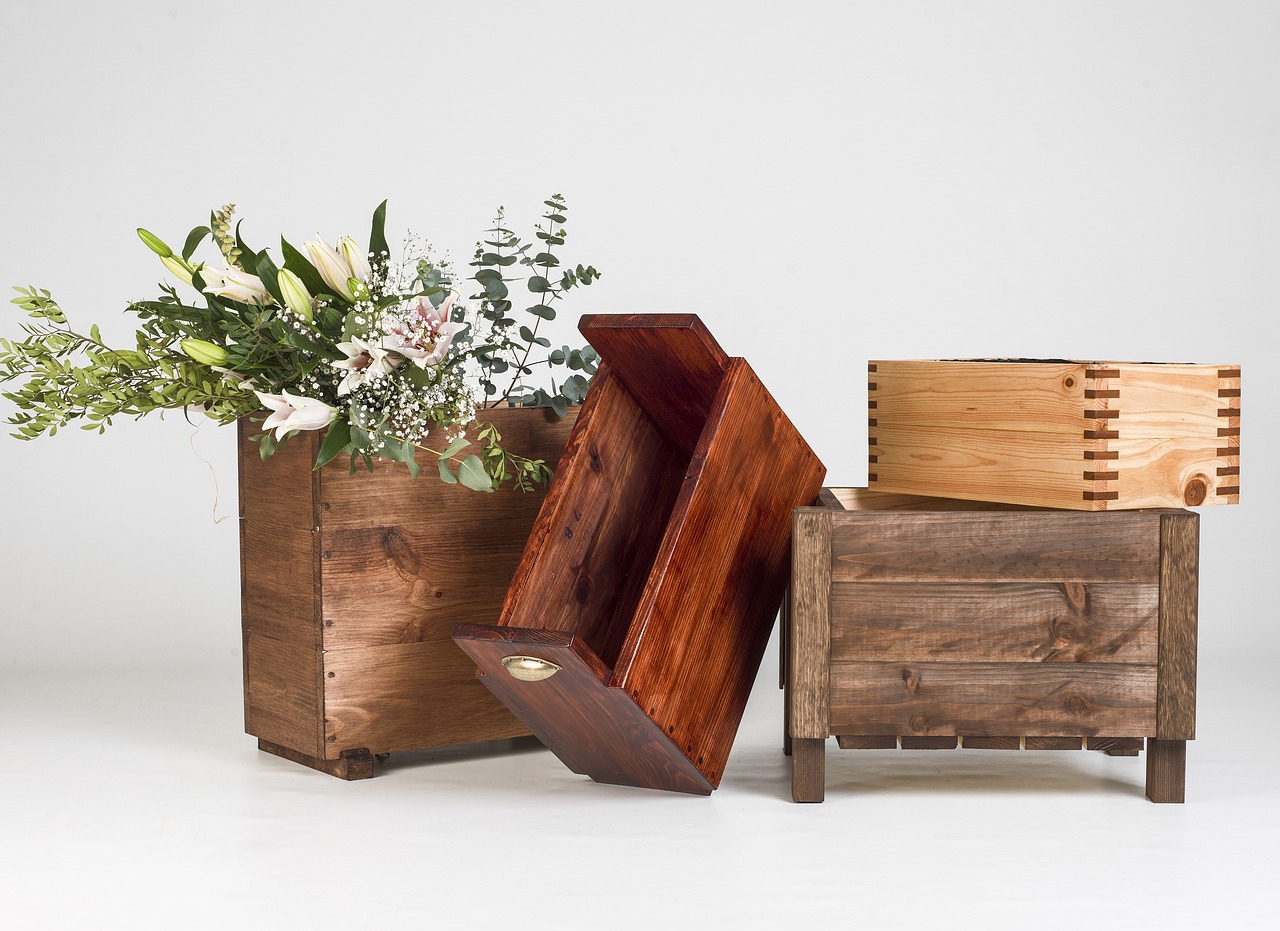
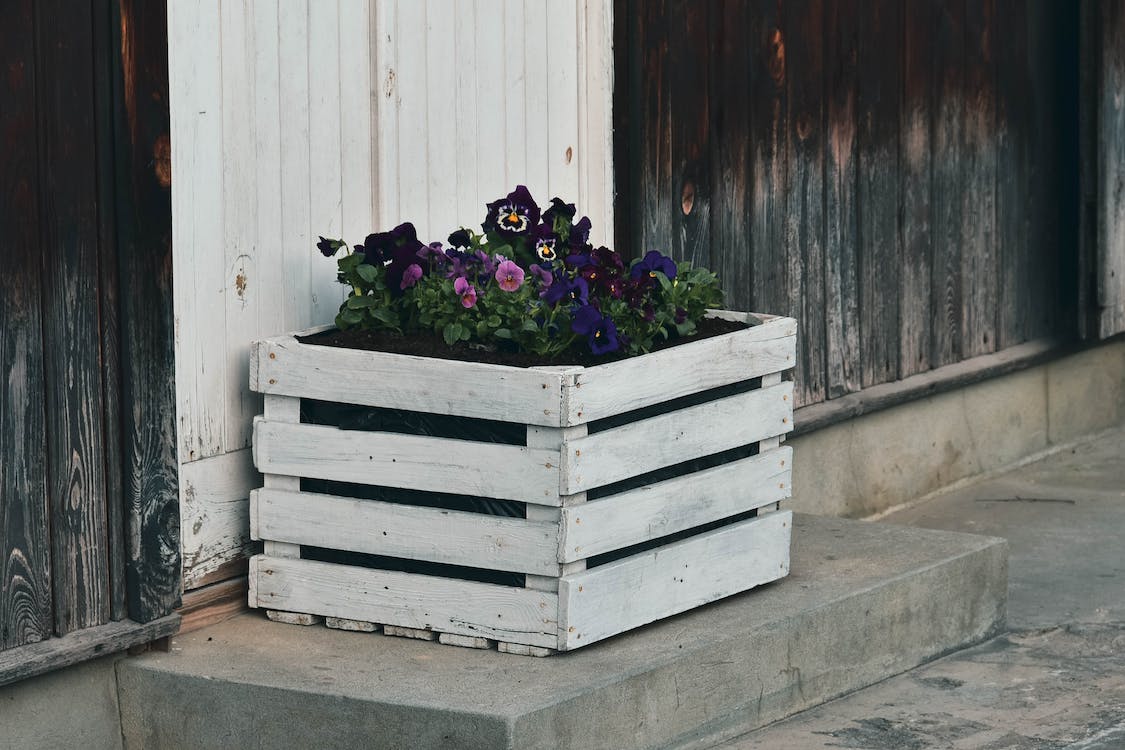
7 Steps for Building Your Wooden Planter
Hey there, green-thumbed readers! Are you looking to add some natural charm to your garden or balcony? Building a wooden planter is a fantastic and eco-friendly way to showcase your favourite plants and flowers. Plus, it’s a fun and straightforward project that anyone can tackle with just a few tools and some sturdy wood. In this guide, we’ll take you through the 7 simple steps to create your very own wooden planter while keeping our planet in mind. Let’s get started!
Step 1: Choose your wood – The Foundation of Sustainability
When it comes to building a wooden planter, selecting the right wood is vital for long-lasting durability and eco-friendliness. Opt for sturdy boards that are at least 1.5 cm thick and capable of withstanding outdoor elements. Ideally, go for naturally rot-resistant woods like chestnut or black locust, which can brave external aggression. If these options aren’t available, consider using autoclave wood treated to resist weathering, fungi, and insects. For added strength, highly resistant woods like oak or larch can be used with an extra treatment.
Step 2: Prepare your boards – Cutting with Precision
To create a planter that’s approximately 70 cm long, 30 cm wide, and 40 cm high, you’ll need to cut your boards accordingly using a jigsaw. Prepare the base by cutting a large board to 67 cm in length and 27 cm in width. For the faces, you’ll need 8 planks that are 10 cm wide and 70 cm long. For the sides, follow the same process, but this time, cut 8 pieces to a length of 27 cm. Remember, these measurements are examples, so feel free to adapt them to fit your desired dimensions.
Step 3: Cut the cleats – Adding Stability and Reinforcement
To ensure your planter’s sturdiness, incorporate cleats with a rectangular cross-section of 4 cm by 2 cm. You’ll need these cleats in several places: 3 cleats of 30 cm length to raise the bottom, 2 cleats of 67 cm length to reinforce the bottom sides, and 4 cleats of 36.5 cm length to strengthen the four corners. If your wood is not rot-proof or autoclaved, treat all the pieces against weathering, fungi, and insects for added protection.
Step 4: Form the base of the planter – Laying the Foundation
Begin assembling the bottom board by placing a 30 cm cleat at each end (widthwise) of your board and one in the middle. Secure the assembly by drilling holes at each end of the cleats and then screwing the parts together with a screwdriver. Flip the board over and place the 67 cm long cleats lengthwise, drilling and screwing them to the base to reinforce the sides.
Step 5: Shape the sides – Bringing it Together
Assemble the planks for the long sides, 4 planks per side, and screw them to the 36.5 cm cleats. Be sure not to fasten the planks together too tightly, leaving slight gaps for proper soil aeration. If needed, add an additional cleat in the middle to enhance the assembly’s stability. For the short sides, attach them directly to the long sides you’ve already formed.
Step 6: Assemble your planter – Bringing it All Together
Assemble one of the long sides, to which the two short sides have been attached, with the second long side. Finally, fasten your frame to the base of your planter using large screws, securing the bottom of your sides to the cleats on your planter base. For a polished look, use a wood file to sand your planter, and consider personalizing and protecting it with paint or stain. To avoid visible screws, fill any holes with wood filler in the same shade as your wood.
Step 7: Finalize your planter – Creating a Perfect Growing Space
Place a tarpaulin in your planter, securing it with a wall stapler, making sure not to let the edges stick out. Fix the tarpaulin a few centimetres below the opening of your planter to remain unseen. Drill a few holes in the bottom of the planter (wood and tarpaulin) to allow water to drain away efficiently. Fill the bottom with coarse gravel or clay balls, aiding in soil aeration and drainage. Cover this layer with geotextile to prevent pebbles from mixing with the soil. Finally, fill your planter with soil and start planting!
With these 7 simple steps, you’ll have a beautifully crafted wooden planter ready to showcase your favourite greenery while embracing sustainable living. It’s time to elevate your gardening game and add a touch of nature’s beauty to your surroundings, all while protecting our planet.
Materials needed to build a wooden planter:
- Wall stapler
- Tarpaulin
- Clay pebbles
- Pencil
- Geotextile felt
- File
- Tape measure
- Drill
- Flat brush
- Board
- Jigsaw
- Drawer
- Potting soil
- Phillips screwdriver
- Wood treatment
- Trestles
- Screws
Remember to choose eco-friendly materials and take pride in your sustainable creation. Happy gardening!