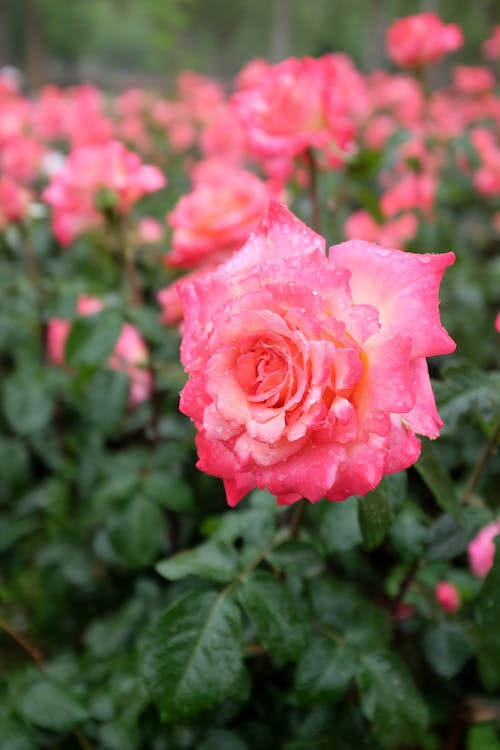
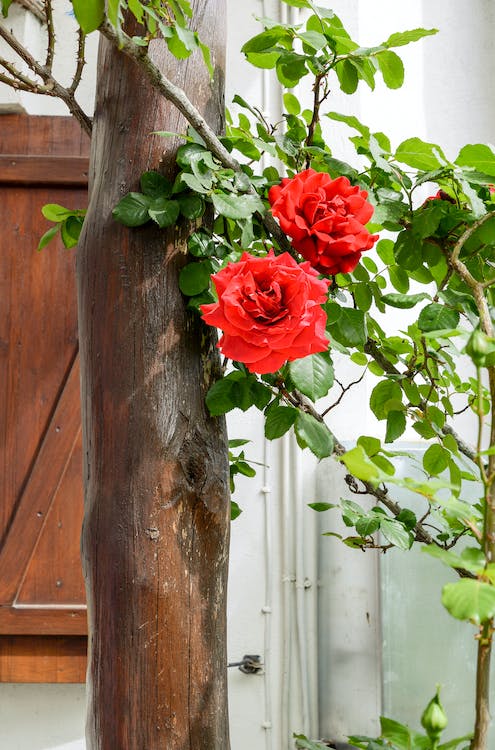
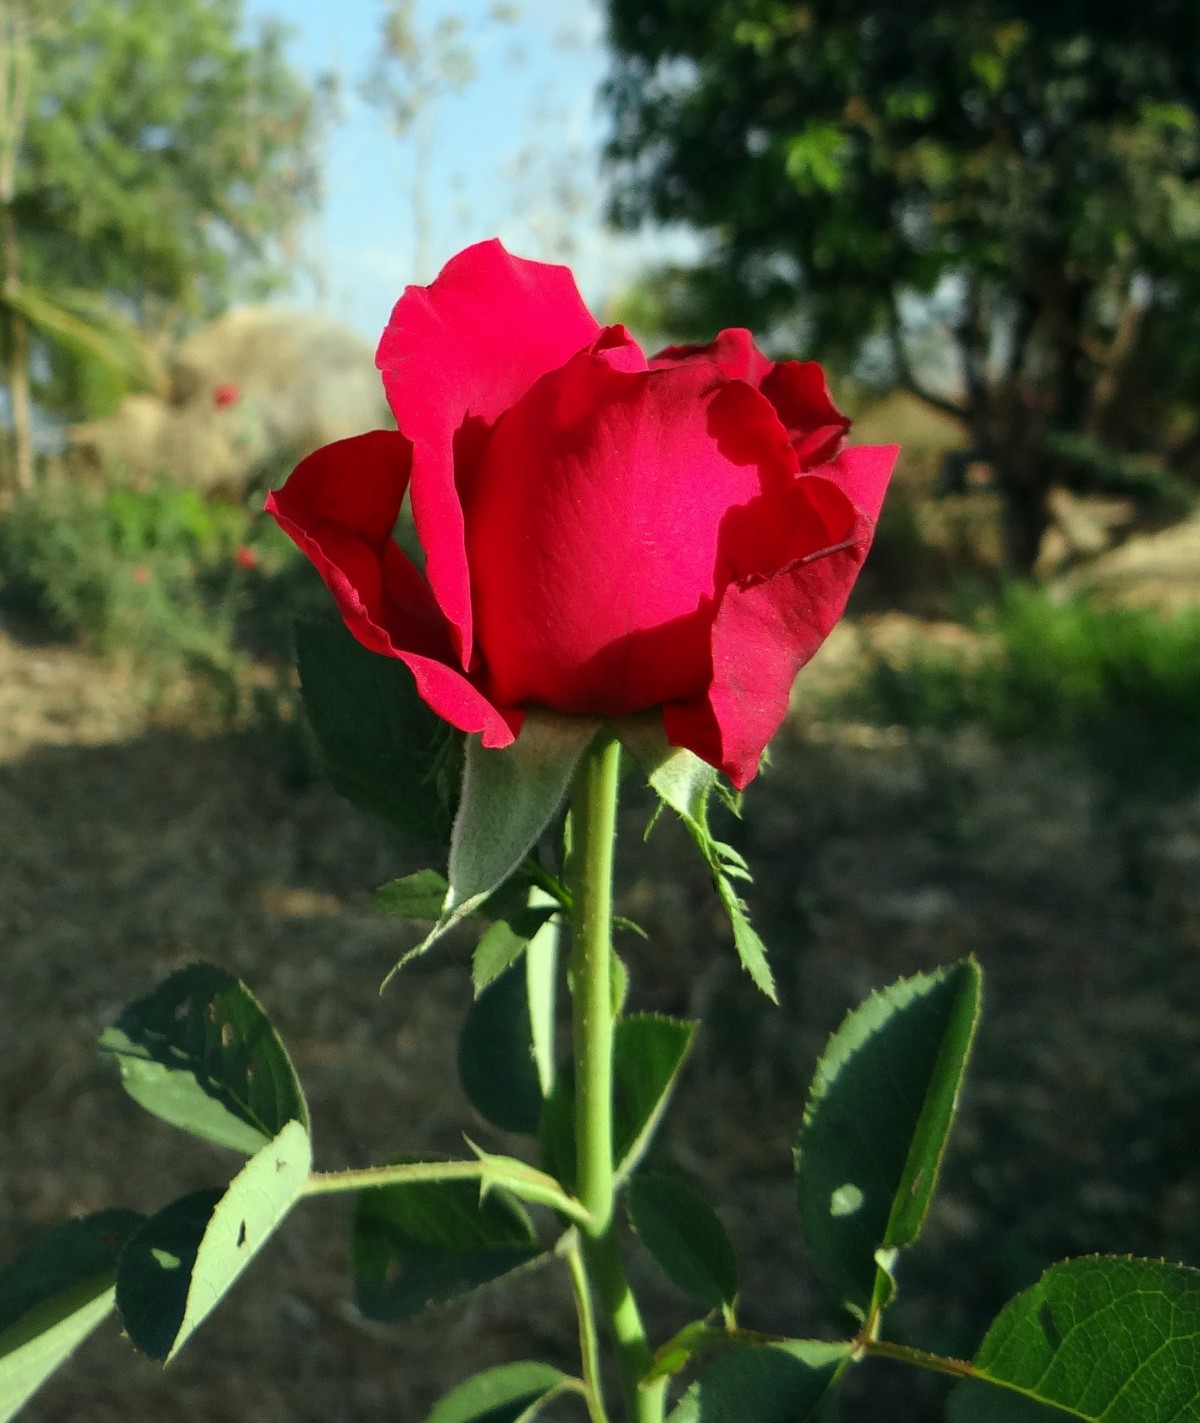
6 Easy Steps for Growing Roses
Whether bushes, shrubs, climbers or ground covers, commercially available roses come in two types – bare-root and containerized – and are planted at different times.
For the rest, the same planting rules apply to all roses planted in the ground.
This practical guide gives you tips on how to plant roses to provide them with the best chance of getting started so that they grow vigorously and healthily.
1. Choose the right time to plant roses
Plant bare-root roses
Bare-root roses are planted exclusively from late October/early November through April, avoiding periods of heavy frost or rain.
However, when you can, November is the best season: soil moisture and weather conditions allow the roses to establish themselves well before the arrival of the cold weather. It is also the period when rose growers have the broadest range of products.
Note: in heavy soils, planting in February-March is nevertheless preferable.
Planting roses in containers
In principle, you can plant roses in containers all year round, avoiding periods of frost and heatwave.
In practice, we plant container roses mainly in spring. Iin autumn and winter, we prefer to plant bare-root roses, which are cheaper and available in a much wider range of choices.
2. Choose a suitable location for your roses
As a general rule, plant your roses in a sunny, wind-sheltered location, preferably in good garden soil.
Exposure
Most roses require a sunny exposure, with a minimum of 4 hours of sun per day.
However, some roses can tolerate or prefer half-shade, and some even accept the shade.
The soil
Roses appreciate good garden soil but can adapt to almost any type of soil with a few amendments and precautions.
Note: in calcareous soil, choose roses grafted on Rosa canina, which any good rose grower will be able to offer you.
3. Prepare the planting hole
Prepare the hole at least 2 weeks before planting your rose.
Dig a hole 50 cm deep and 50 cm wide.
Loosen the bottom with a spade and remove all rhizomes and roots, even dead ones.
If necessary, amend your soil, depending on its nature:
No amendment is needed if your soil is rich and deep, with good garden soil.
If your soil is sandy or calcareous, add 20 cm of leaf compost at the bottom of the hole.
If your soil is heavy and clayey, fill the hole with a layer of gravel (10 cm), followed by a 10 cm layer of sand or peat moss (or a mixture of both).
If your soil is calcareous, amend it with heather soil or brown peat.
Put a shovelful of organic fertilizer (crushed horn, bone meal…) at the bottom of the hole and cover it with a little soil, as you must avoid direct contact of the roots with the fertilizer.
4. Prepare the rosebush
Bare-root rose: take care of the roots
Plant a bare-root rose as soon as possible after receiving it.
You can wait up to a week at the most, as long as you keep it cool and dry without undoing the packaging, not to expose the bare roots to the air.
If the rosebush must wait over a week, place it in a small trench and cover the roots and 2/3 of the branches with sand or fine soil.
Before planting, refresh the root tips of your rose and remove any diseased or damaged areas.
Pralinate the roots with a muddy mixture, greatly enhancing recovery.
Containerized rose: soak the container in water
Soak the container (or root ball for a plug rose) in a bucket of water for at least 10 minutes.
Carefully remove the rose from the container, not breaking the roots.
To avoid damaging the roots, do not break up the root ball but plant the rose with the soil from the container.
All roses: cut back the ends of the branches
If you have not already done so, cut back (prune) the rose’s branches to leave only 20 to 30 cm.
Also, remove any damaged or broken branches.
5. Plant the rosebush
A rose is planted like any other shrub. Nevertheless, the most recognized rose growers do not all agree on the necessity to bury or not the grafting point, i.e. the junction between the branches and the roots:
Traditionally, it is recommended not to bury the grafting point because the rootstock (the wild rose) is then likely to grow to the detriment of the grafted rose, with the appearance of numerous suckers that will have to be fought against.
Note: the suckers are branches coming from the rootstock, which must be eliminated to avoid the degeneration of the grafted rose. They start below the grafting point and have a different appearance from the branches and leaves of the grafted rose.
Many rose growers consider it preferable to bury the grafting point slightly (2 to 10 cm) to give the rose a better base and better protect it from the cold and the weather. This method is preferable in regions with harsh winters.
Note: if you are planting a climbing rose, move it away from the wall or support by about 40 cm and grow it at an angle, with the head towards the support.
6. Finish planting
Fill the hole to ground level if it is good garden soil, either with the soil you had removed or with a mixture of soil and potting soil (planting or potting soil) if your soil is poor.
Pack the soil firmly with your feet and make a small watering basin.
Water copiously (10 litres) just after planting, which will avoid harmful air pockets between the soil and the roots.
If you are planting in autumn or winter, take precautions with the rose, which is particularly sensitive to the cold when newly planted: wait until the soil has dried out after watering and form a small mound of soil around the plant.
Note: this step is essential if you have not buried the grafting point.
Materials needed to plant roses
Fertilizer
Gravel
Sand
Heather soil
Potting soil
Peat