How to Cut Branches
The cutting of a branch can be done on ornamental trees as well as on fruit or forest trees. Cutting large branches is not trivial for the tree and the pruner.
The first precaution is to use sharp and clean equipment (disinfected with bleach or alcohol if necessary) to make clean cuts and not transmit diseases. It is also essential to take safety precautions to avoid injuring someone or damaging things around them. This post details the two most appropriate levels for cutting a branch – at its insertion point or branching point- and how to proceed to obtain good healing of the cut.
Take the necessary safety measures
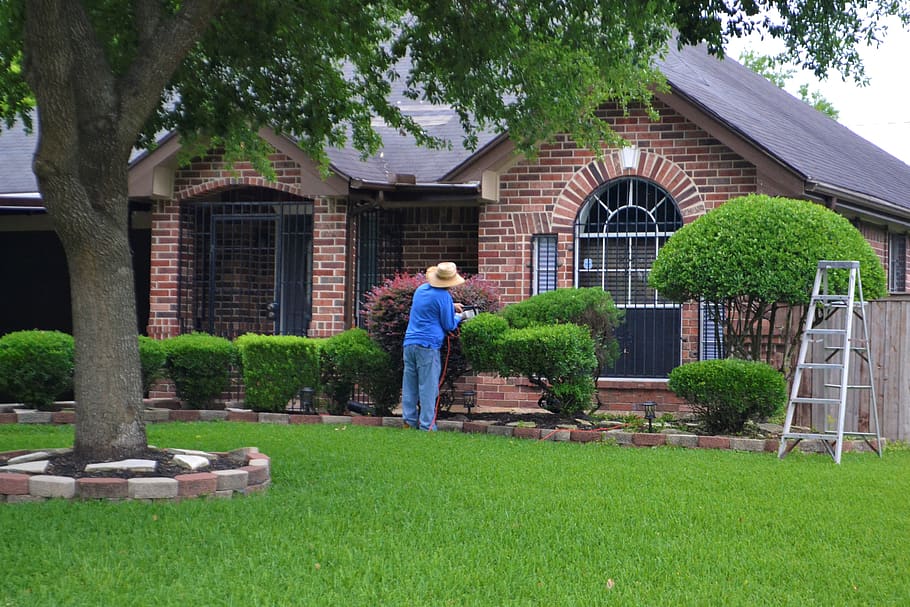
During a pruning operation, it is advisable to clear the space around the tree (garden furniture, vehicles…) or even to close the area with barriers depending on the extent of the work and the situation.
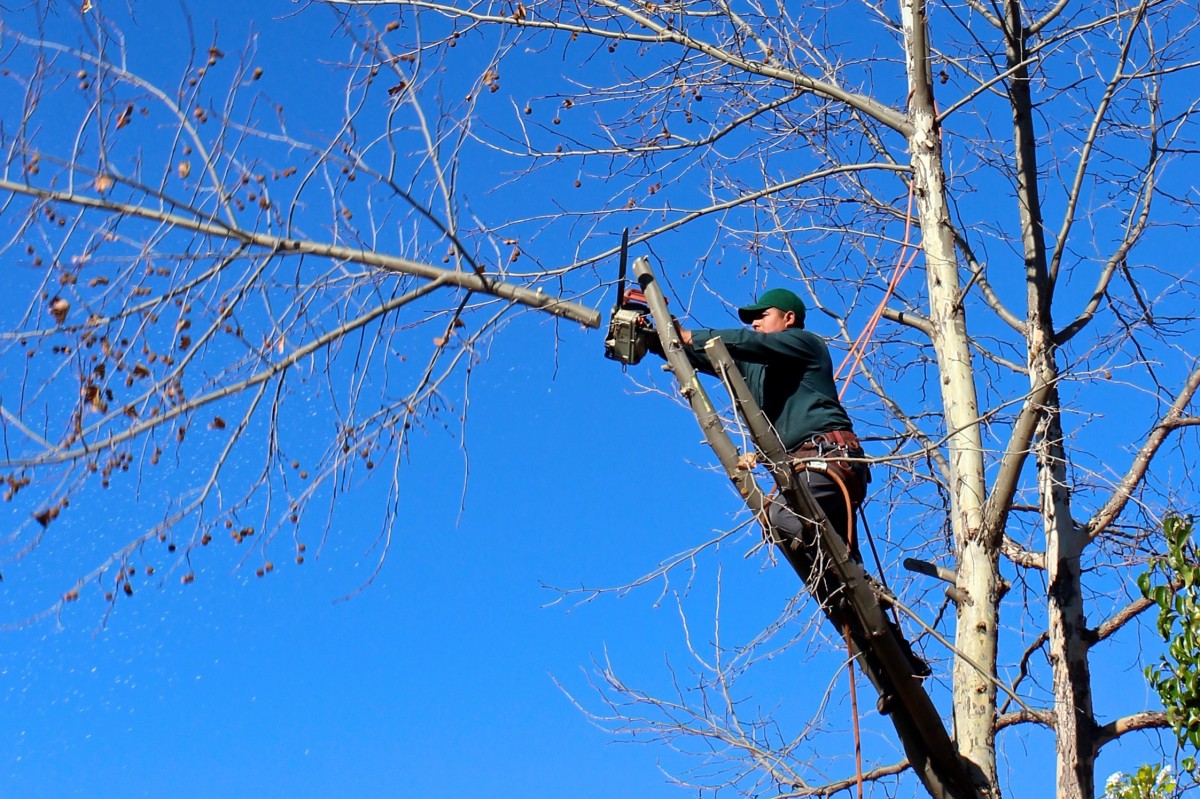
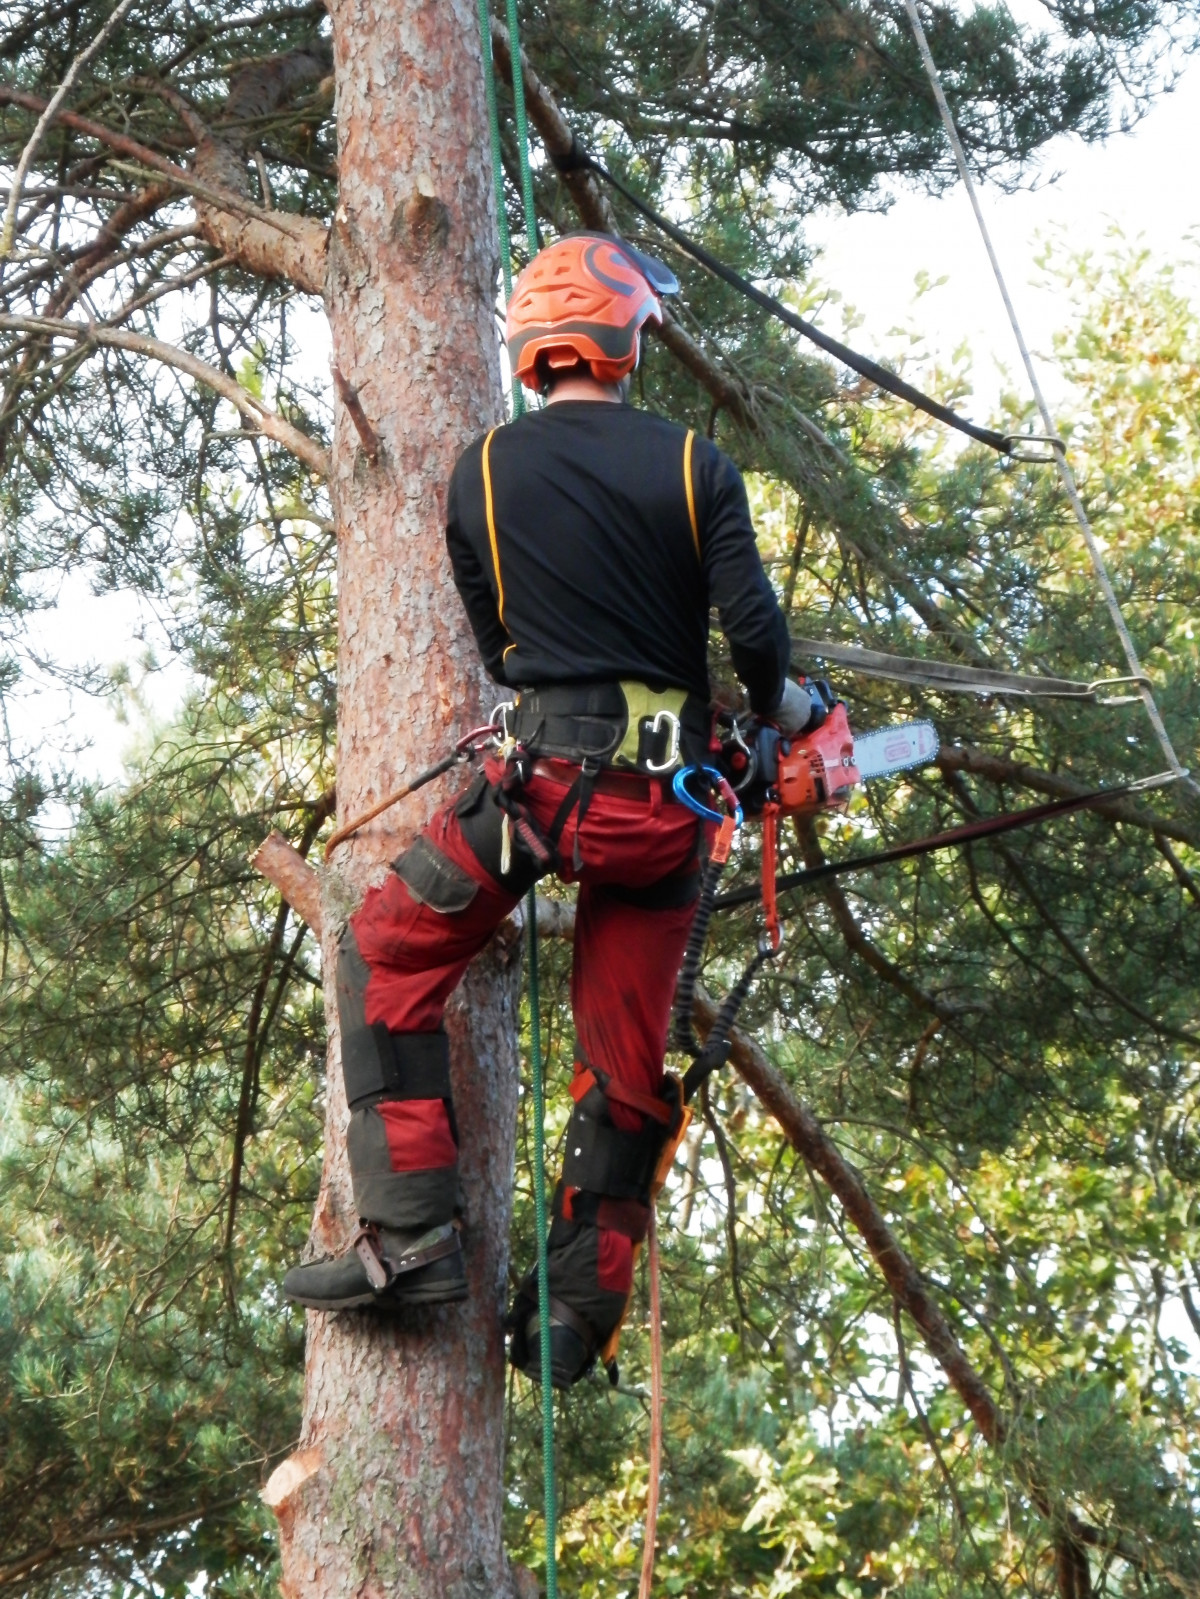
The pruner and the person on the ground must wear a helmet to avoid head injuries. The pruner’s clothing depends on the equipment used (chainsaw, saw, pruning shears) and the means used to access the branches (stepladder, basket or climbing technique).
Cutting a large branch is done in several sections and sometimes requires tying the branch with a rope to direct its fall.
Why cut a branch?
Forming a young tree is often a decisive step in giving it the silhouette and size you want.
The health of the tree (presence of canker, torn areas, overgrown branches, suckers or shoots) and the safety of users is another important factor.
Finally, pruning is a way to manage the tree at our convenience for aesthetic reasons, to promote fruit production or to obtain knot-free wood in the case of forest management, for example.
Choice of tools
The tree pruner must wear the proper clothing for the cutting tools used. The tools to be provided vary according to the size of the branch:
– Pruning shears, power pruning shears or pruning shears are sufficient for cutting small-diameter branches.
– A chainsaw or a pruning saw for larger branches.
Period
The pruning period is important to consider so that the wounds inflicted on the tree are quickly healed and that the pruning does not weaken the tree too much.
Pruning can be done at any time of the year except during the periods of :
– The sap flow in the spring, which extends from the budburst to the first adult leaves;
– and of sap descent, that is, from the end of August until the fall of the leaves towards November.
Technique
The diameter of the cut branches must be as small as possible (3 to 5 cm), but we are forced to cut branches of 10 cm and more. This case is, of course, to be avoided and obliges to take certain precautions, such as pruning the branch in 3 stages.
The cutting angle must respect certain rules depending on whether it is a real branch, a gourmand or a reject.
The wood removed from a tree should not exceed 1/3 of the crown’s volume.
1. Sawing a branch at its insertion point
Branches removed entirely are cut at their point of insertion, i.e. at the start of the axis on the trunk or an older branch. They must be cut following a precise cutting angle allowing the neck and the wrinkle of the branch to form the scarring bead.
The bulge can identify the neck under the branch (sometimes not very pronounced), which extends into a sort of crack called a wrinkle towards the upper part: cut just at this limit so as not to leave a snag and not to injure the tissues of the trunk or the supporting branch.
Case 1: Cut a branch of 1 to 5 cm in diameter
With pruning shears: position the cutting blade of the pruning shears on the side of the part to be preserved to prevent the counter-blade from chewing the wood. Cut with the base of the blades to develop more power with the saw or the chainsaw. Before cutting, position the blade according to the cut angle, in an adapted way, from underneath or on the side of the branch, to avoid hurting the trunk. The cut must be made in one line, following a single plane. Some nuances are, however, to be brought with regard to the cutting angle because some species have a very developed neck:
– very developed: aspen, eucalyptus… (case 1 of the diagram below);
– not very developed: flat maple… (case 2 of the diagram);
– absent but with a wrinkle going around the branch: beech, umbrella pine, birch, cedar… (case 3 of the diagram);
– absent when the branch bends, and a lateral bud takes over the extension of the branch: hackberry, honey locust, albizia, zelkova, Judas tree, locust tree, elm… (case 4 of the diagram).
Case 2: Cut a large branch in 3 steps
A large branch’s weight can cause the trunk’s bark to tear before the cut is completed. The basic method for cutting a branch is first to shorten the branch to be cut to limit the weight on the area where you want to make the cut.
On the pruning area, give a saw cut from below before cutting from above:
– The first cut on the underside, about 15 cm from the insertion point, release the compression energy. It prevents the branch from dragging a flap of bark from the trunk in its fall, which would make healing difficult.
– The second cut releases the tension of the wood fibres and allows the branch to break in the wood grain without pivoting.
– The resulting snag is then cut cleanly at an angle, preserving the neck as explained in case 1 above.
2. Cutting a branch leaving a sap puller
When you simply want to shorten a branch to lighten the crown or remove misplaced branches, the cut line is not necessarily located at the insertion of the branch, the neck is therefore absent. The solution then consists in removing the extension of this branch just above a branching called the sap puller:
– The sap puller must have a calibre equal to the third of the removed branch.
– By drawing the sap towards the cut, the branch will have the opportunity to heal quickly, and the cut will go unnoticed.
– Always prune at an angle to facilitate water flow. The cut follows the sap puller’s angle with the pruned branch. This results in a projecting cut instead of a flush cut to the trunk or supporting branch. If the pruned branch is heavy, first make a saw cut under the branch to avoid tearing the bark.
This method avoids the formation of a snag, a piece of branch that will dry out and hinder the healing of the wound.
Remember to protect the wounds with healing mastic right after the cut on species sensitive to serious diseases (fruit trees, plane tree…).
3. Cutting the suckers and shoots
Chupons are branches that grow spontaneously on trees and do not have a deep anchorage, at least when they are young. They rarely affect the trunk quality when they appear a few years before the cutting of a forest tree.
The sprouts appear at a major cut while the suckers grow everywhere else, but their morphology is identical. Their base has a footprint limited by two bark wrinkles.
The pruning of chokers, especially against the trunk of softwoods, must be done flush with the trunk. It is also necessary to avoid wounding the bark of the trunk.
For that, we prefer to use force pruning shears:
– In the case of the gourmand, preserve the wrinkle of the trunk or the bearing branch by making a pruning parallel to the trunk or branch axis, at about 5 mm from their bark.
– In the case of a reject, preserve the scar in the formation process by cutting as close as possible to the latter without injuring it.
Equipment needed to cut a branch
Ladder with saw and telescopic handle
Pruning saw
Pruning shears
Chainsaw