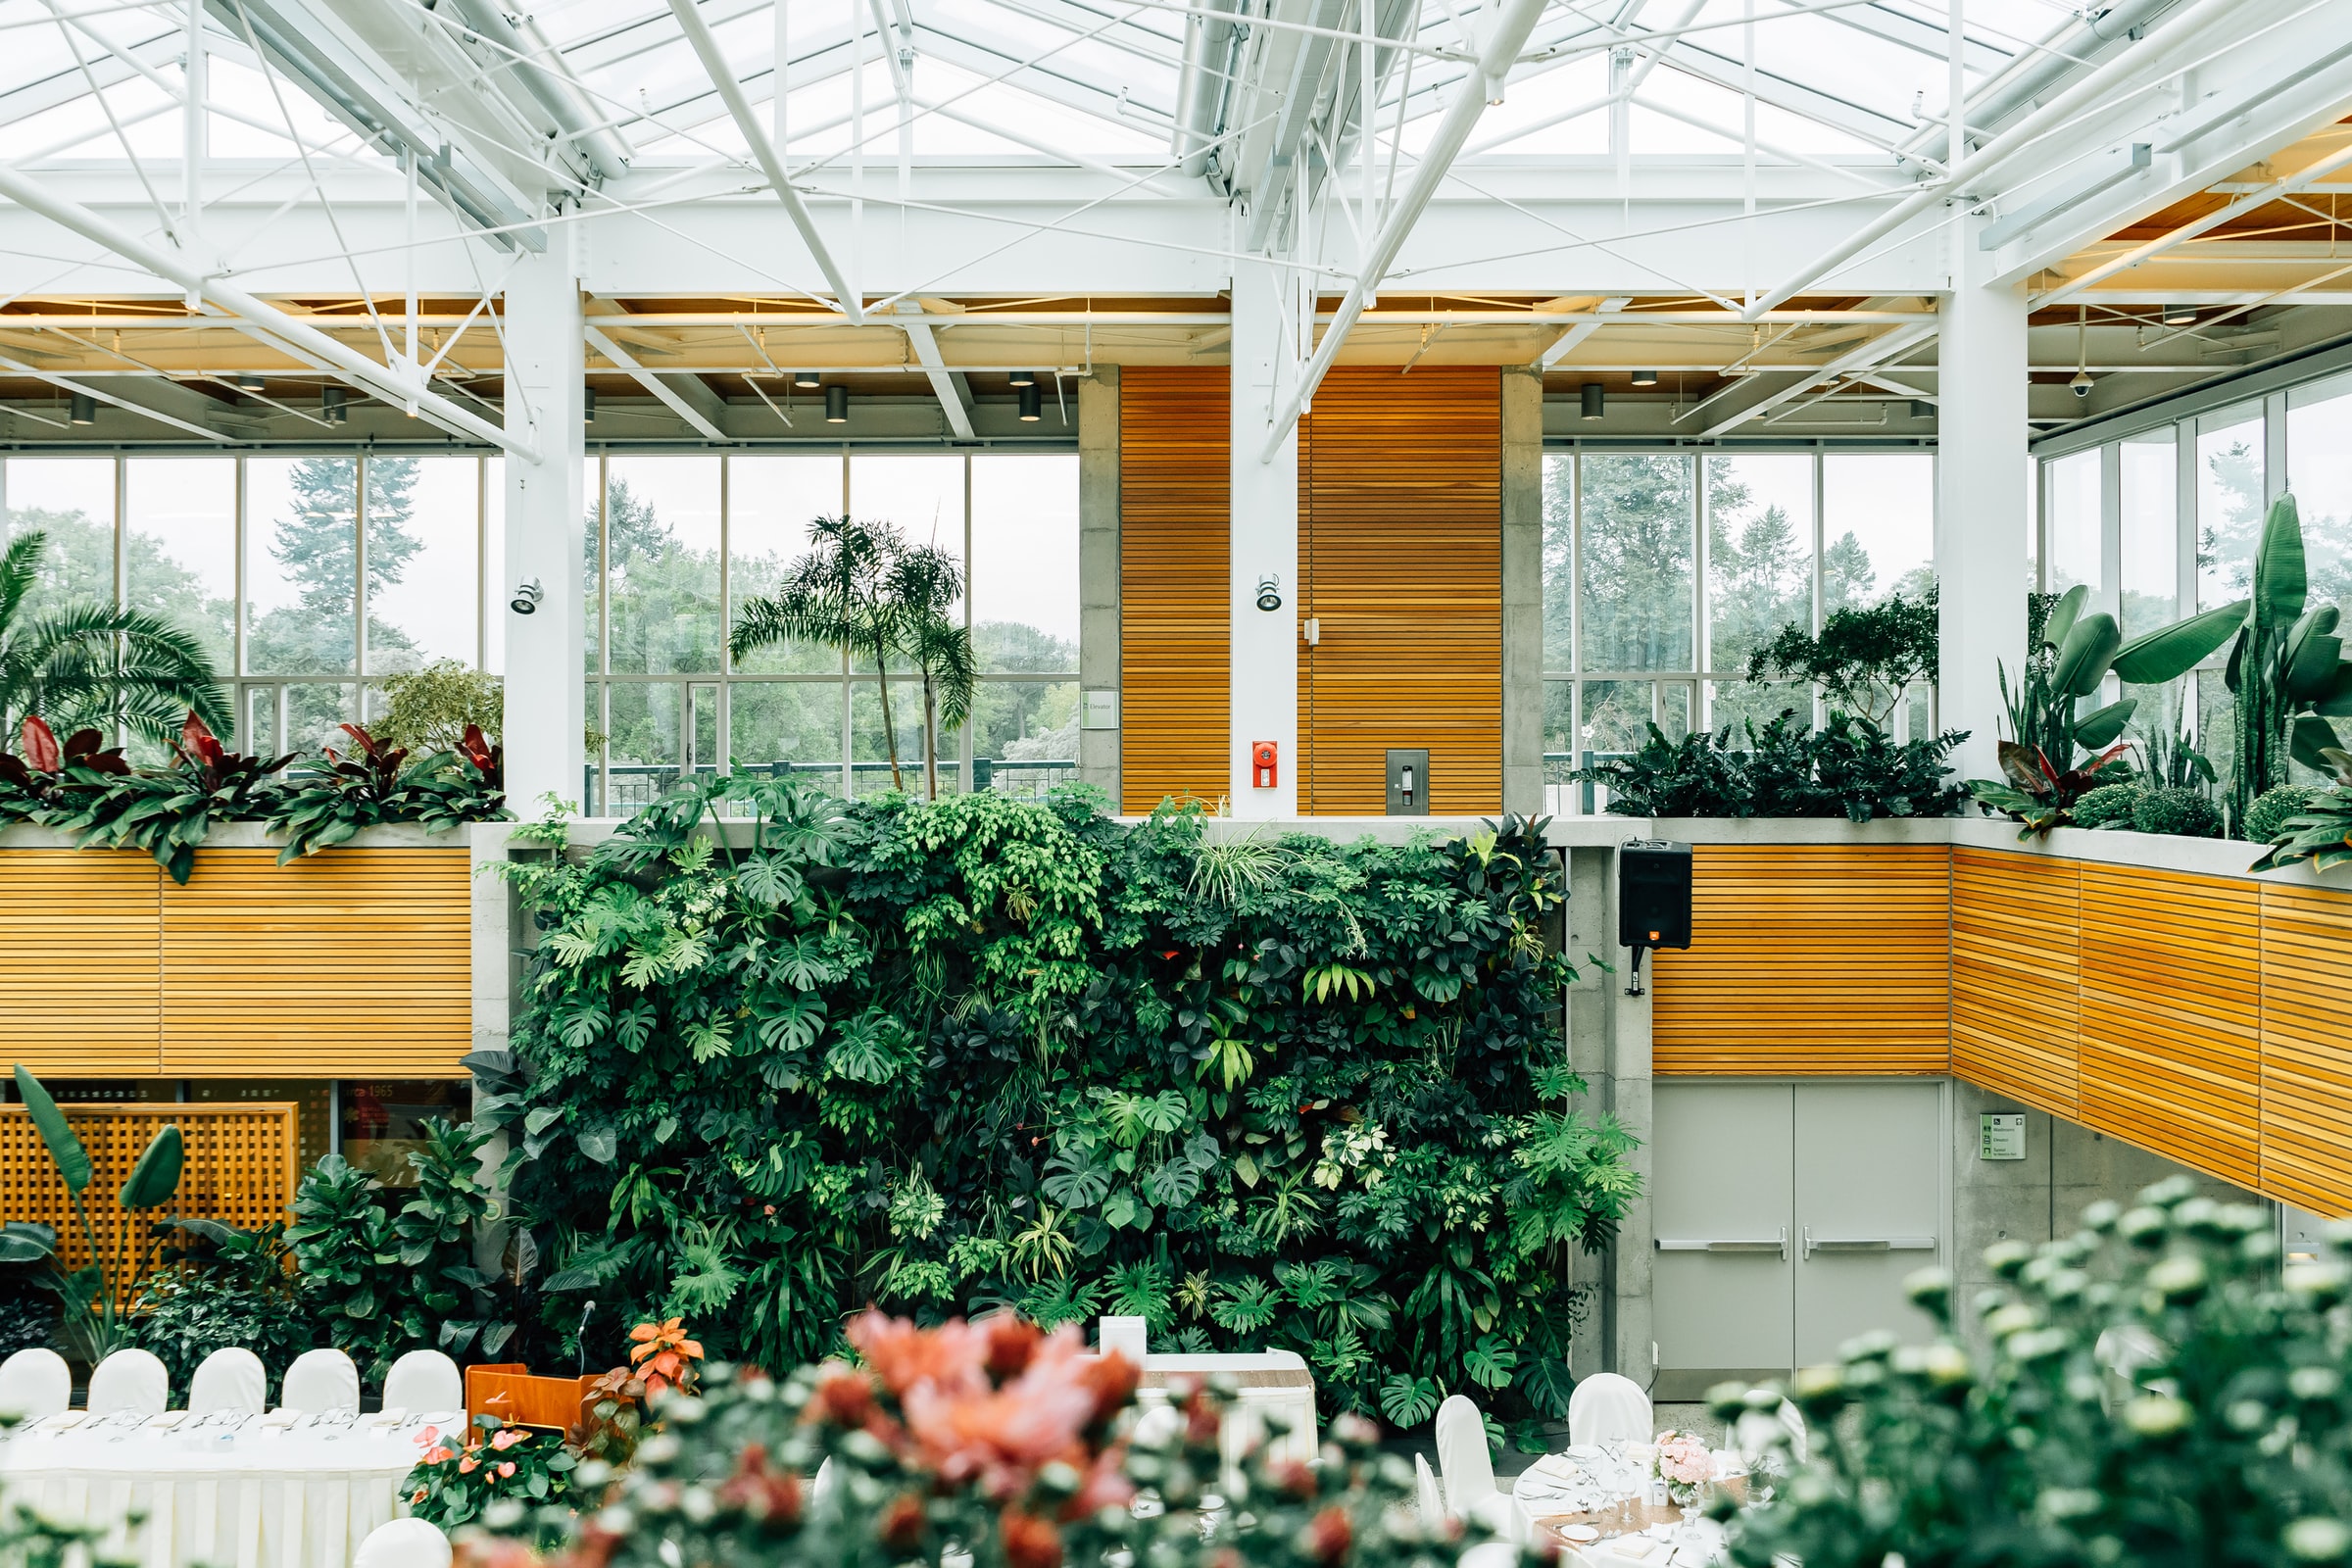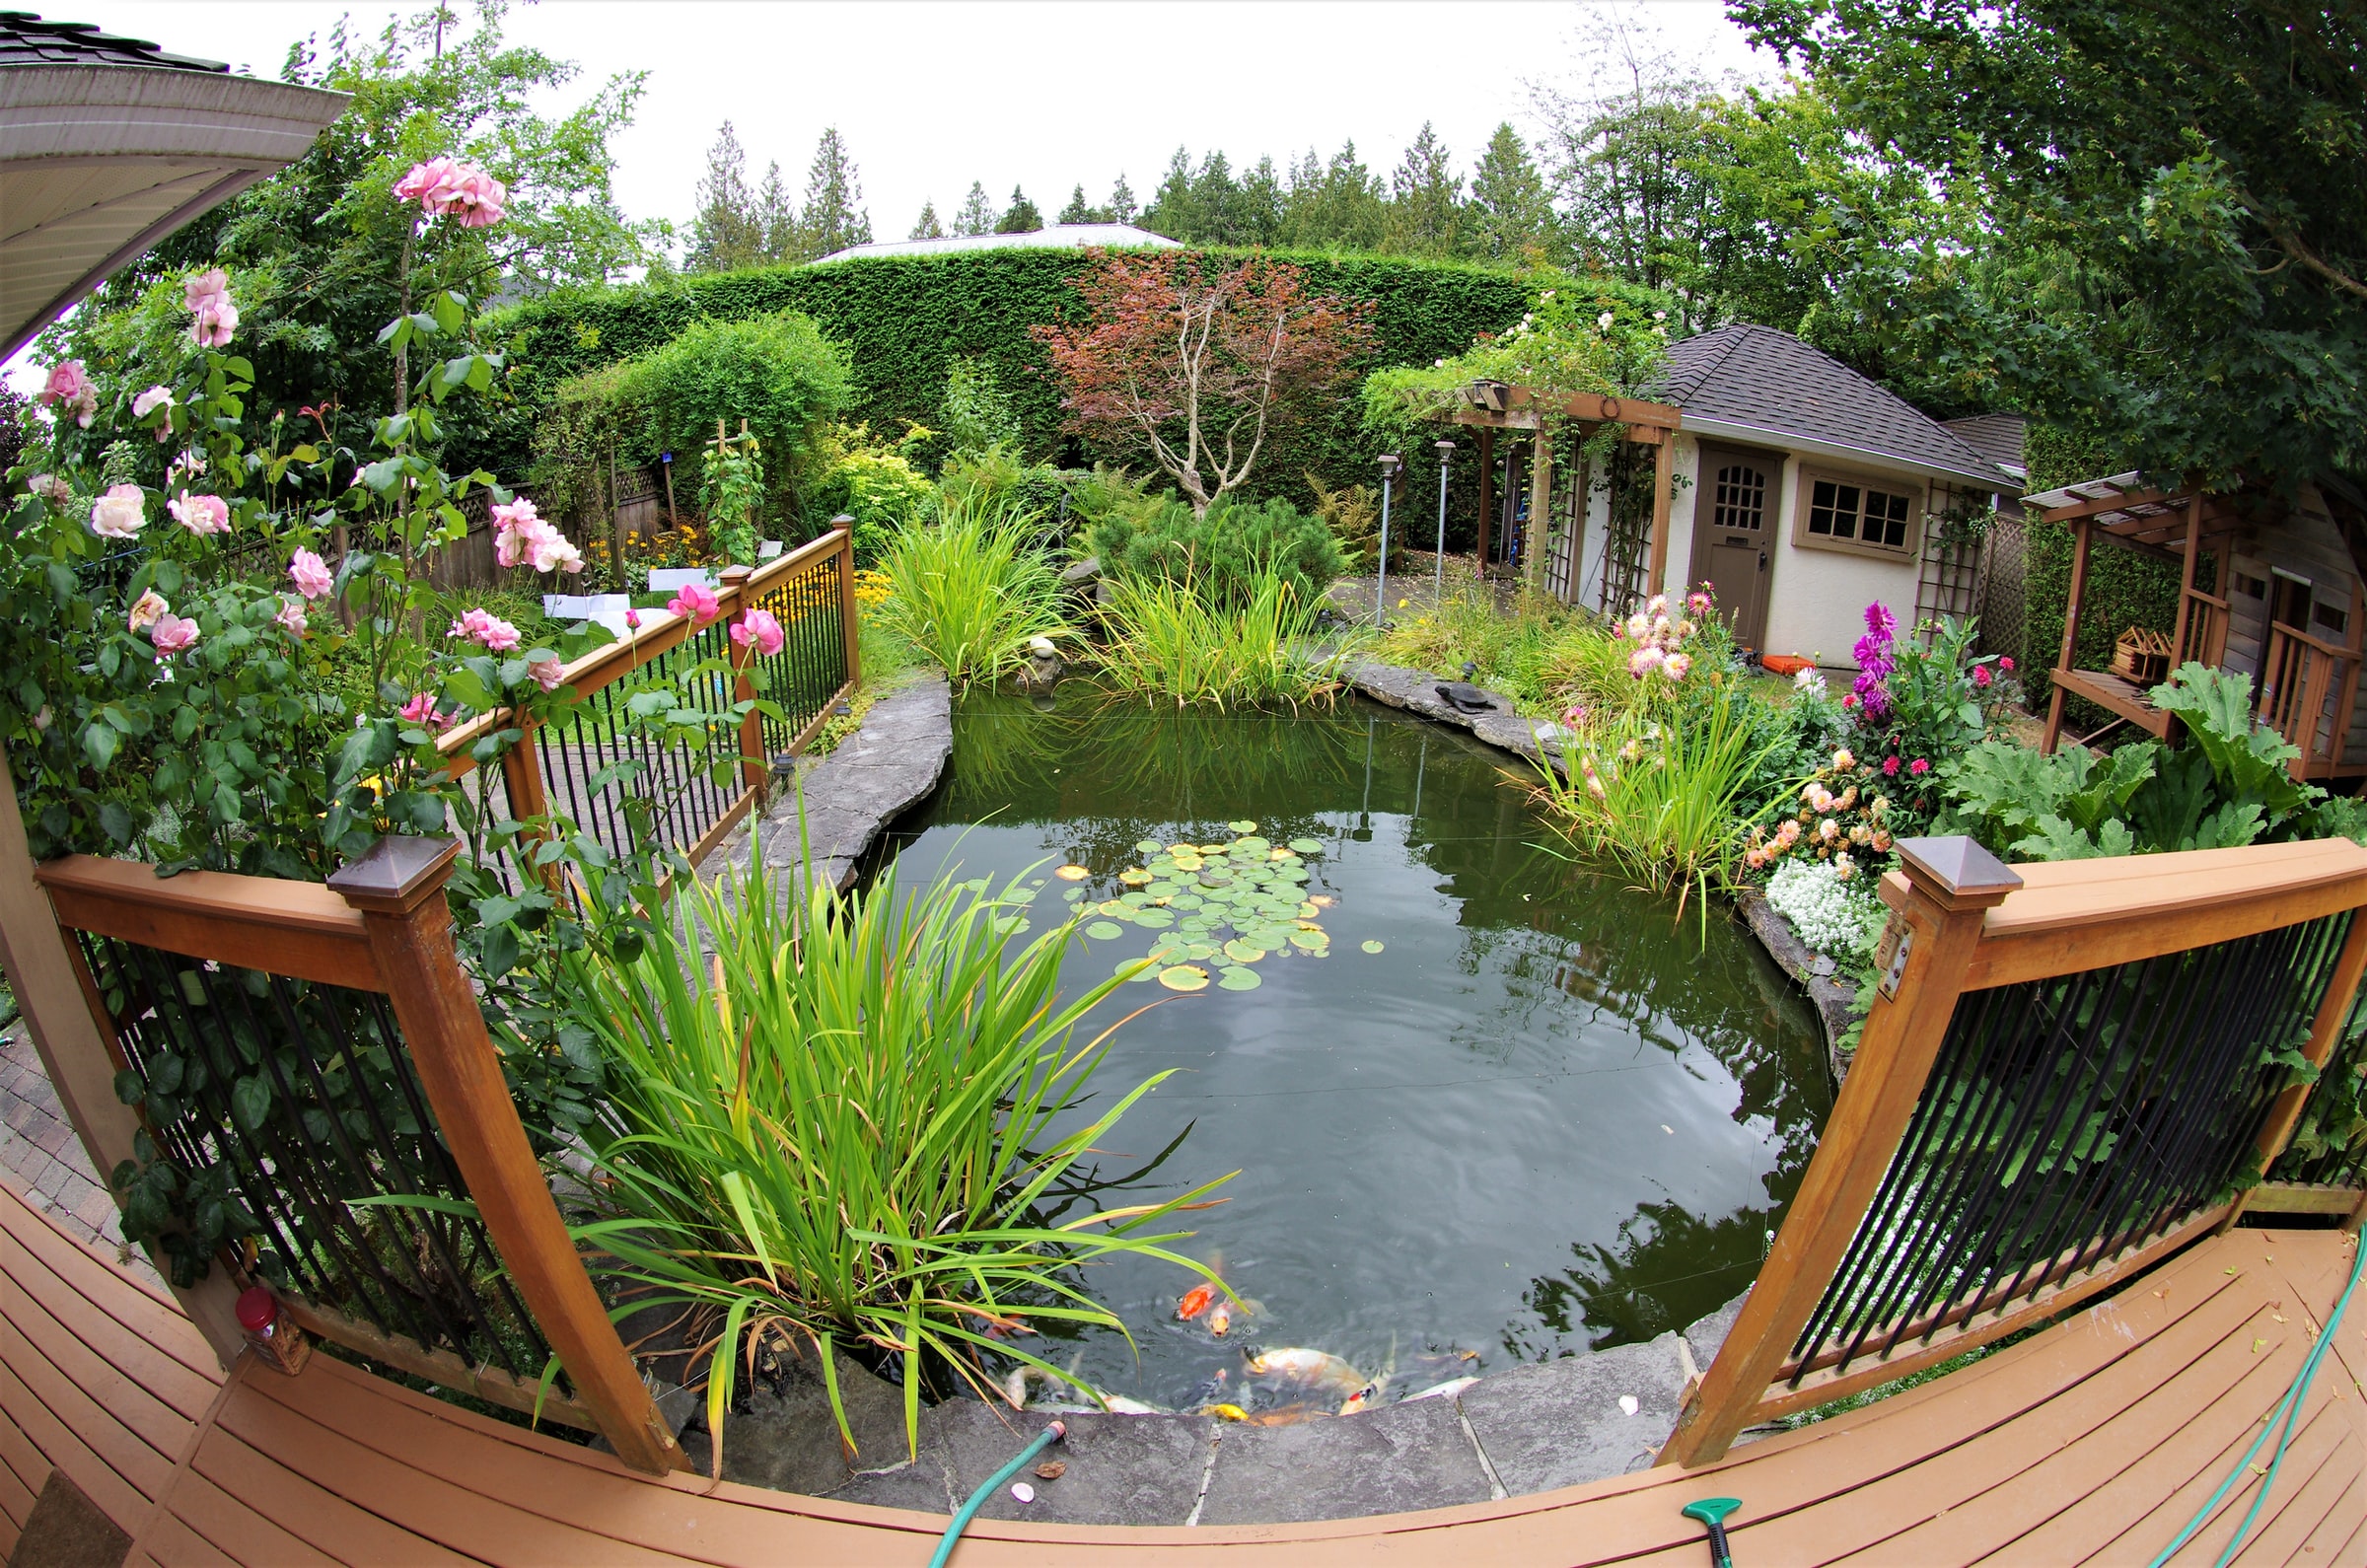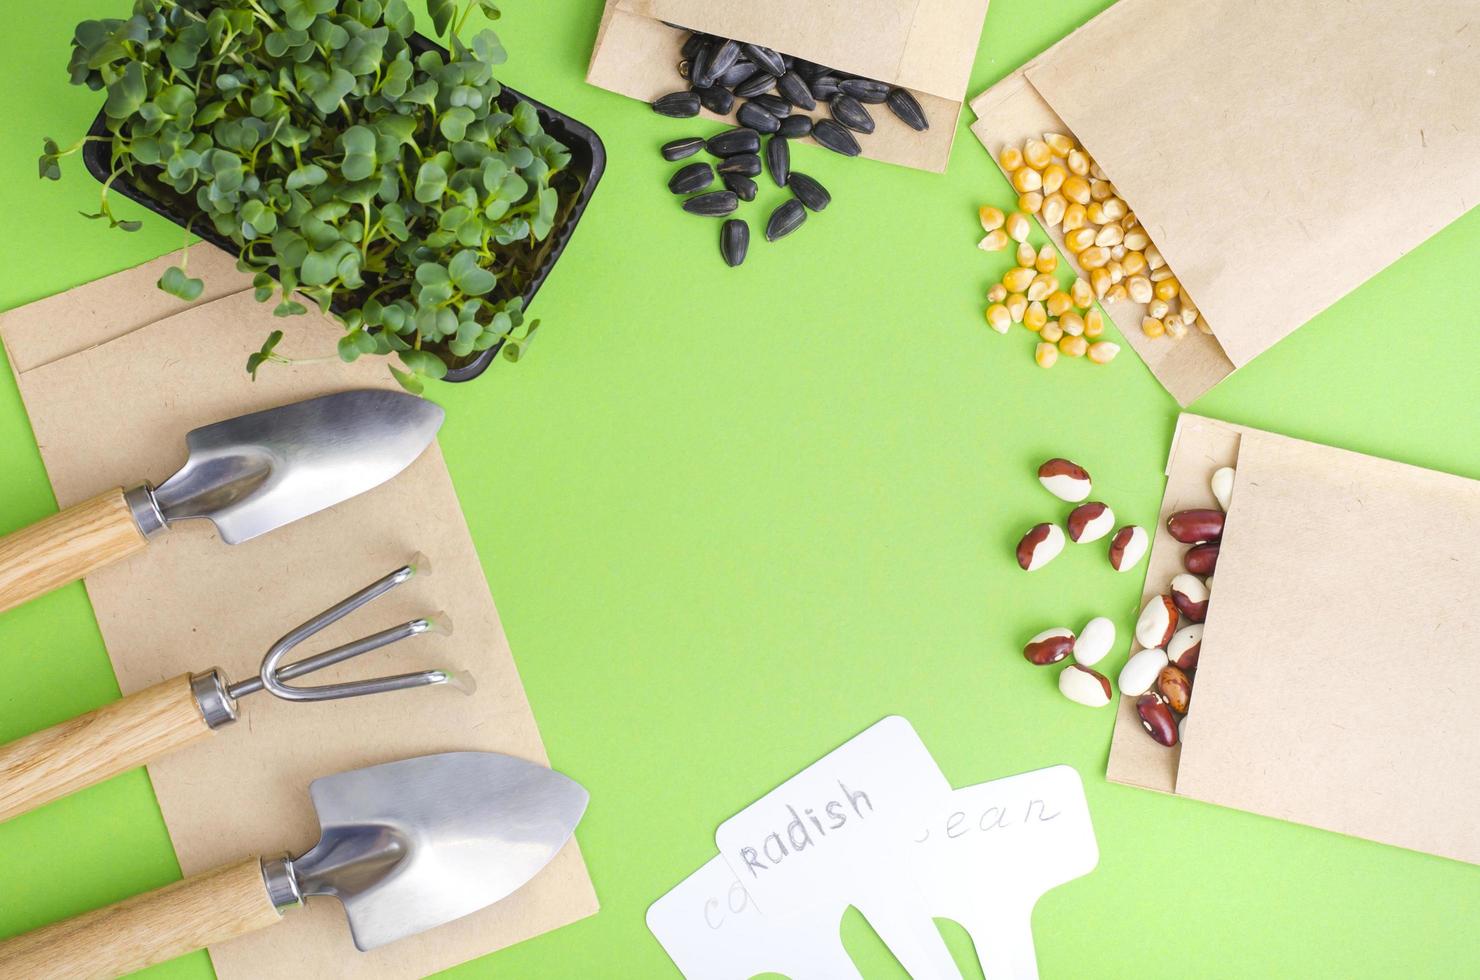
When that time of the year is around, it’s a sign that you need to get started buying or making gifts. But, if your mother loves gardening, why don’t you gift her something that can connect her more to her passion for gardening? And, for a more personalized touch, how about crafting do-it-yourself gardening projects?
A Unique Potting Table
 Materials you’ll need:
- A sink
- 7-8 foot long pressure treated) 2x4s
- A circular saw
- A jig saw
- Tape measure
- Carpenters speed square
- A cordless or power drill with screwdriver tip and counter sink bit
- One pound box of 2 ½” exterior grade screws
- One pound box of 1 ½” exterior grade screws
- A small tube of construction adhesive
- 5 –12 foot long pieces of 1×8” #3 shiplap cut pine
Instructions to make a unique Potting table:
Step 1:
Out of the 2x4s, try to create a 2-foot by 4-foot rectangle. Split one of the 8-foot 2x4s in half to get two 4-foot pieces for the bench’s length. Trim one of the other 8 foot 2x4s into two 21-inch pieces for the components that give the 2-foot depth (front to back).
Step 2:
In order to fasten all of the 2×4 framing pieces together, make use of the 2 ½” screws. Make sure to fasten the short sides to the inside of the long sides. This will complete the 2-foot by 4-foot table top frame.
Step 3:
Trim the four 3-foot sections of 2x4s to make the legs of the table (that makes up the countertop height, so if you want to make it a little taller or shorter, it’s completely up to you.)
Step 4:
Fasten the legs to the inside corners of the previously completed top using the 2 12″ screws. To keep everything straight, use a carpenter’s square while fastening the legs to the top (90 degrees).
Step 5:
Now, it’s time to make the bottom frame of the table, so shed about two 18-inch pieces of 2×4 and fasten them to the legs about 2 feet down from the bottom of the top of the bench (AKA the top frame). This begins the process of locking all four legs together for stability.
Step 6:
To finish the lower structure and completely lock all four legs together, you should cut two 42-inch lengths of 24 and secure them to the 18-inch pieces and to all four legs.
Step 7:
Cut a 45-degree angle on one end of part of the leftover 24 scrap pieces, hold it against one of the legs approximately 8-10 inches down from the top, trace a line against the top frame, and cut four pieces. Fasten two of these angle braces in each direction to the back two legs to enhance stability.
Step 8:
Connect the pine shiplap boards to the top frame using 1 12″ screws and the lower frame with cutting to fit where necessary.
Step 9:
Grab your sink, turn it upside down, and place it on top of the bench (I recommend all the way to one side—this leaves a workstation). Draw a line around the outside edge of the sink top. Adjust your line inwards from the line you created to compensate for the sink’s lip and measure the overhang of the sink top where it will sit on top of the table.
Step 10:
Dig a beginning hole in one corner of the defined sink area and cut the hole for your sink using a jigsaw.
Step 11:
Before you install your sink, add an extra 24 bracing to support it if either end is not supported by the top’s outside frame.
Step 12:
Set your sink into the hole after applying a bead of construction glue (thick enough to thoroughly touch the sink top).
Step 13:
Allow the required drying time before moving or using the table.