Isn’t your outdoor living space a significant aspect of your home? So, if you want to create some unique garden décor, here are some simple ideas to help you get started.
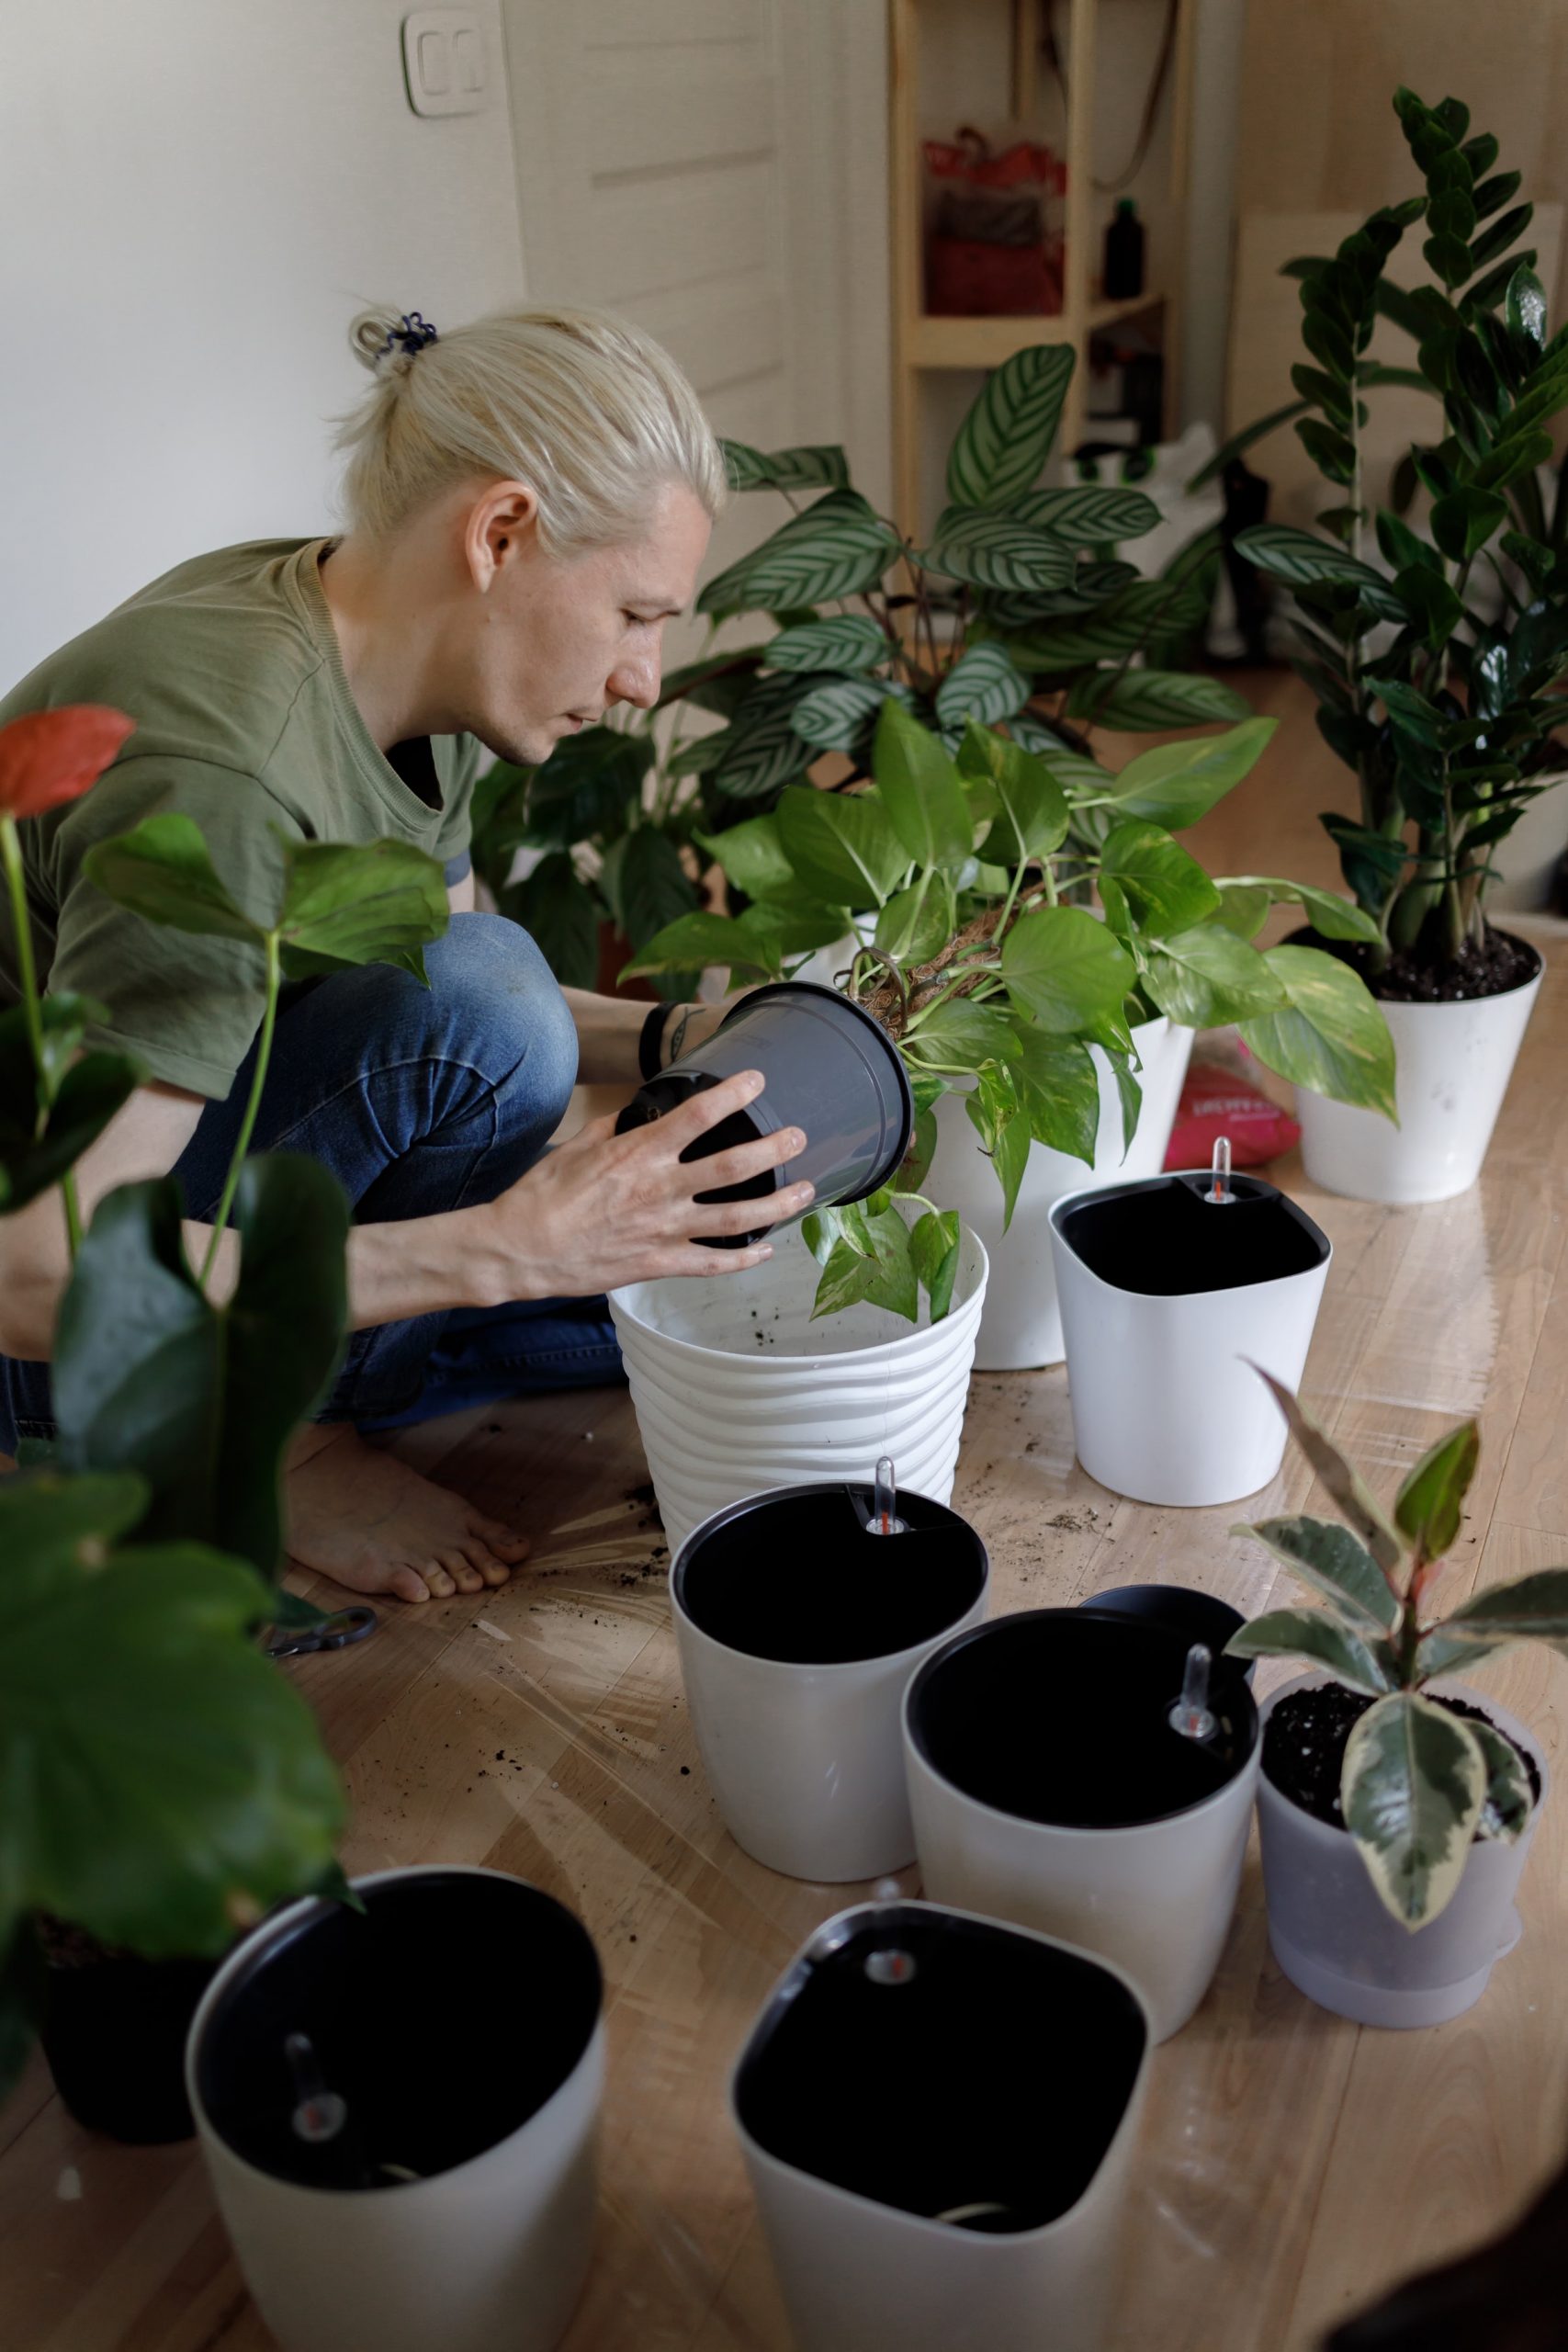
Homemade Flower Pot Project
Materials you’ll need for the project:
- A clay pot
- Fabric
- Mod Podge
- A pair of scissors
- Paintbrush
Instructions to make the Homemade Flower Pot Project
Step 1: You start by cutting the fabric that you will use to wrap around your clay pot. While cutting the fabric, remember to leave some extra length as you will have to fold it over on the top and bottom.
Step 2: On the fabric around the top, cut the slits and please try to avoid puckering as you go on your way around.
Step 3: Now, it’s time to coat a section of the pot with the Mod Podge. Attach the beginning of the fabric length to the pot and once it’s secured, you can start coating the fabric with Mod Podge.
Step 4: You should repeat step 3, going all the way around.
Step 5: Once you are done with the exterior part of the pot, you should start trimming your fabric and ensure that less than an inch is hung over the top and bottom.
Step 6: Starting with the top, fold the fabric into the pot in pleats and make sure they lay flat and neat around the rim. Once you’ve coated them with Mod Podge, let them dry.
Step 7: Step 6 should be repeated for the bottom part as well –the fabric should be folded in nice and flat pleats, coated in Mod Podge and set aside.
Step 8: This is when you coat all the remaining loose flaps of fabric with Mod Podge.
Additional Note: It is highly recommended to wash your fabric before using it.
Reviews:
“I remember doing this as a teenager, many, many, many years ago. Still have those pots; they held up well. OK, my tastes in design have changed since then, so I don’t use them anymore. I should update them with a new fabric! (UpUpCycling? ReUpCycling? DoubleUpCycling?)” –From Catnap
“Such projects are wonderful. Reading about this homemade pot, I got soo many craft ideas involving mod podge and I think I should start on them right away.”- From Mel
“Pretty neat idea, I’ve back to Mod Podging everything, just finished a shadow box for our daughter and I know it will last for years or until she’s ready to change things.”- From Lori
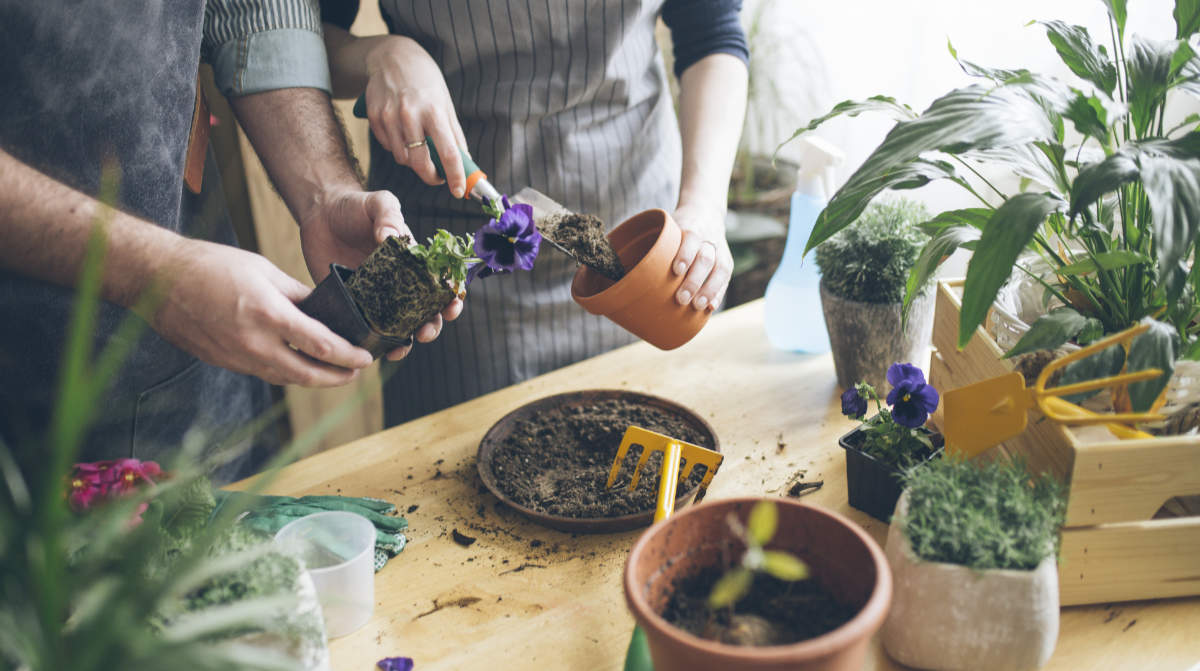
Spoon Garden Markers

Materials you’ll need for the project:
- A pair of scissors
- Spoons
- Spray paint
- Stickers
- Scrapbook paper
- Mod Podge outdoor
- A pencil
- A hammer
- Paintbrush
Instructions to make the Spoon Garden Markers:
Step 1: You start by arranging all the spoons on a flat and safe surface. You can then start banging on the round end with a hammer until they become flat (please be careful here!)
Step 2: Now, start by spraying the spoons with your outdoor spray paint. Once it is done, set them aside and let them dry.
Step 3: Once you’ve traced your garden markers onto the scrapbook paper, use a pair of scissors to cut out the paper.
Step 4: Decoupage the paper to the spoons using Outdoor Mod Podge and then set aside and let dry.
Step 5: You can add some embellishments –the choice is up to you – and then coat some more with Mod Podge. Usually, 2-3 coats are recommended.
Step 6: Then end-product will take around 24 hours to dry.
Reviews:
“The spoons would be great to identify your plants with. I never keep the Information that come with them. My idea mark spoons ” romas, beefsteak, big boys.”- From Sarah
“That’s a very good idea. It’s really creative also. Like it!”- From Andrea