Have you ever tried to grow your own chilies without success? It’s true that growing chili peppers has its secrets, but luckily it’s a simple crop with set rules that, once you follow them, will serve you forever.
Chilies can indeed be simple plants to grow, and we have created this beginner’s guide for those who have never successfully grown chilies before and want to grow them in the quickest and easiest way, whether indoors or outdoors, this guide is the perfect place to start.
Drying the Seeds
You can easily buy dry chili seeds, but if you get fresh chili seeds, you must first dry them. This is a very simple process that won’t take you more than a day or two:
- From the chilies you have bought, cut them in half and with a knife
- Slowly remove the seeds with a knife or fork, without damaging them.
- Put them on a paper towel and after removing all the seeds you want to dry, fold the paper.
- Leave the seeds like this for a day or two and remove them from the paper to let them dry a little more.
- After these steps, your chili seeds will be ready for the germination process.
Germination
Without a doubt, this step is the most mentioned when it comes to growing chilies, and we must admit that there are many ways to germinate them. Now that you have the seeds, it is important that they turn into chili plants.
To germinate the seeds of any chili pepper, the most important elements for germination are heat, moisture and oxygen. Seeds germinate in many containers and in many ways, from paper towels to wool cubes, but since we said this guide wasn’t going to complicate things, we’re going to give you tips to germinate them in a small container of ordinary soil.
What you use to add to your soil doesn’t matter much, as long as there are holes in the bottom to have good drainage of excess water. You will sow the seeds in the top part of the soil, then cover them with a thin layer of soil, no more than 3mm.
For their initial growth, chili seeds have a certain amount of energy and then they get more energy from light. So if they are planted too deep, they will run out of energy before reaching the surface.
To give the seeds the moisture they need to germinate, simply give the soil water. Do not overwater, the soil should be moist but not wet. The last thing the seeds need is heat.
One way to give them constant heat is to put the container on a radiator, for example, as long as it is on the stove (if the germinators you use are turned on when the heater or stove is on high or very hot, the soil will burn and so will the seeds).
That’s why you should take into account that you should not cook them, always trying to get warm temperatures around 20-25 degrees). Then, you must always make sure to leave the soil moist, because if it is not at this temperature, the soil will also dry out and the seeds will not germinate.
Germination Time
Depending on the type of chili you grow, chili seeds generally take longer to germinate than other vegetable seeds. They usually take several weeks (at least 10 days) to surface.
It takes a little patience, but you will be rewarded once you see the first seedlings surface. Seedlings are still very sensitive and delicate, so avoid handling them too much if possible.
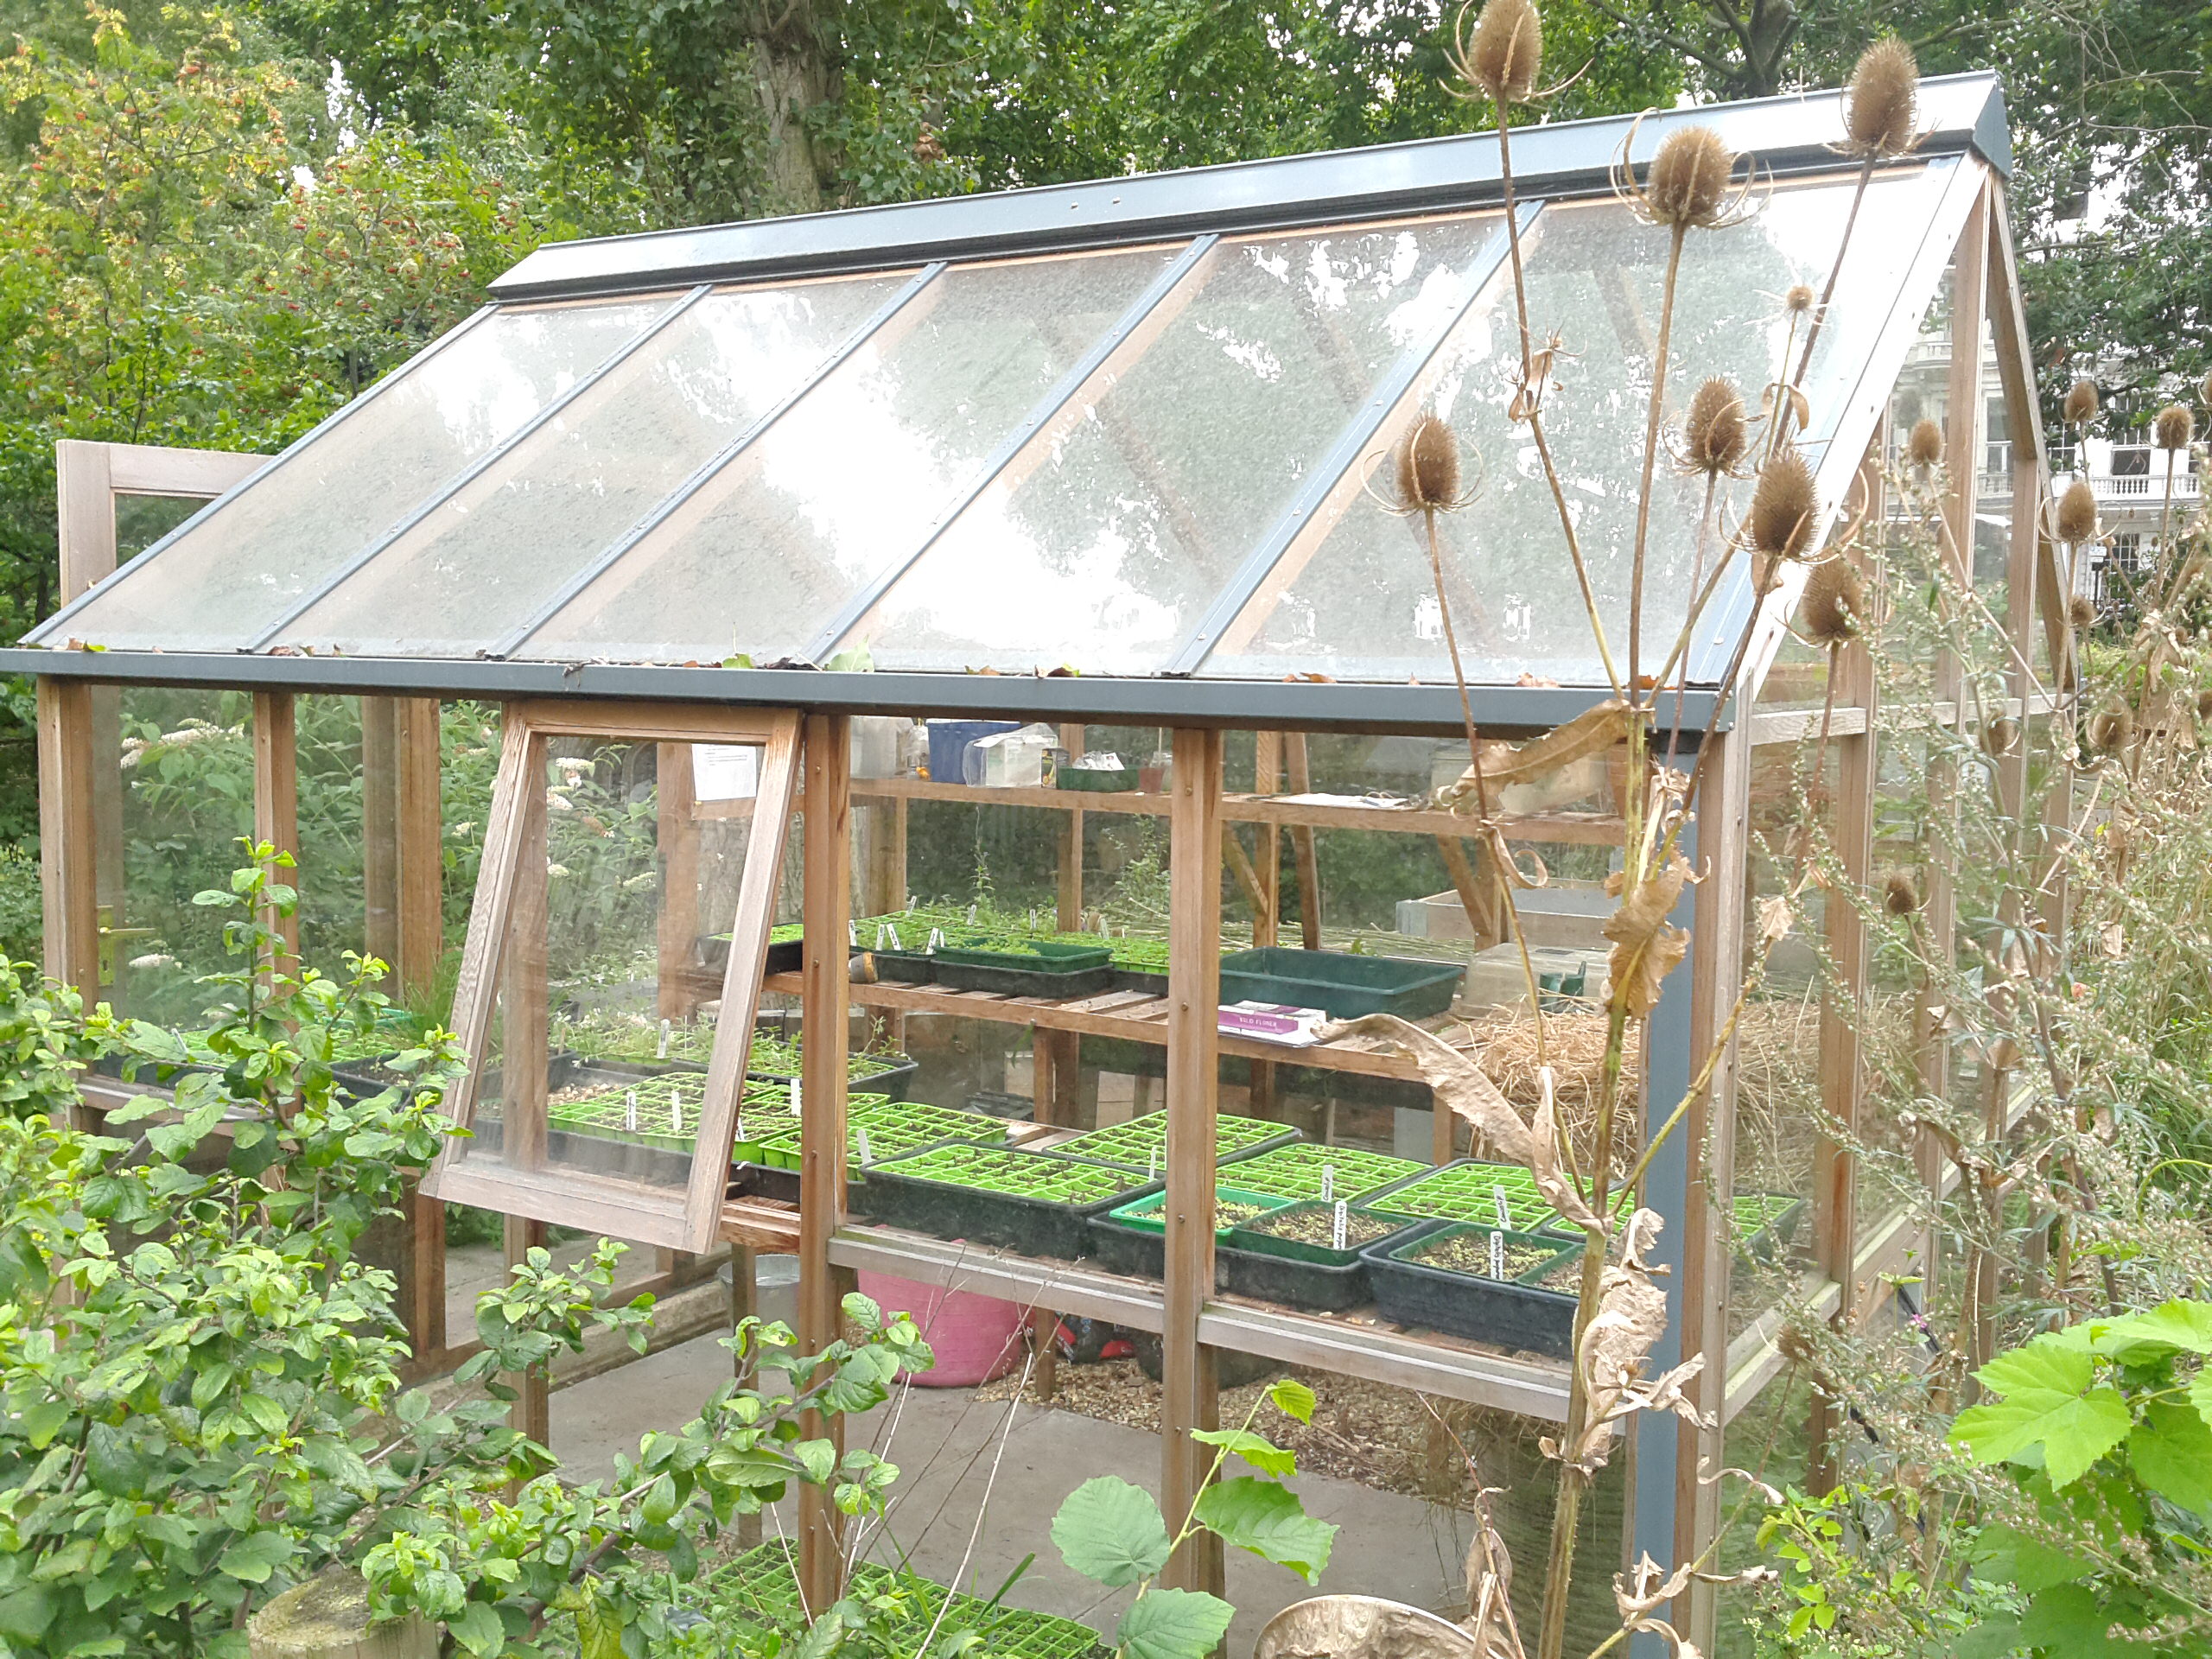
Heat and light are still very important, but when germinating and surfacing, the most important thing is that there is enough light (it can be natural or from a special UV lamp for plants). It is necessary to avoid the cold in this phase, so if you germinate them in winter, you should try to grow them indoors with enough artificial light (or at the window), but preferably in a greenhouse if you have one at your disposal.
You now know the steps to germinate chilies. But if you want more tips on how to care for them, come back to read the second part of our article.


1 thought on “Growing Chilies Made Easy (Part One)”